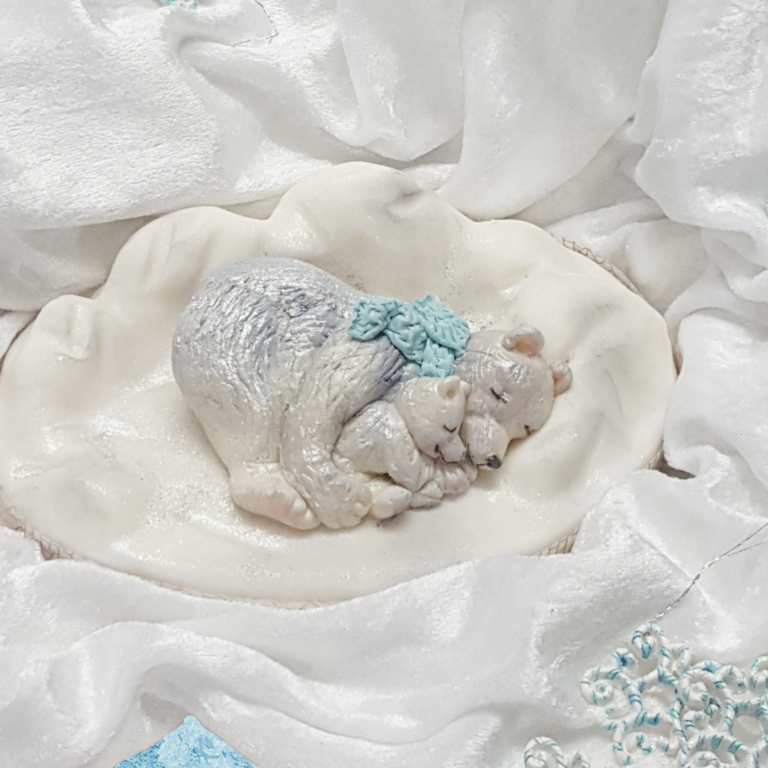
Polar Snoozes by Jacqui Kelly
These adorable snoozing polar bears were created by Jacqui Kelly Edible Art. Jacqui has used marzipan to model her figures, a versatile product that’s not just for Christmas cake!
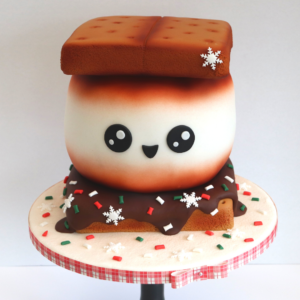
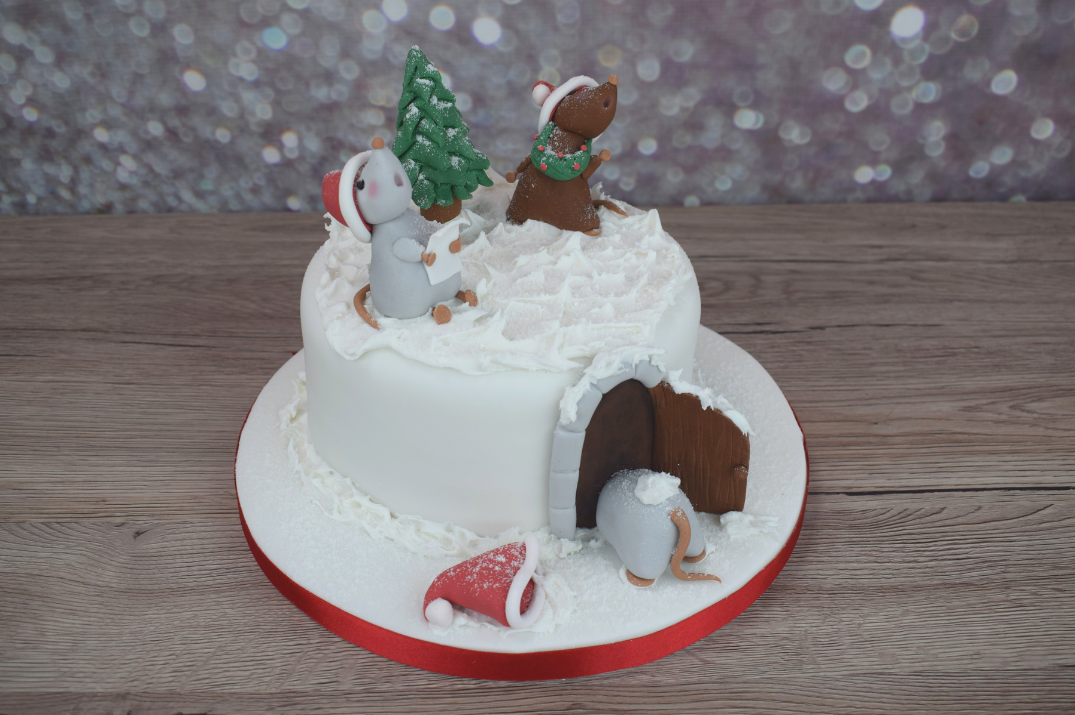
For more festive inspiration head over to our 12 Days of Christmas calendar.
Uploaded by Cameron Collings
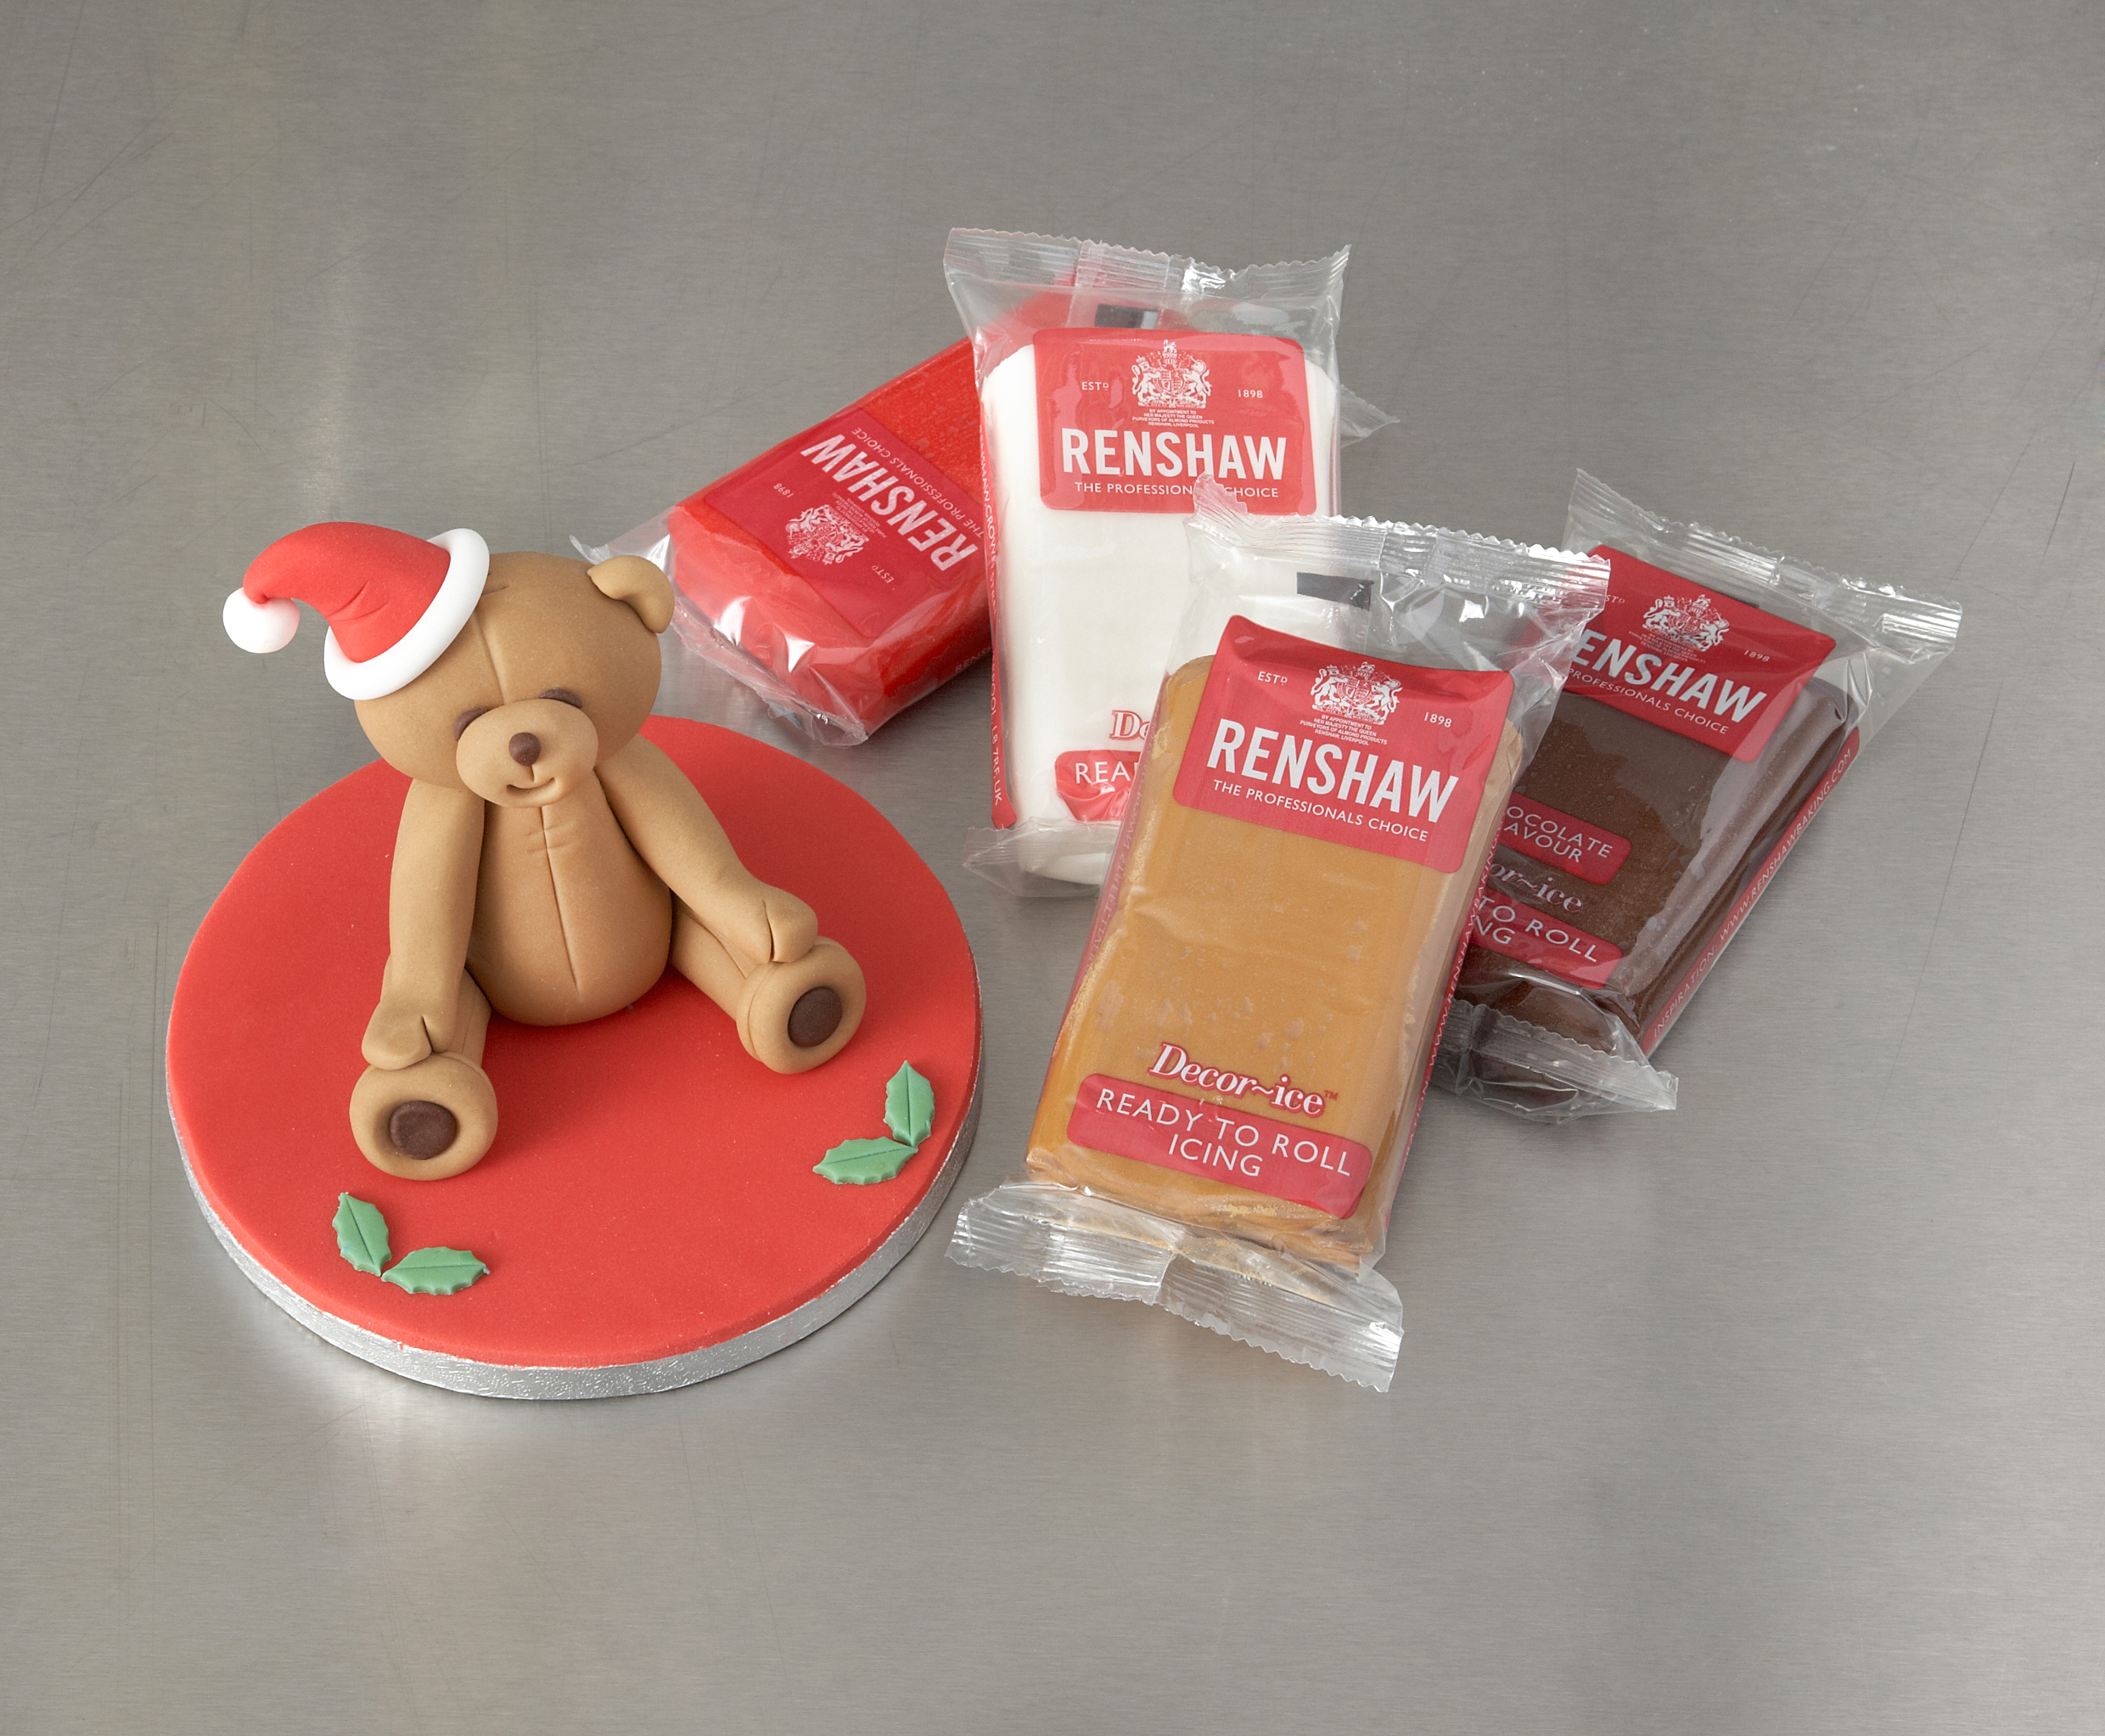
Decorating ingredients
- 300 g Renshaw Extra Marshmallow Flavour Icing
- 50 g Renshaw Marzipan
- 50 g Renshaw Belgian White Chocolate Modelling Paste
- Rainbow Dust Food Art Pen Black
- Rainbow Dust Sky Blue ProGel
- Rainbow Dust Grey Blue ProGel
- Rainbow Dust Powder Colour Dusky Pink
- Rainbow Dust Powder Colour Shadow Grey
- Rainbow Dust Powder Colour Periwinkle Blue
Renshaw products used
Email this recipe
Instructions
Prepare your Equipment:
Step 1
You will need: 7” oval cake drum, Co-ordinating ribbon, Small rolling pin, Small palette knife, Dresden Tool, Bone tool, Various dusting brushes.

Modelling Snoozes:
Step 2
Using approx. 250g of Marshmallow Extra paste create a semi-circular snow drift around the edge of the cake board by rolling random shapes & balls.

Step 3
Roll out & coat the board and snow drifts in a thick layer of Marshmallow Extra paste. Contour with your fingers and edge of your hand to secure in place. Add more detailing with the thicker end of the Dresden tool and trim off excess paste with a palette knife.

Step 4
Take 50g approx of each of the 3 pastes and blend together - be careful not to over-work/over-warm the pastes, it fine if there is a little marbling left, you don't need to store in a plastic bag – one of the joys of working in marzipan and choc modelling paste is the long working time they give you.

Step 5
Divide the paste as the picture. ½ creates the body, ¼ the legs and the 2 1/8th balls make the head and the baby bear. Roll into smooth balls ready to start modelling.

Step 6
The body is a teardrop shape, flattened at the point which is the mother bears neck. Two balls, flattened on one side only create the back leg and the front paw. A thicker carrot shape for the back led and a thinner for the front leg. There should be a tiny ball over for ears and a nose.

Step 7
Begin to bring the shapes together, you don't need any glue or water as the paste sticks to itself when warm. Flatten the tops of the back and front legs to reduce the bulk and turn up the back paw. Use the Dresden tool to indent toes on each paw.

Step 8
Head - Using a 1/8th ball tease out a snout and flatten between the eyes with the back of the large end of the Dresden tool. Mark on closed eyes and the mouth/snout. Add ears, a nose & press in nostrils.

Step 9
Baby Bear - With the final 1/8th ball, divide up as per the pic. Cut into the sides of the body and tease out the legs and repeat the head instructions above.

Step 10
Tuck baby bear under Mummy Bears front paw and texture all over the piece with either a Dresden tool or a craft knife. Don't forget to mark on a tail for Mummy Bear.

Step 11
Lightly add some dust colours to bring the piece to life. As you dust across the piece the colour will highlight the texturing of the fur. I 'pinked' up ears, snouts and paws.

Step 12
Adding a little of each Pro Gel colour create a scarf in Marshmallow Extra for Mummy bear with added Dresden tool texturing. Draw in the eyes and mouths and colour in the noses using the thicker end of the Rainbow Dust Doubled Ended Edible pen.

Step 13
Add the model to the board and dust into some of the snow drift contours with a little of the Rainbow Dust Shadow Grey. Add the ribbon around the edge and then sprinkle on some Snow White Twinkle Dust to add that Christmas Magic.