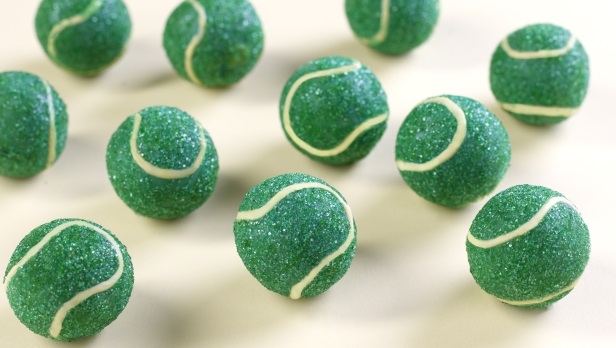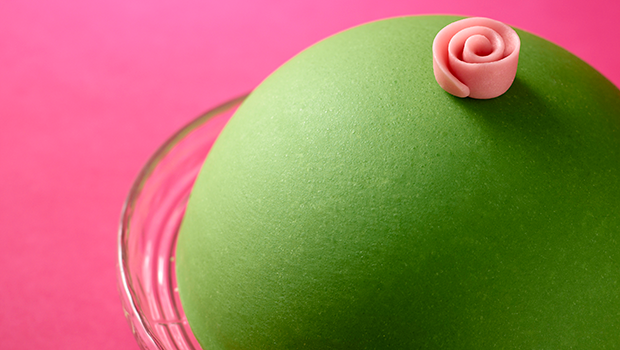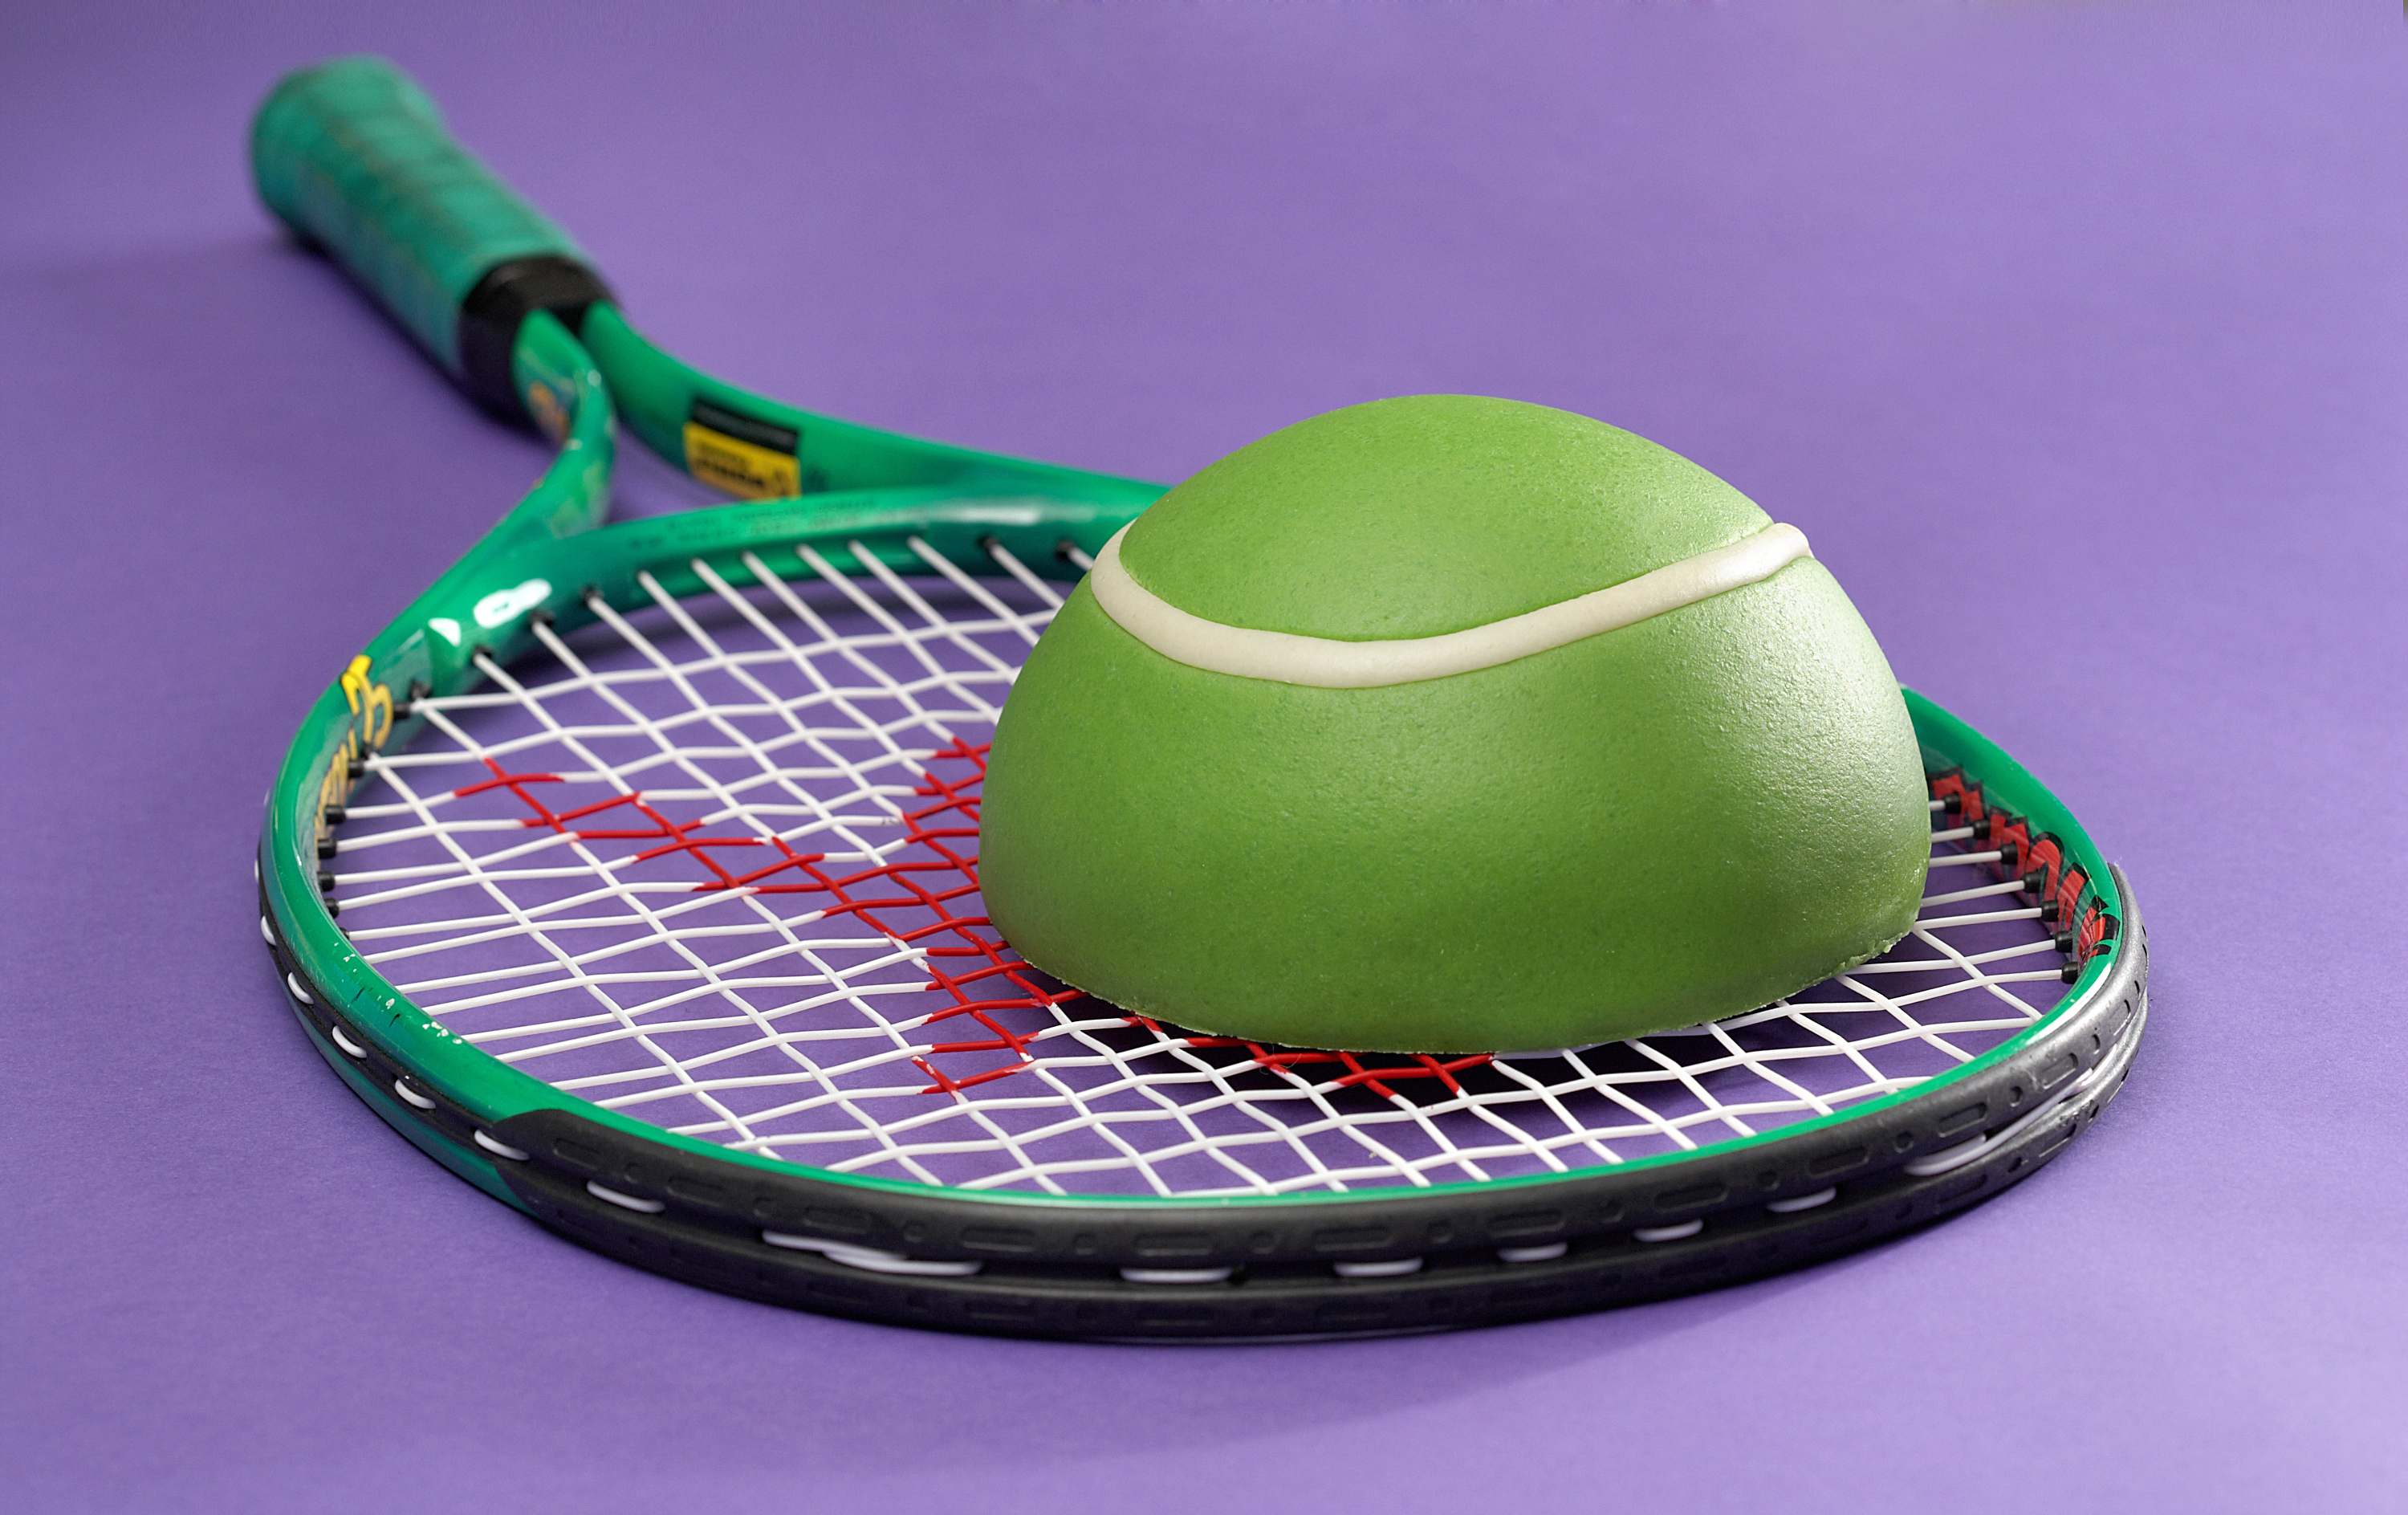
Tennis Ball Cake
We’ll be enjoying Wimbledon and a summer of tennis with this tennis ball cake. This is a classic Princess Gateau recipe covered with marzipan.
Uploaded by Kayleigh McDonough
Skill Level
Intermediate
Serves
6 people
Baking ingredients
- 125 g caster sugar
- 4 large eggs
- 125 g self-raising flour
- 50 g butter, melted and slightly cooled plus extra for greasing
- 1 lemon zest
Decorating ingredients
- 600 ml milk
- 1 vanilla pod
- 4 large eggs
- 2 egg yolks
- 175 g caster sugar
- 100 g cornflour
- 150 g butter, cut into cubes
- 500 g Renshaw Original White Marzipan
- Green food gel
- 600 g medium sized strawberries
- 2 tbsp apricot jam, boiled and cooled slightly
Renshaw products used
Email this recipe
Instructions
Baking the sponge:
Step 1
Preheat the oven to 180C/350F/Gas mark 3 and grease or line the cake tin with baking parchment.
Step 2
Place the sugar, eggs and lemon zest in a large bowl set over a pan of simmering water.
Step 3
Whisk over a medium heat until doubled in size and pale in colour. The mixture should form a trail when the whisk is lifted out.
Step 4
Sift in two-thirds of the flour and gently fold in with a metal spoon. Add the remaining flour and fold again until all the flour is mixed into the batter.
Step 5
Gently fold in the melted butter.
Step 6
Pour the mixture into a cake tin and bake for 25-30 mins or until the centre of the cake springs back to the touch.
Step 7
Turn out of the tin and cool on a cooling wire, taking care as it will be very fragile.
Crème pâtissière filling:
Step 8
Pour the milk into a heavy based pan along with the vanilla pod. Bring the milk to the boil then take off the heat.
Step 9
In a separate bowl whisk together the eggs, sugar and cornflour until smooth.
Step 10
Remove the vanilla pod from the milk and then pour into the egg mixture and stir.
Step 11
Pour the milk mixture back into the pan and set over a medium heat to form a custard.
Step 12
Stir the custard constantly until it thickens.
Step 13
Continue to cook until the custard becomes very thick so it will hold its shape. Stir in the butter until thoroughly melted and thick.
Step 14
Allow to cool and then place in a dish and chill for approx. 1 hour.
Putting the cake together:
Step 15
Slice the sponge horizontally into two even slices, taking care to get them level.
Step 16
Place one of the sponges on to a serving plate or board and spread the top surface with the apricot jam.
Step 17
Place the crème pâtissière into a piping bag and pipe a thin layer onto the sponge, and then place the second sponge on top.
Step 18
With the remaining crème pâtissière build it into a dome shape on top of the sponge using a palette knife to smooth the crème into shape. Allow to set in the fridge for 2 hours.
Covering the cake:
Step 19
Knead the marzipan until soft and pliable and set a small amount aside to finish the decoration later.
Step 20
With the majority of the marzipan, blend in the green food colouring paste to achieve a consistent colour and then roll out a piece large enough to cover the entire cake.
Step 21
Remove the cake from the fridge and cover immediately with the green marzipan.
Step 22
Use the side of your finger or a modelling tool to gently indent a tennis ball pattern around the cake.
Step 23
Roll out your extra piece of white marzipan into a long rope, then place this into the indentation using a little water to stick in place.