Easter Nest Cake
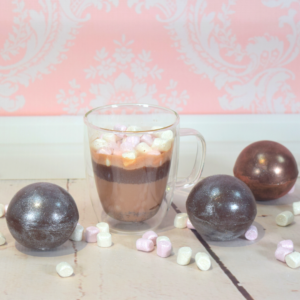
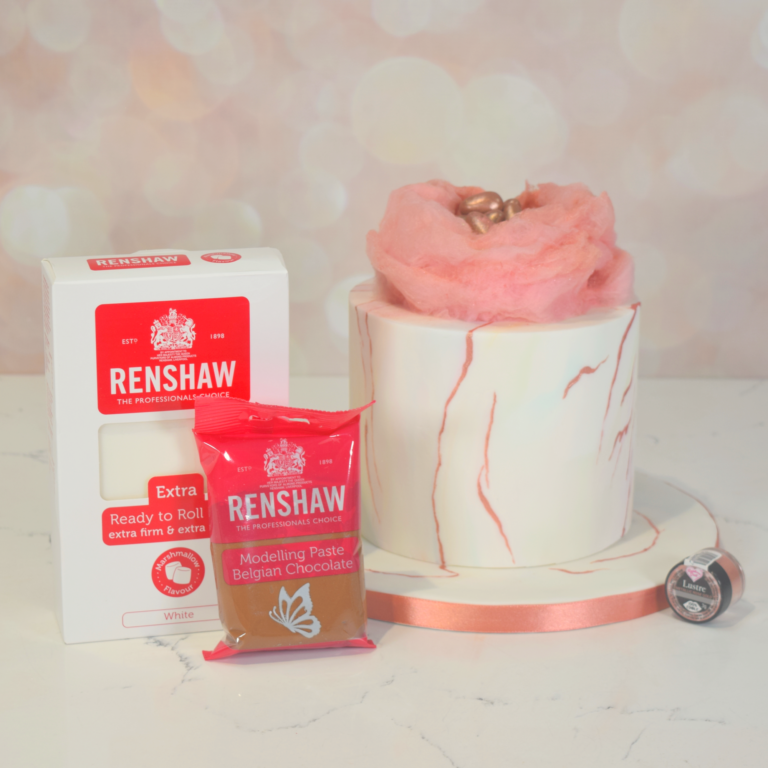
Easter is for candy, so we’ve loaded up this brand new cake with it. This gorgeous new cake is complete with candy floss, chocolate mini eggs and our delightful Extra Marshmallow Sugarpaste – sure to be any kid’s dream (and most adults, if we’re honest).
Note: The candy floss will start to dissolve almost immediately so should be made just before serving. Alternatively, keep airtight in a grip seal bag for up to one week.
Uploaded by Aaron Akpojaro
Decorating ingredients
- 1 kg Renshaw Extra Marshmallow Flavour Ready To Roll Icing
- 250 g Renshaw Ready To Roll Icing Pink
- 250 g Renshaw Ready To Roll Icing Dusky Lavender
- 250 g Renshaw Ready To Roll Icing Pastel Green
- 250 g Renshaw Ready To Roll Icing Baby Blue
- 250 g Renshaw Ready To Roll Icing Skin Tone
- 250 g Renshaw Ready To Roll Icing Pastel Yellow
- 250 g Renshaw Ready To Roll Icing Duck Egg Blue
- 180 g Renshaw Belgian Milk Chocolate Modelling Paste
- 400 g Renshaw Royal Icing Pot
- Rainbow Dust Lustre Rose Gold
- Rainbow Dust Edible Glue
- 6” round x 5” deep cake stacked, filled and coated with ganache
- For the candy floss: 50g Granulated Sugar, Rainbow Dust Powder Colour Strawberry
Renshaw products used
Email this recipe
Instructions
Prepare your equipment:
Step 1
You will need; Candy floss machine, skewer, knife, rolling pin, icing sugar, top and side smoothers, flexi smoothers, fine paintbrush, paint palette, rejuvenator spirit/dipping solution, dusting brush, grip seal bag, spatula, 10” round cake drum, spray bottle filled with cooled, boiled water, kitchen roll, cake decorating pump
Making the candy floss:
Step 2
Combine 50g granulated sugar and a light sprinkling of Strawberry Powder Colour into a grip seal bag and shake well until coloured.

Step 3
Follow usage instructions and prepare candy floss machine. Wind the candy floss around a skewer, twisting as you go. Pull apart and manipulate into a nest shape.

Decorating the cake:
Step 4
Knead 1kg Marshmallow Extra until smooth and pliable and pin out to a 6” circle, randomly press in small amounts of each pastel shade of Icing until mostly covered. Knead together briefly to marble. Pin out Icing until 2-3mm thick.

Step 5
Spritz the cake all over and adhere the Icing. Secure to the top edge and gently smooth down to the bottom with the palm of your hand, trimming any excess Icing. Smooth over the cake with the top and side smoothers, then sharpen the edges using the flexi smoothers. Cover the board using the excess Icing. Attach the cake to the cake drum using a little Royal Icing.
Step 6
Mix Rose Gold with rejuvenator spirit in a paint palette to make a paint. Using a fine paintbrush, paint in lines following the marble on the cake and cake board.

Step 7
Knead some Milk Chocolate Modelling Paste until smooth and pliable. Roll small balls and form them into egg shapes, make enough to fill the inside of your candy floss nest. Dust the eggs with Rose Gold using a dusting brush.

Step 8
Place Rose Gold Lustre in a pump and pump over the candy floss nest. Place the nest on top of the cake, securing with a little Edible Glue. Sit the eggs into the middle of the nest until full.

Top Tips:
Step 9
The candy floss will be a lighter shade than the coloured sugar, so colour the sugar a little deeper for desired pastel shade.
Step 10
When pinning out the marbled Paste, try flipping it over to see what marble pattern you prefer!