How To: Make Icing Flowers from Moulds
Tuesday 11th March 2014
Florally-shaped fondant always comes in good use when crafting a vintage cake, bouquet of cupcakes or elegant garden themed creations. We’ve already shown you how to perfect simple cutter created flowers, and now it’s the turn of the mighty flower mould.
On first appearance, they’re tricky to master, but a few hints and tips from our very own Claire Bailey will see you turning out the immaculate moulded flowers in no time. All you need is your chosen colour of ready to roll icing, a sugar craft rolling pin, the flower mould you want to use and a ball tool, and you’re good to go!
Flower Moulds
1. Knead the Ready to Roll Icing until soft and pliable on a clean dry work surface lightly dusted with icing sugar.
Mix your icing with flower and modelling paste or add gum tragacanth or CMC before rolling to help the icing set firm once rolled out, cut and shaped.


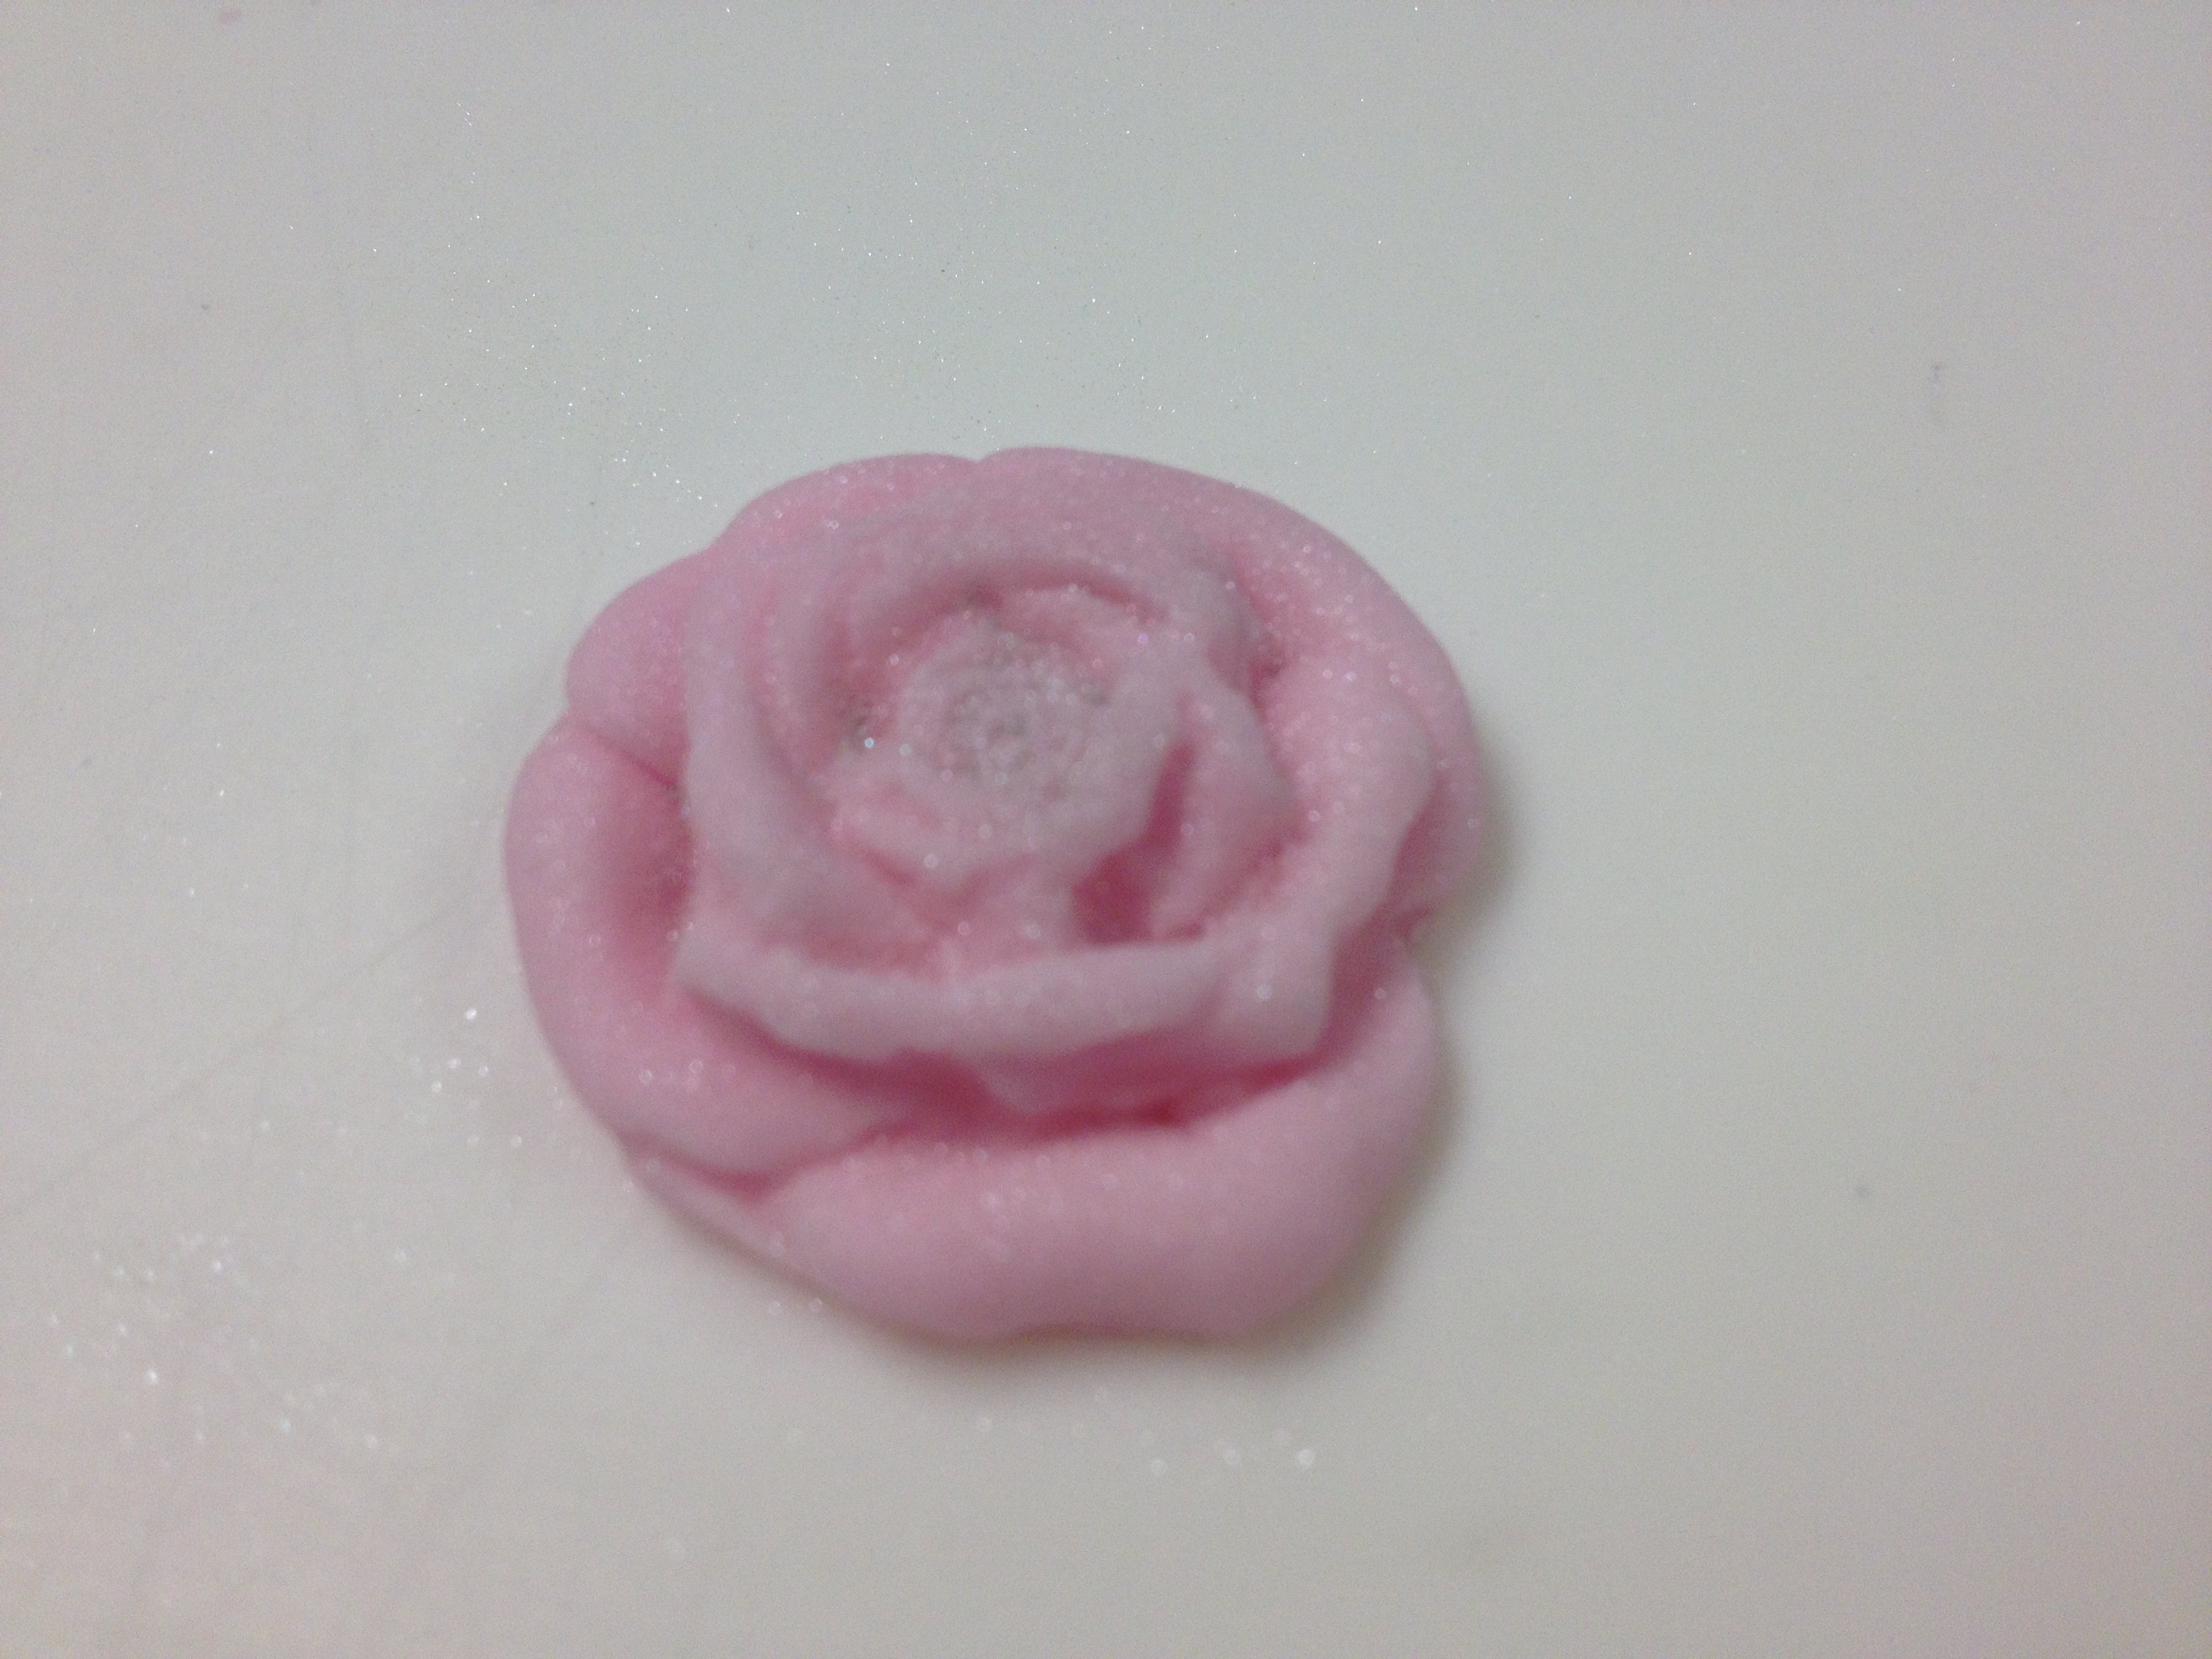
2. Take enough icing or paste to fill your chosen mould and roll into a ball.


3. Press the icing into the silicone mould, using a small amount of icing sugar in the crevices of the mould if the icing is sticking.

4. Gently flex the mould to release the flower.

5. Leave to set.
Use coloured powders, lustre dusts or edible glitter to decorate, applying to the modelled flowers with a dry brush and leave to dry.

6. Place on the cake or cupcake, sticking down with a little cooled boiled water.

Feeling inspired to try your first flower cake? How about something simple like these florally adorned butterfly cupcakes, or being a little more adventurous with our flower cake?