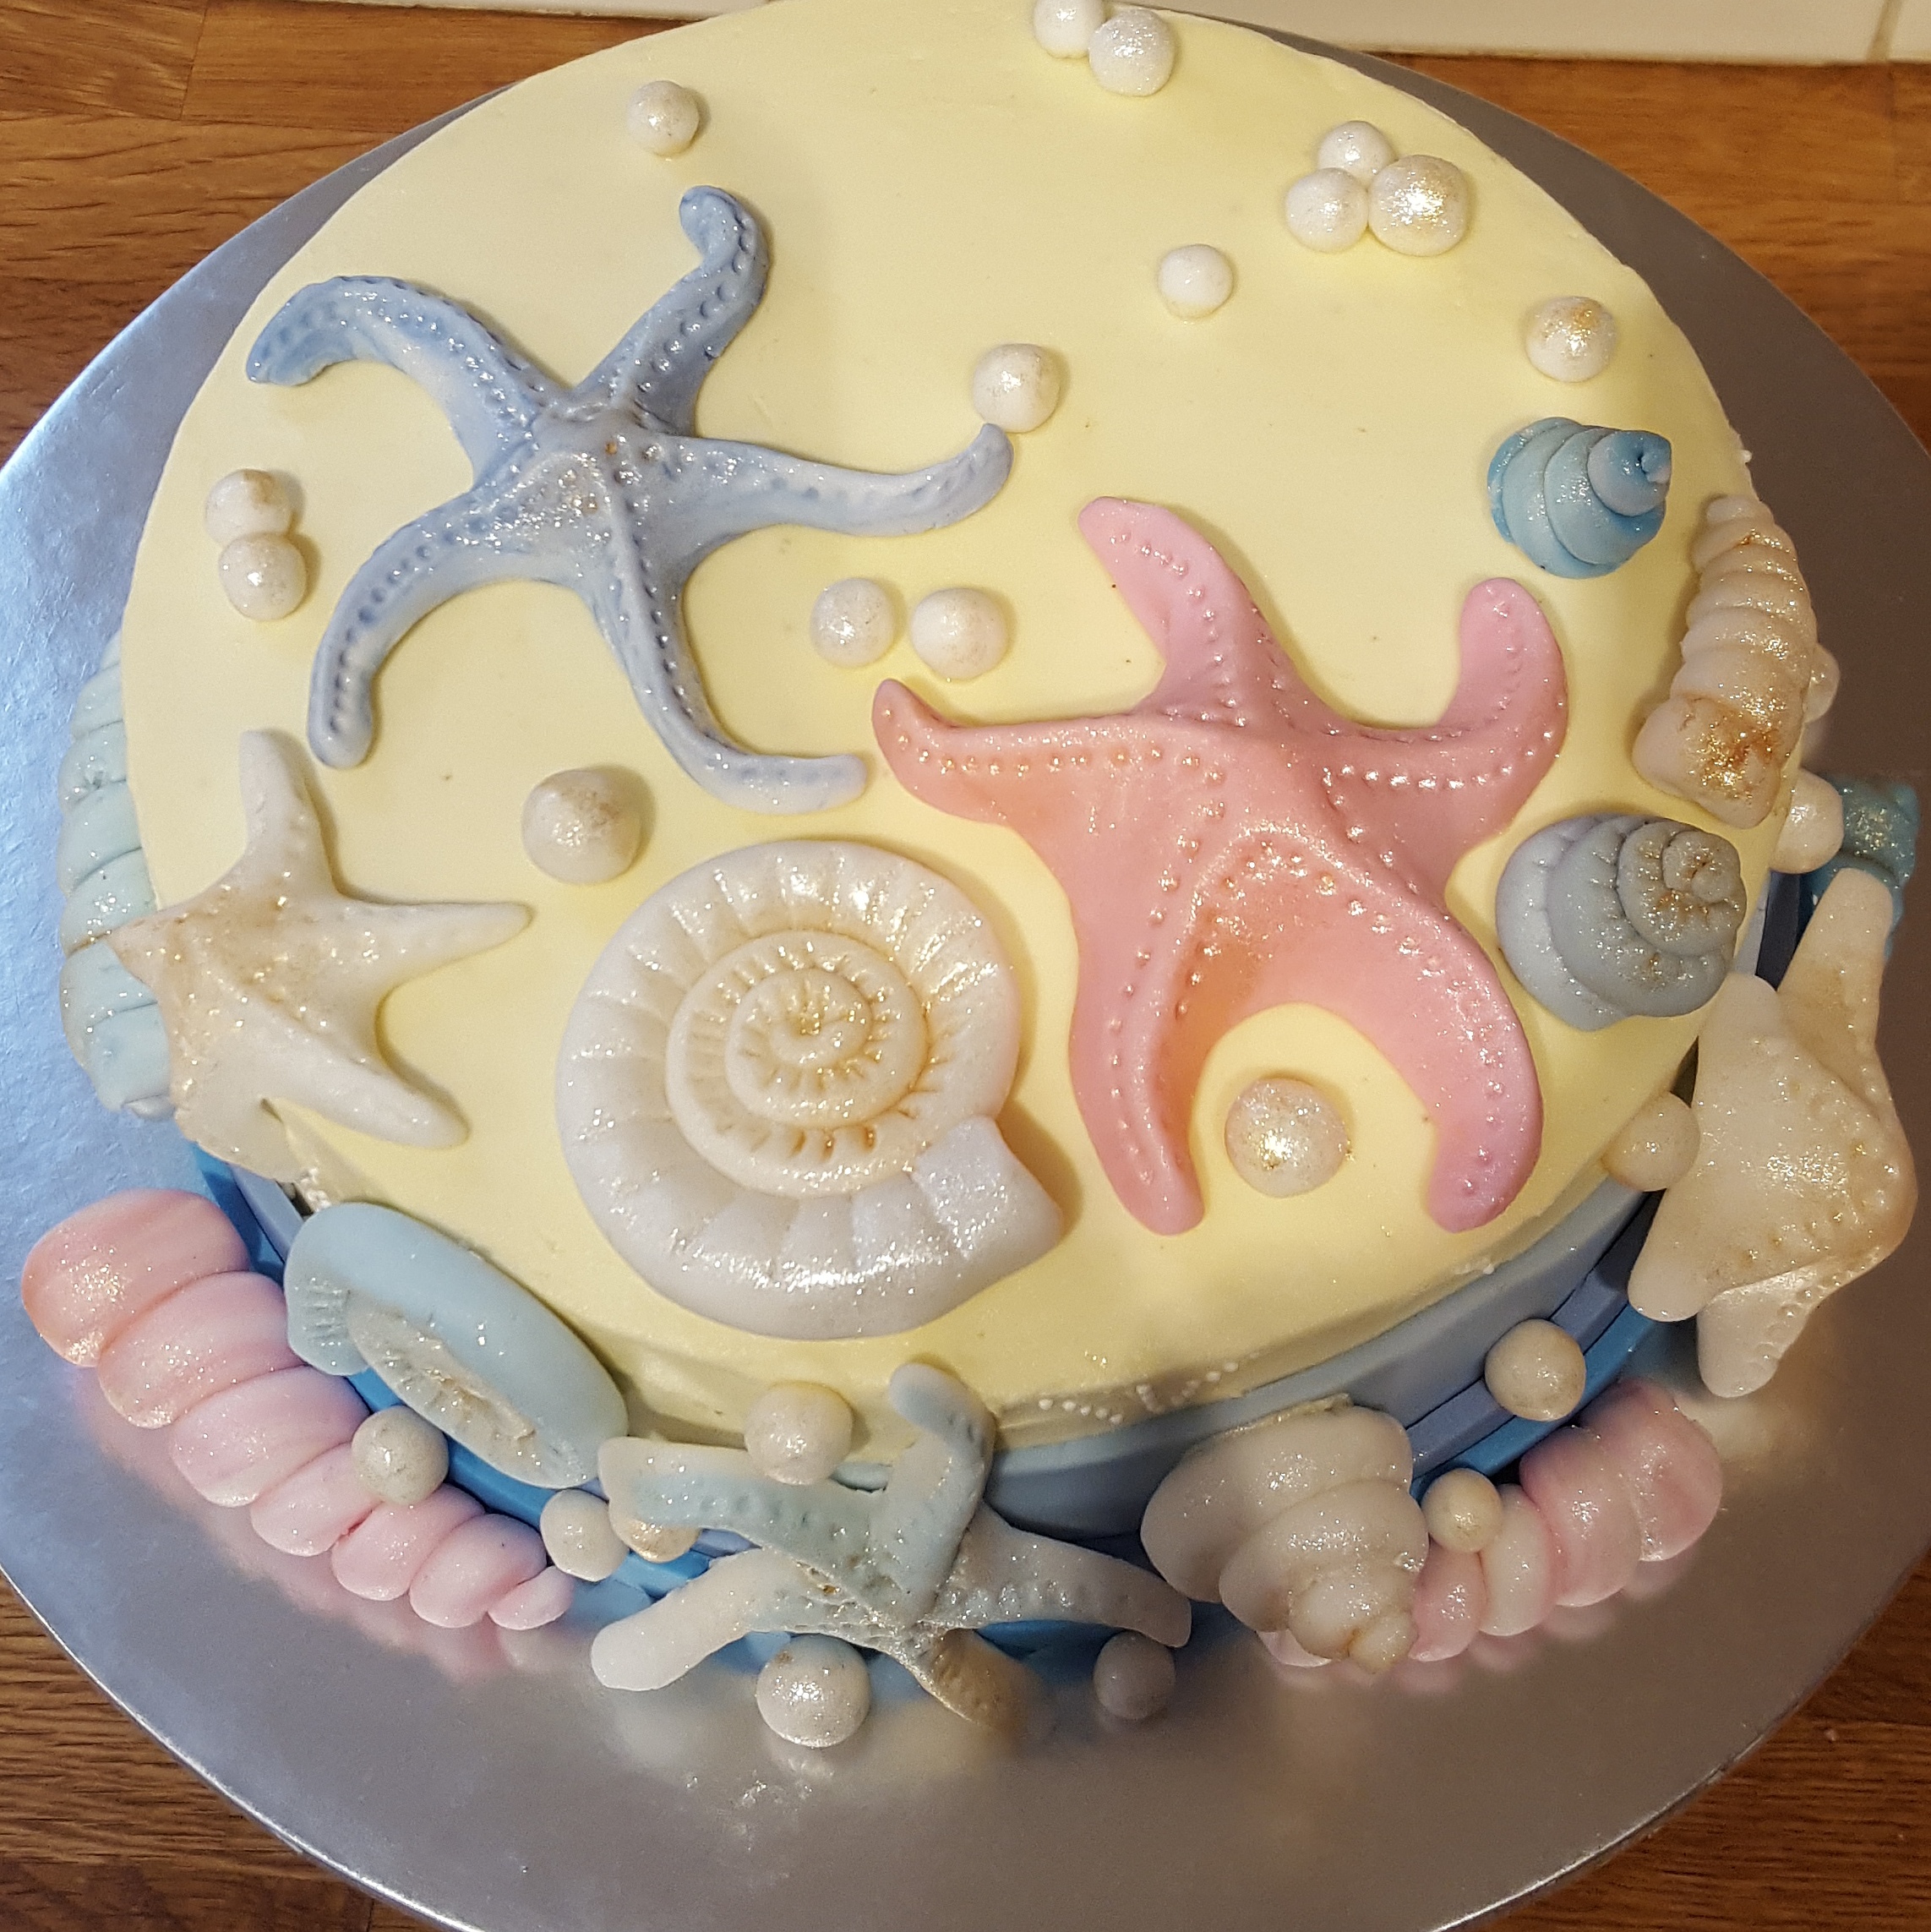
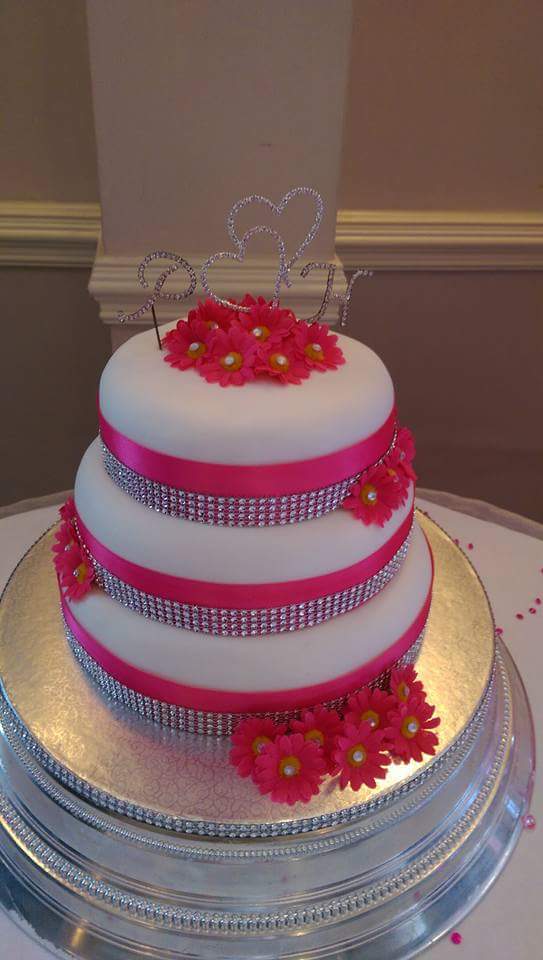
Seashell Wedding Cake
Three tiered seashell wedding cake for a beach wedding, made with Renshaw Ready to Roll Icing.
Recipe by Lucy May
Uploaded by Lucy
Time to make
Skill Level
Intermediate
Serves
70 people
Baking ingredients
- 10 inch jam filled Vanilla Madeira Cake
- 8 inch ganache filled Chocolate Madeira Cake
- 6 inch jam filled Vanilla Madeira Cake
Decorating ingredients
- 3 kg Renshaw White Ready to Roll Icing
- 500 g Renshaw Skin Tone Ready to Roll Icing
- 500 g Renshaw Baby Pink Ready to Roll Icing
- Shimmer Spray
- Buttercream (Lots of)
Renshaw products used


Email this recipe
Instructions
Step 1
Firstly, knead and roll out about 250g of the white ready to roll icing and cover a 14 inch cake drum. Smooth down and them trim the edges. Leave to dry and then spray with a light layer of the shimmer spray and again leave to dry.
Step 2
Place each of the three cakes onto an appropriately sized thin cake board. Cover each filled cake with a layer of buttercream and set aside.
Step 3
Split the white icing into three, approximately 500g for the small cake, 800g for the medium cake and 1200g for the largest cake.
Step 4
Knead the icing, dust the work surface with icing sugar and roll out with a large non stick rolling pin. With each roll pick up the icing and move around one turn, this will stop it sticking but also ensure it rolls out evenly. Carefully pick the rolled icing by rolling it lightly around the rolling pin and layer over the cake. Carefully and quickly smooth the icing out working from the top to the bottom. Using a cake smoother, smooth completely around the edges and top very lightly to even out any bumps. Repeat these steps with all of the cakes and then set aside.
Making the seashells! (The best bit):
Step 5
For the seashells, mix together one pack of baby pink and one pack of skin tone ready to roll icing. I like to leave it so that the colours are not completely mixed together creating a nice coloured effect for the finish of the shells.

Step 6
I chose to use a variety of cake moulds to get as much variation of the shells as possible. I find these moulds amazing to use and they give an amazing effect. Dust the surface of each mould with a small amount of icing sugar to stop any sticking. Push the prepared ready to roll icing one at a time into each indentation in the mould and carefully pull back out.

Step 7
Set aside each shell to dry after you've finished. Complete this until you have as many shell as possible. It takes a lot to cover a three tiered cake... but I didn't count!

Step 8
Once the shells have all dried, spray with a small out of the shimmer spray, I used just enough to give a slight pearly shimmer to the shells. Pop the shells aside ready to decorate the cake later.

Assembling the cake:
Step 9
Put a small amount of buttercream onto the cake board and carefully place the largest cake into the centre. Into the top of this cake carefully push four cake dowels in and trim to size. Again, place a small amount of buttercream and carefully place the medium cake on top. Repeat this step for the last tier of the cake. Time to get the trusty shimmer spray out again and apply a small coating to the entire cake. Try not to spray your whole kitchen silver, but don't worry if you do as it cleans off easily.
Step 10
Make sure someone takes a really cheesey photo of you with your creation so that you can treasure it forever. :)
")