Paw Patrol Birthday Cake
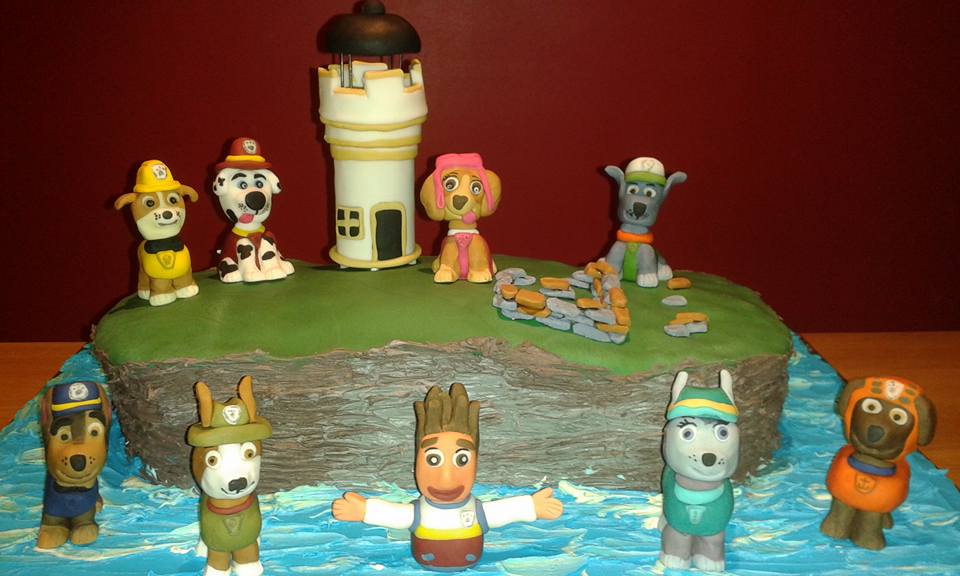
Our son Robbie turned 5 on 4th March and loves the cartoon Paw Patrol. He also loves visiting our local Beach in the parish of Birsay, locally known as The Brough Of Birsay so he decided he wanted the Paw Patrol Pups to save the Brough Of Birsay… for his birthday cake! So here it is! The cake itself is a simple sponge recipe and it took 6 sponges to make the Brough. Each sponge was sandwiched together with raspberry jam and smothered in coloured butter cream icing to recreate the cliff edges and a layer of Renshaw fondant icing for the grass on top. The lighthouse, stone age settlement stones and all the pups and boy were made from Renshaw icing.
Recipe by Debbie Delday
Uploaded by Debbie Delday
Skill Level
Intermediate
Serves
20 people
Decorating ingredients
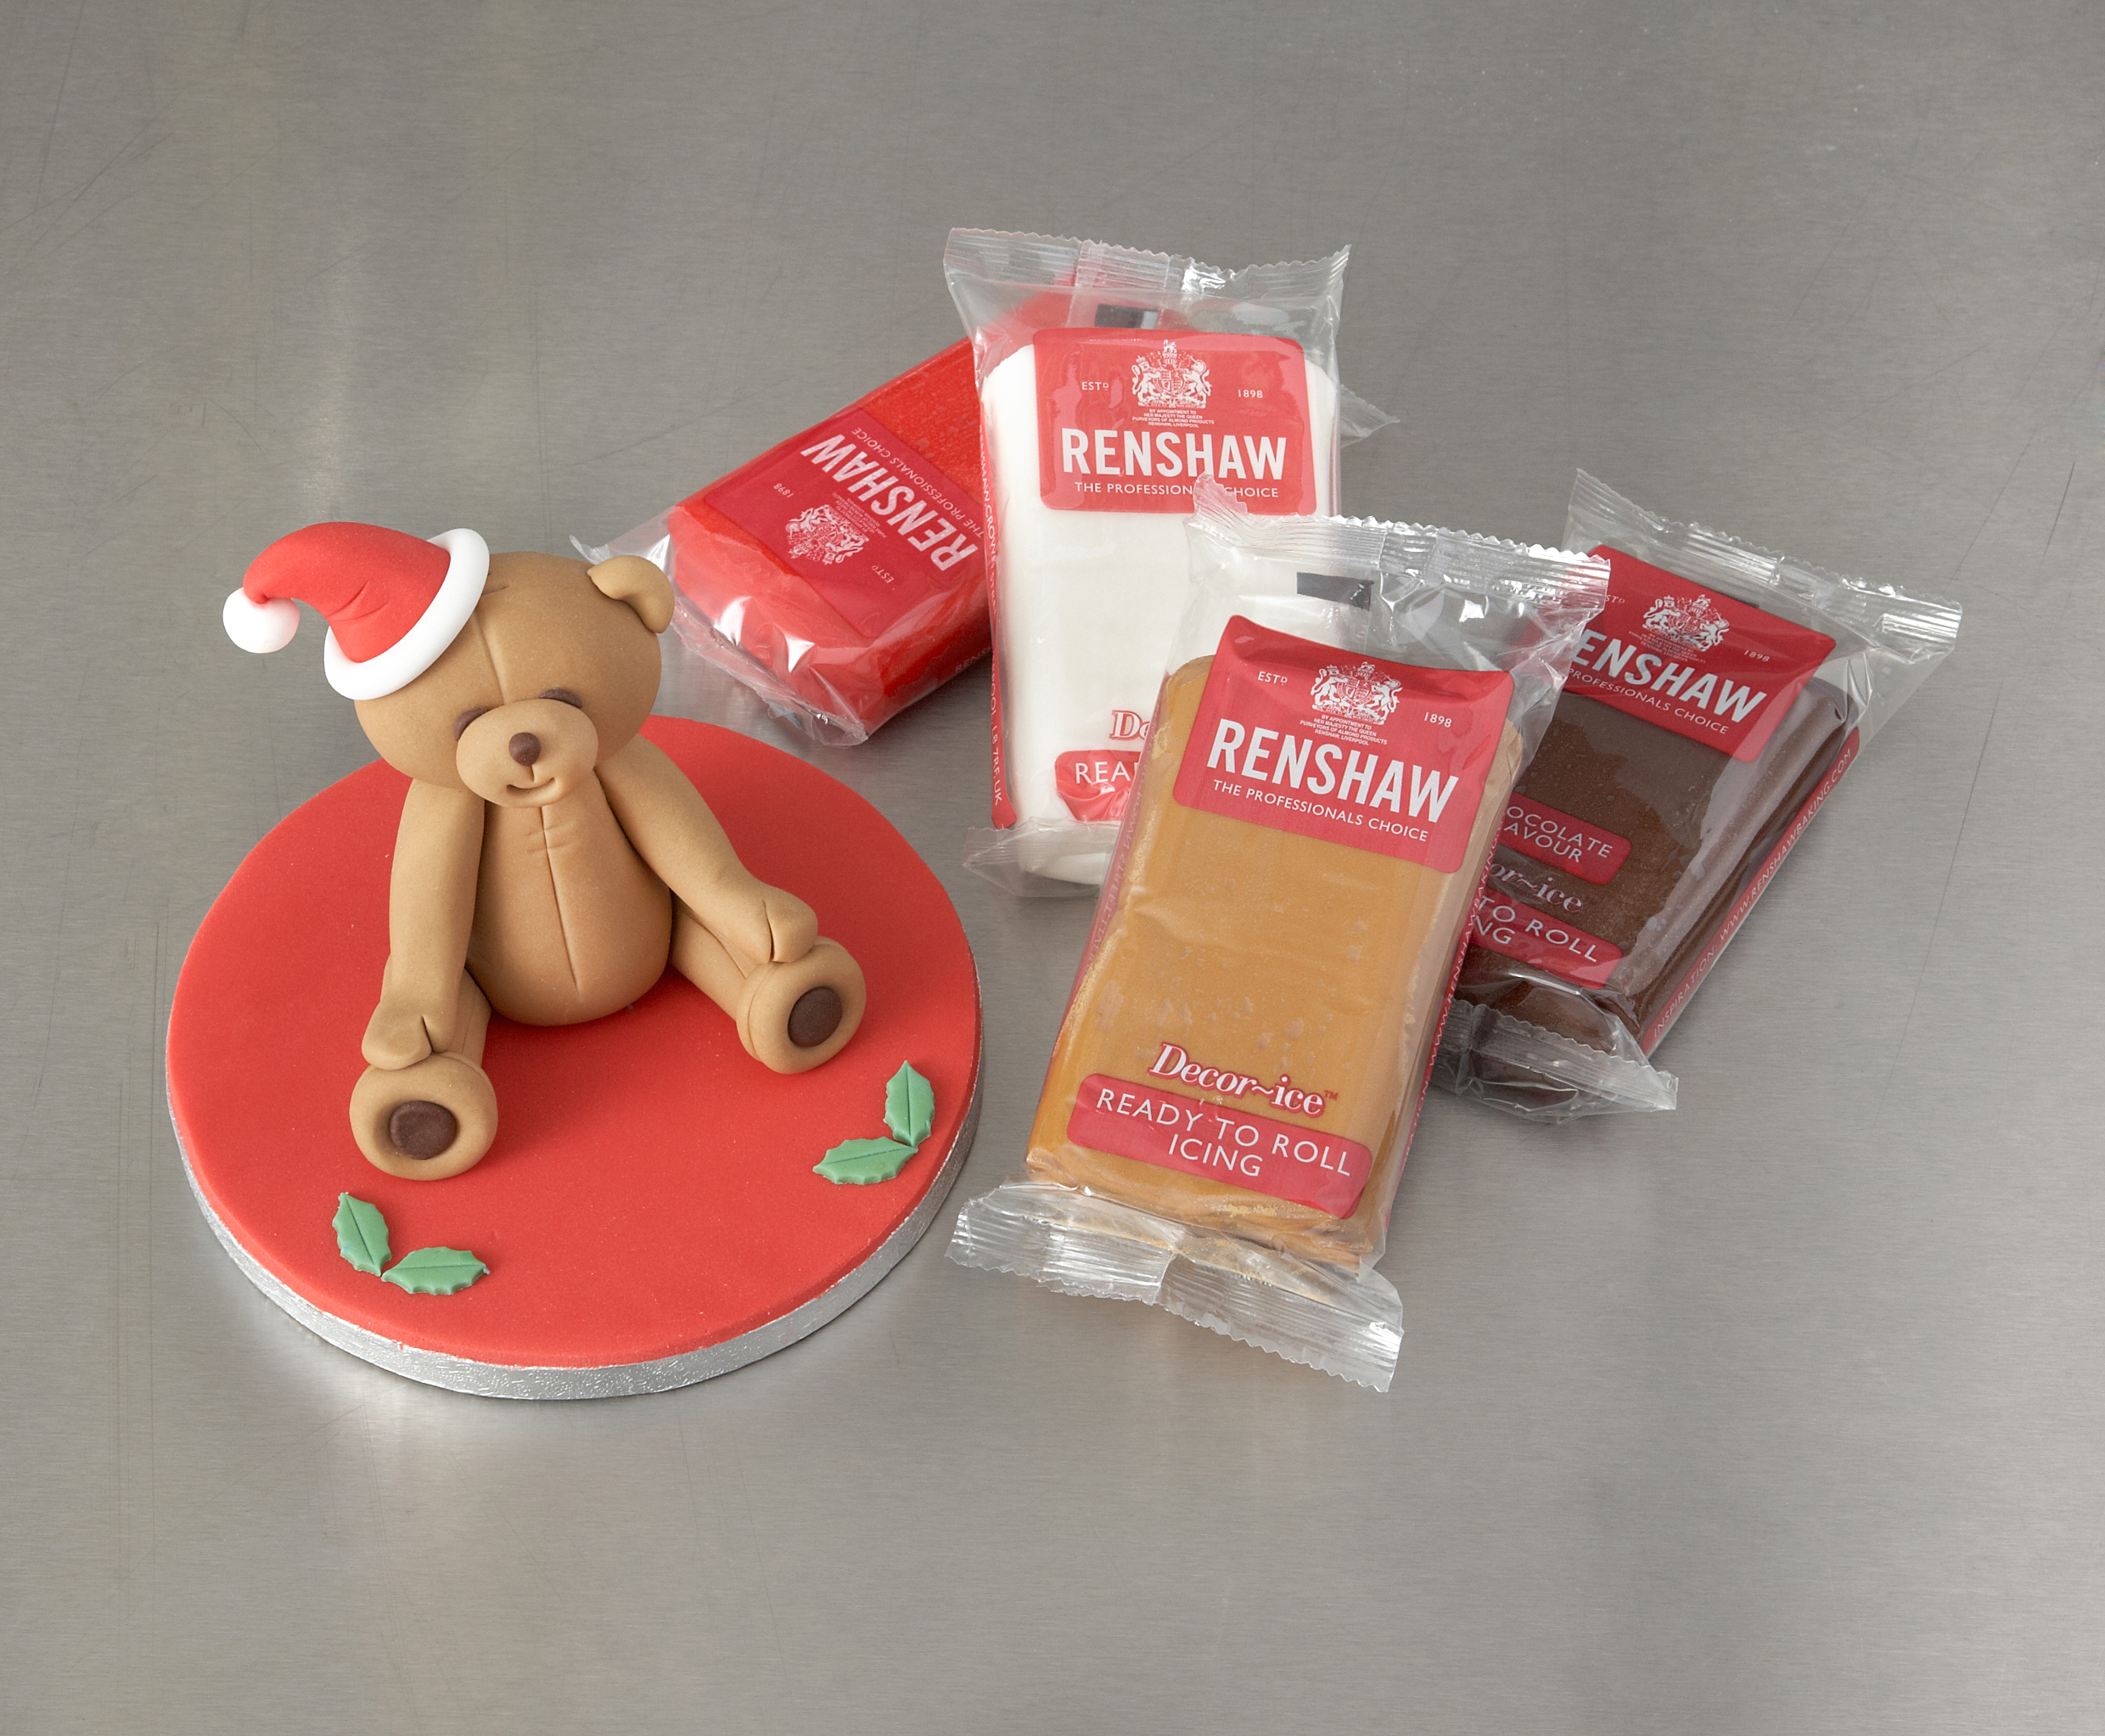
- Various colours of Renshaw Ready to Roll Icing
- 2 edible icing pens
Renshaw products used


Email this recipe
Instructions
Preparing the cake:
Step 1
Bake your chosen flavour of sponge for the cake, enough for the size of cake you'd like to make. For this cake, 6 square sponges where baked and sandwiched together to make a 3-layer rectangle with jam and buttercream.
Step 2
Use food gels to colour buttercream for the grass and stone walls around the sponge, and for the sea effect on the board.
Modelling the Paw Patrol dogs:
Step 3
Prepare the colours of Renshaw Ready to Roll Icing you need for the Paw Petrol dogs that you are making, as well as white icing and food colour gels for creating any more colours. If you want your models to have a firmer set, use Flower and Modelling Paste to create them. You could also mix one part Ready to Roll Icing to one part Flower Paste.

Step 4
Print out pictures of the Paw Patrol dogs that you are making to help you as a guide along the way.
Step 5
Knead your icing before use so that it's pliable and no cracks appear in the surface. Keep your spare icing that you're not using yet wrapped up so that it doesn't dry out.
Step 6
When modelling the Paw Patrol figures, each shape can be started out by rolling a ball shape with roughly the amount of icing you'll need. The ball shapes can they be adapted easily to what you need.
Step 7
To model the body shape, start by rolling a ball of icing. If the dog will be standing up, gently roll the ball back and forth with the palm of your hand so that it creates an oval shape. If the dog will be sitting down, take the ball of icing and cupping your hands in a V shape, gently roll it back and forth until it forms a cone or egg shape. The thinner end will be the neck at the top.

Step 8
Depending on the colour of the dog's Paw Patrol uniform, it's best to model the body in that colour, rather than trying to add the outfit later on. The legs and head can be modelled in the colour of the fur.
Step 9
To model the legs, roll a ball of icing into an oval shape, then continue to roll back and forth across your work surface so that it makes a sausage shape. You may be able to make several legs from one sausage shape. Measure the length and width against the body to get the proportions right.
Step 10
Cut the legs to size with a sharp knife. For the edge that will sit against the body, cut it at an angle so that it sits more smoothly.
Step 11
Turn the legs up slightly at the ends to create paws. Stick the legs to the body with a little cooled boiled water then add paw marks in using a Dresden tool or similar.
Step 12
To model the heads, continue to elongate one half of an oval of icing for the muzzle, then slightly flatten and turn up the wider part of the head. Alternatively you could use a ball of icing and gently work the icing out with your hands to create the muzzle.

Step 13
Use a balling tool or your thumbs to gently press in eye sockets. Use a modelling tool or a knife to mark in the mouth.
Step 14
Roll two small balls of your fur coloured icing into tear drop shapes and flatten slightly to make ears. Stick these to the sides of the head with a little water.
Step 15
Use balls of white icing for the eyes then layer up with the correct eye colours that you need with icing, but keep the icing to a minimum so that the eyes don't bulge too much. Use the colour of icing you need to make a small nose and stick this to the front of the muzzle with a little water.
Step 16
Model your tails to match your printed picture of the Paw Patrol figure and stick to the back of the body with a little water.
Step 17
Attach the head to the body using a little water, or you can insert dried spaghetti sticks into the body to support the weight of the head. Trim the spaghetti stick so that it doesn't poke through the top of the head.
Step 18
Once the figures have set (preferably overnight) you can add details like pupils and eyelashes, or uniform designs using edible pens or paints.
 you can add details like pupils and eyelashes, or uniform designs using edible pens or paints.")
Step 19
Place the figures around your cake and board and your birthday cake is complete and ready to eat!