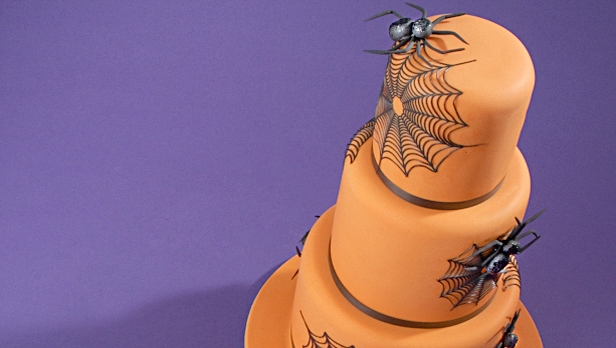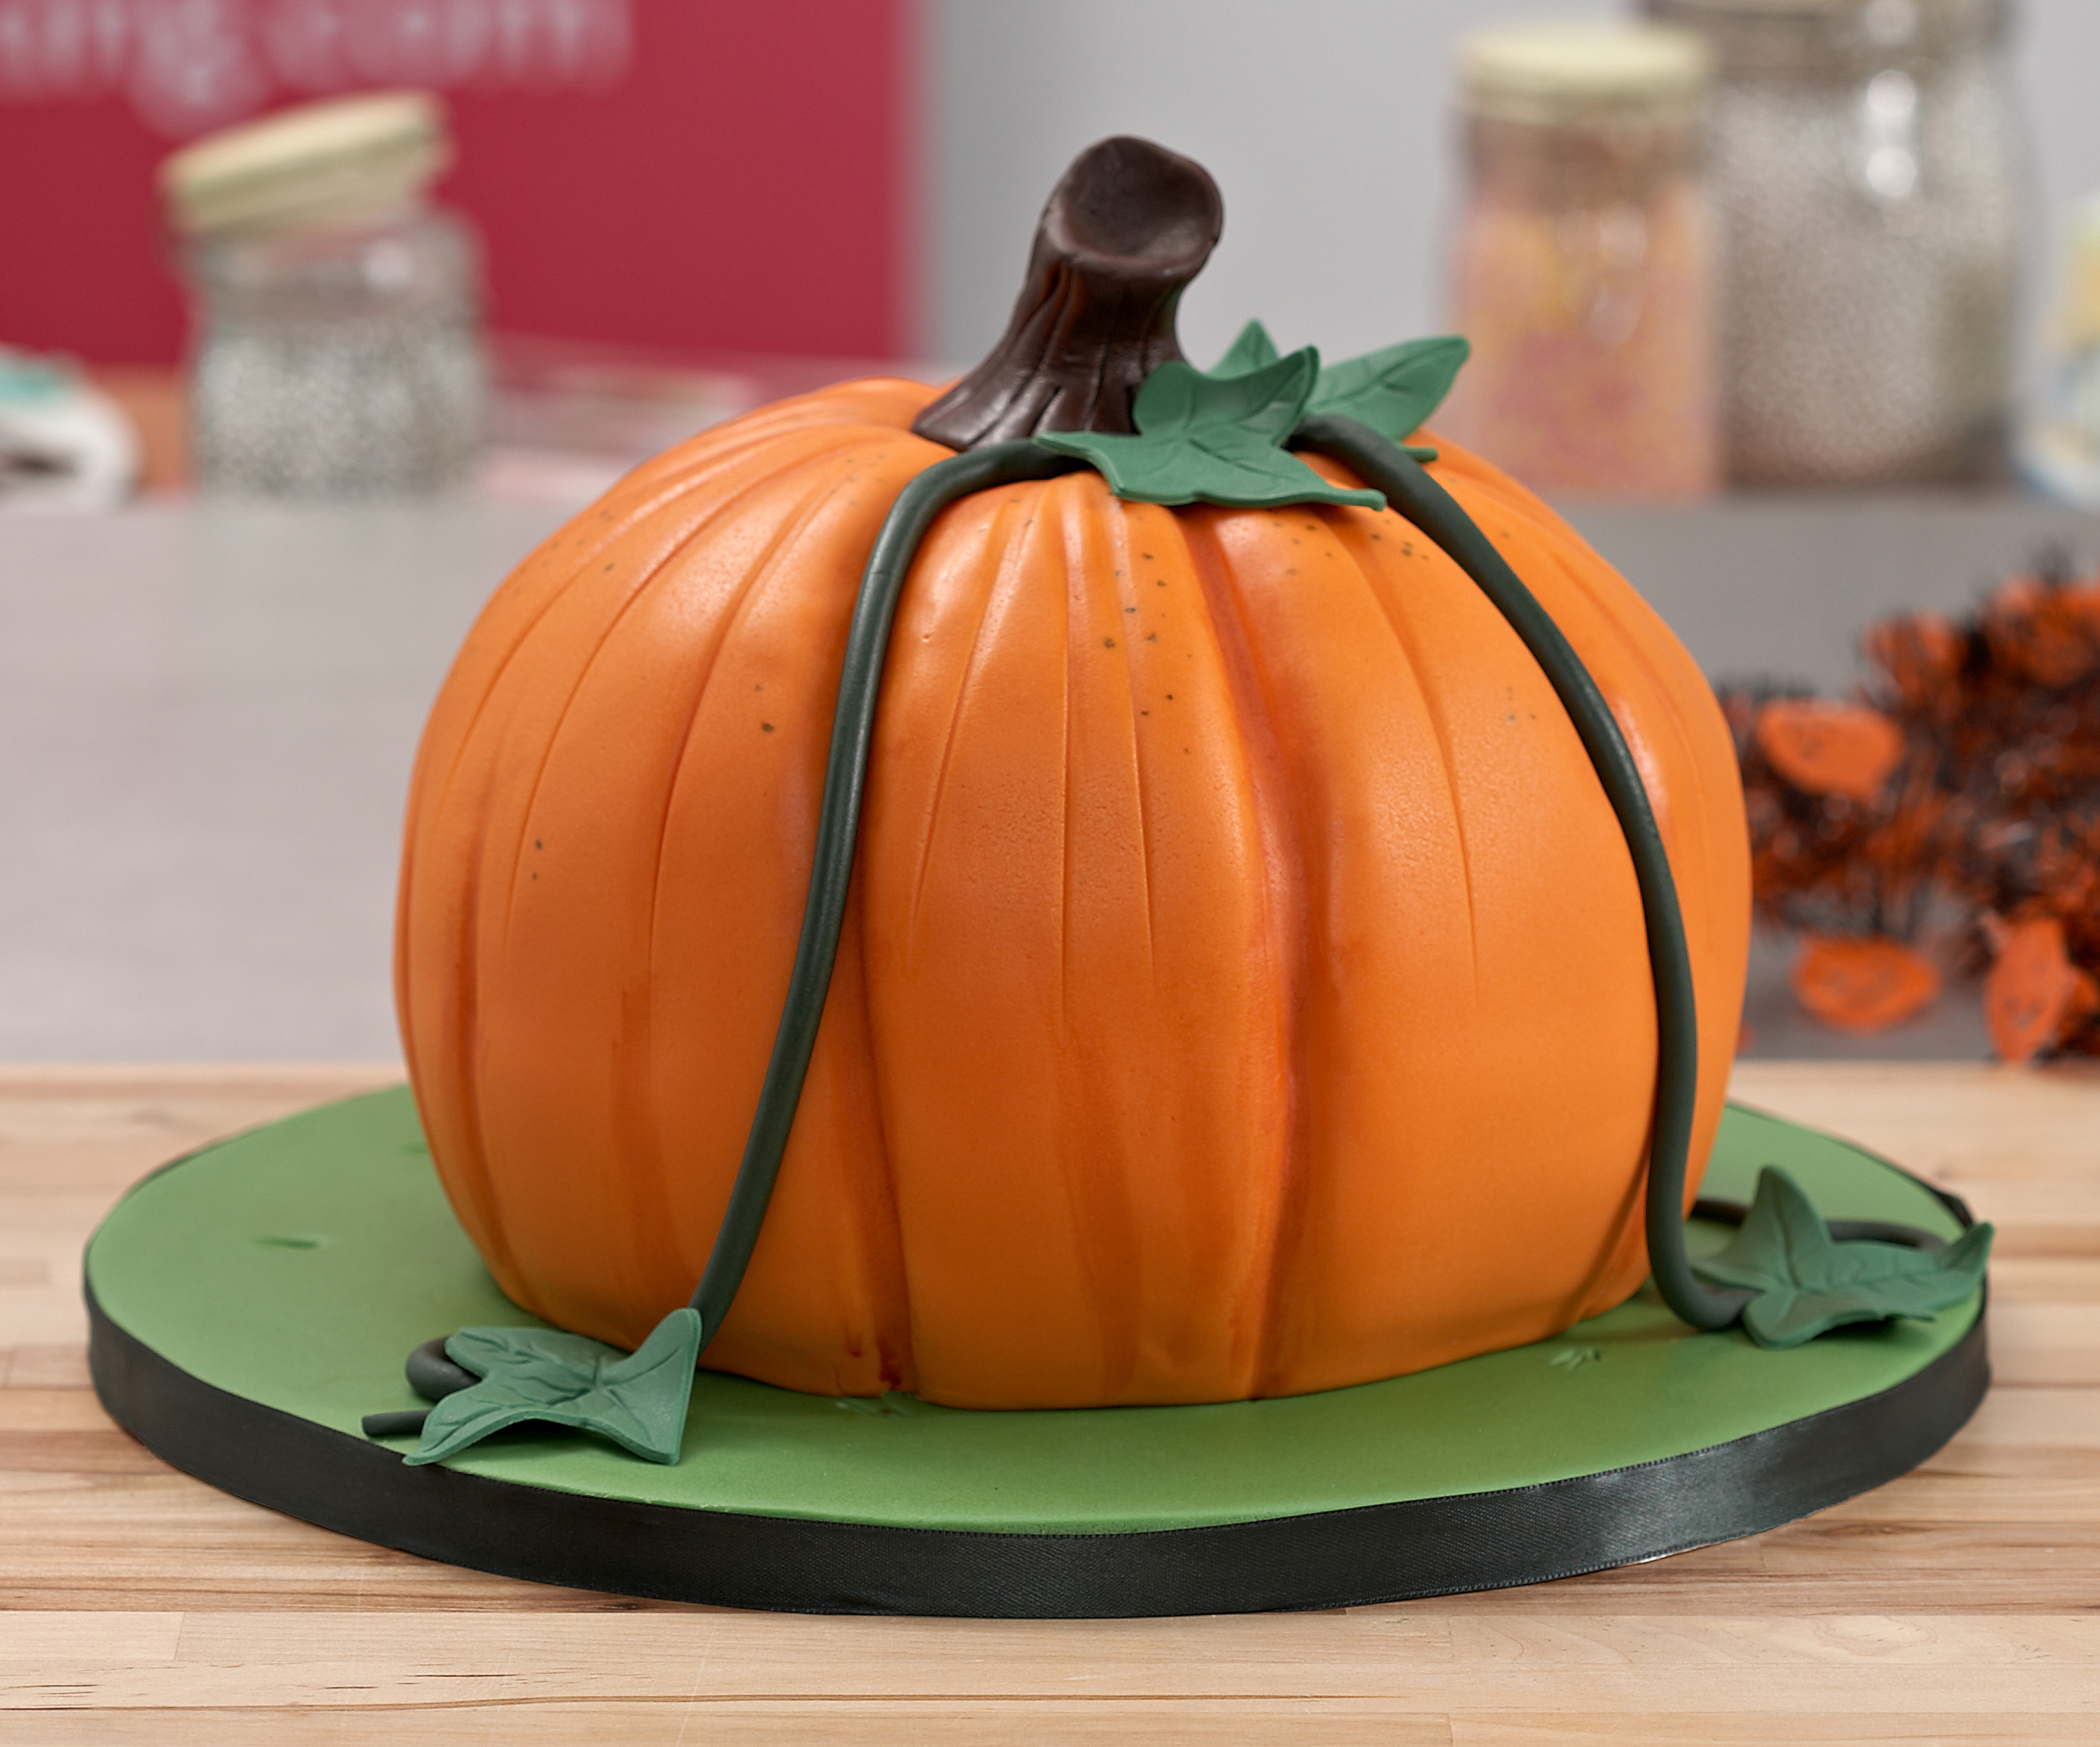
How to Carve and Decorate a Pumpkin Cake
Uploaded by Kayleigh McDonough
Decorating ingredients
- 2 10
- Jam
- Buttercream
- 15 kg Renshaw Tiger Orange Ready to Roll Icing
- 250 g Renshaw Chocolate Flavour Ready to Roll Icing
- 750 g Renshaw Lincoln Green Ready to Roll Icing
- 250 g Renshaw Leaf Green Flower and Modelling Paste
- Royal icing
- Icing sugar
- Cooled boiled water
- Sugar glue

Instructions
Equipment to carve and layer:
Step 1
12" round cake board
Step 2
6" round cake card
Step 3
Carving knife
Step 4
Chopping board
Step 5
Small paring knife
Equipment to decorate:
Step 6
Palette knife
Step 7
Water brush
Step 8
Rolling pin
Step 9
Smoother
Step 10
Dresden tool
Step 11
Dried spaghetti
Step 12
Large Ivy leaf cutter
Step 13
Medium flat brush
Step 14
Small pointed brush
Step 15
Turntable
Decorating Instructions - Carving:
Step 16
Bake two 10" Madeira sponge cakes and allow to cool.
Step 17
Using the carving knife level the top of one of the cakes. Keeping the domed shape, remove the skin from the top of the second cake.
Step 18
Place the domed cake on top of the levelled cake.
Step 19
Begin to trim around the base at an angle so the base tapers inwards.
Step 20
Next remove the harsh edge from the top of the domed cake, so the top blends in smoothly with the sides and creates a rounded shape.
Step 21
Remove the very top of the dome and using the small paring knife cut a small dip in the middle.
Step 22
Again using the paring knife create 5-7 vertical ridges from the dip on the top down the sides to the base. Make the ridges about ½" deep. Make the first cut down with the knife at a slight angle then make the second cut with the same technique but angle the knife towards the first cut so that the piece removed is a triangle shape.
Step 23
Smooth all over and remove any rough and angular edges.
Step 24
Cut horizontally through the sponges with the carving knife to create two extra layers and place the pumpkin on the 6"round cake card.
Step 25
Layer up the sponge with jam and buttercream.
Step 26
Coat the outside of the cake with a thin layer of buttercream. Set to one side.
Decorating:
Step 27
On a clean, dry surface knead the Lincoln Green Icing until soft and pliable.
Step 28
Dust the surface with icing sugar. Roll out the green icing an inch bigger than the 12" board.
Step 29
Brush the board with water.
Step 30
Lift the icing over the rolling pin and cover the board. Smooth down with a smoother.
Step 31
Trim off the excess icing with the paring knife. Wrap the excess sugarpaste in a food bag and put to one side, until later.
Step 32
Using the thin end on the Dresden tool mark some blades of grass. Put the board to one side.
Step 33
On a clean dry surface knead the Tiger Orange Icing until soft and pliable.
Step 34
Dust the surface with icing sugar and roll out the orange icing. Lift the icing over the rolling pin and cover the pumpkin cake.
Step 35
Smooth down all over and use your little finger to gently ease the icing into the ridges. Trim the excess icing from around the base of the cake. Mark additional lines on the surface with a Dresden tool.
Step 36
Put a small amount of Royal Icing in the middle of the covered cake board. Transfer the pumpkin cake and set position.
Step 37
In a palette let down some orange food colouring. With a flat brush dab the colour in the ridges.
Step 38
Using green food colouring paint some green freckles on the surface.
Step 39
Knead 1/2 the Chocolate Flavoured Icing until soft and pliable. Shape into a cone and cut the base at an angle. Press your thumb in the base and soften and shape the edges.
Step 40
Put 3 pieces of dried spaghetti in the dip of the pumpkin about 1cm apart in a triangle shape.
Step 41
Make sure the spaghetti is no longer than the stalk. Place the stalk on the spaghetti until it is concealed. Mark the stalk with the thin end of the Dresden tool to create a bark effect.
Step 42
Knead the Leaf Green Flower and Modelling Paste until pliable and either using Treks or cornflour roll out the paste thinly. Use the Ivy leaf plunger cutter to make 8- 10 leaves. Allow the leaves to firm up on a foam former or some crumpled greaseproof paper.
Step 43
To make vines, knead the Lincoln Green Icing (that was set aside from before). Shape into 3 ropes, 30cm long and tapered at one end. Brush a little water down one side of each vine. Curl the vine round on the board and bring up the side to the stalk. Trim off the excess at an angle and smooth down towards the cake so it is attached.
Step 44
Attach the leaves to the vines using a little sugar glue.