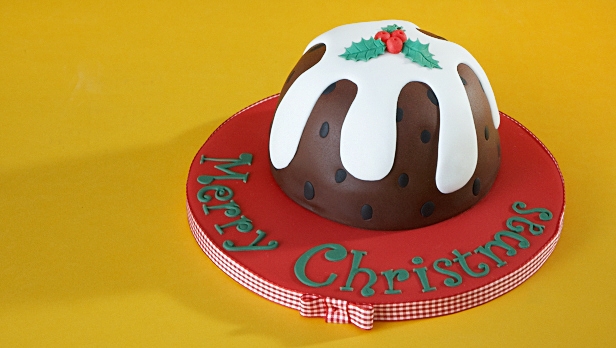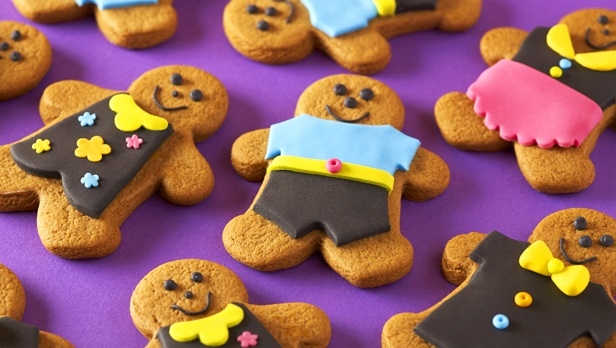
Gingerbread Men Recipe
Dress your traditional gingerbread men up this year in decorative Christmas jumpers. You could make them for all the family.
Uploaded by Kayleigh McDonough
Serves
4 people
Baking ingredients
- 300 g strong plain flour
- 1 tsp mixed spice
- 2 tsp ground ginger
- 1 egg yolk
- 90 ml golden syrup - melted
- 60 g dark brown sugar
- 60 g butter
- 2 tsp bicarbonate of soda - dissolved in 2 teaspoons of cold water
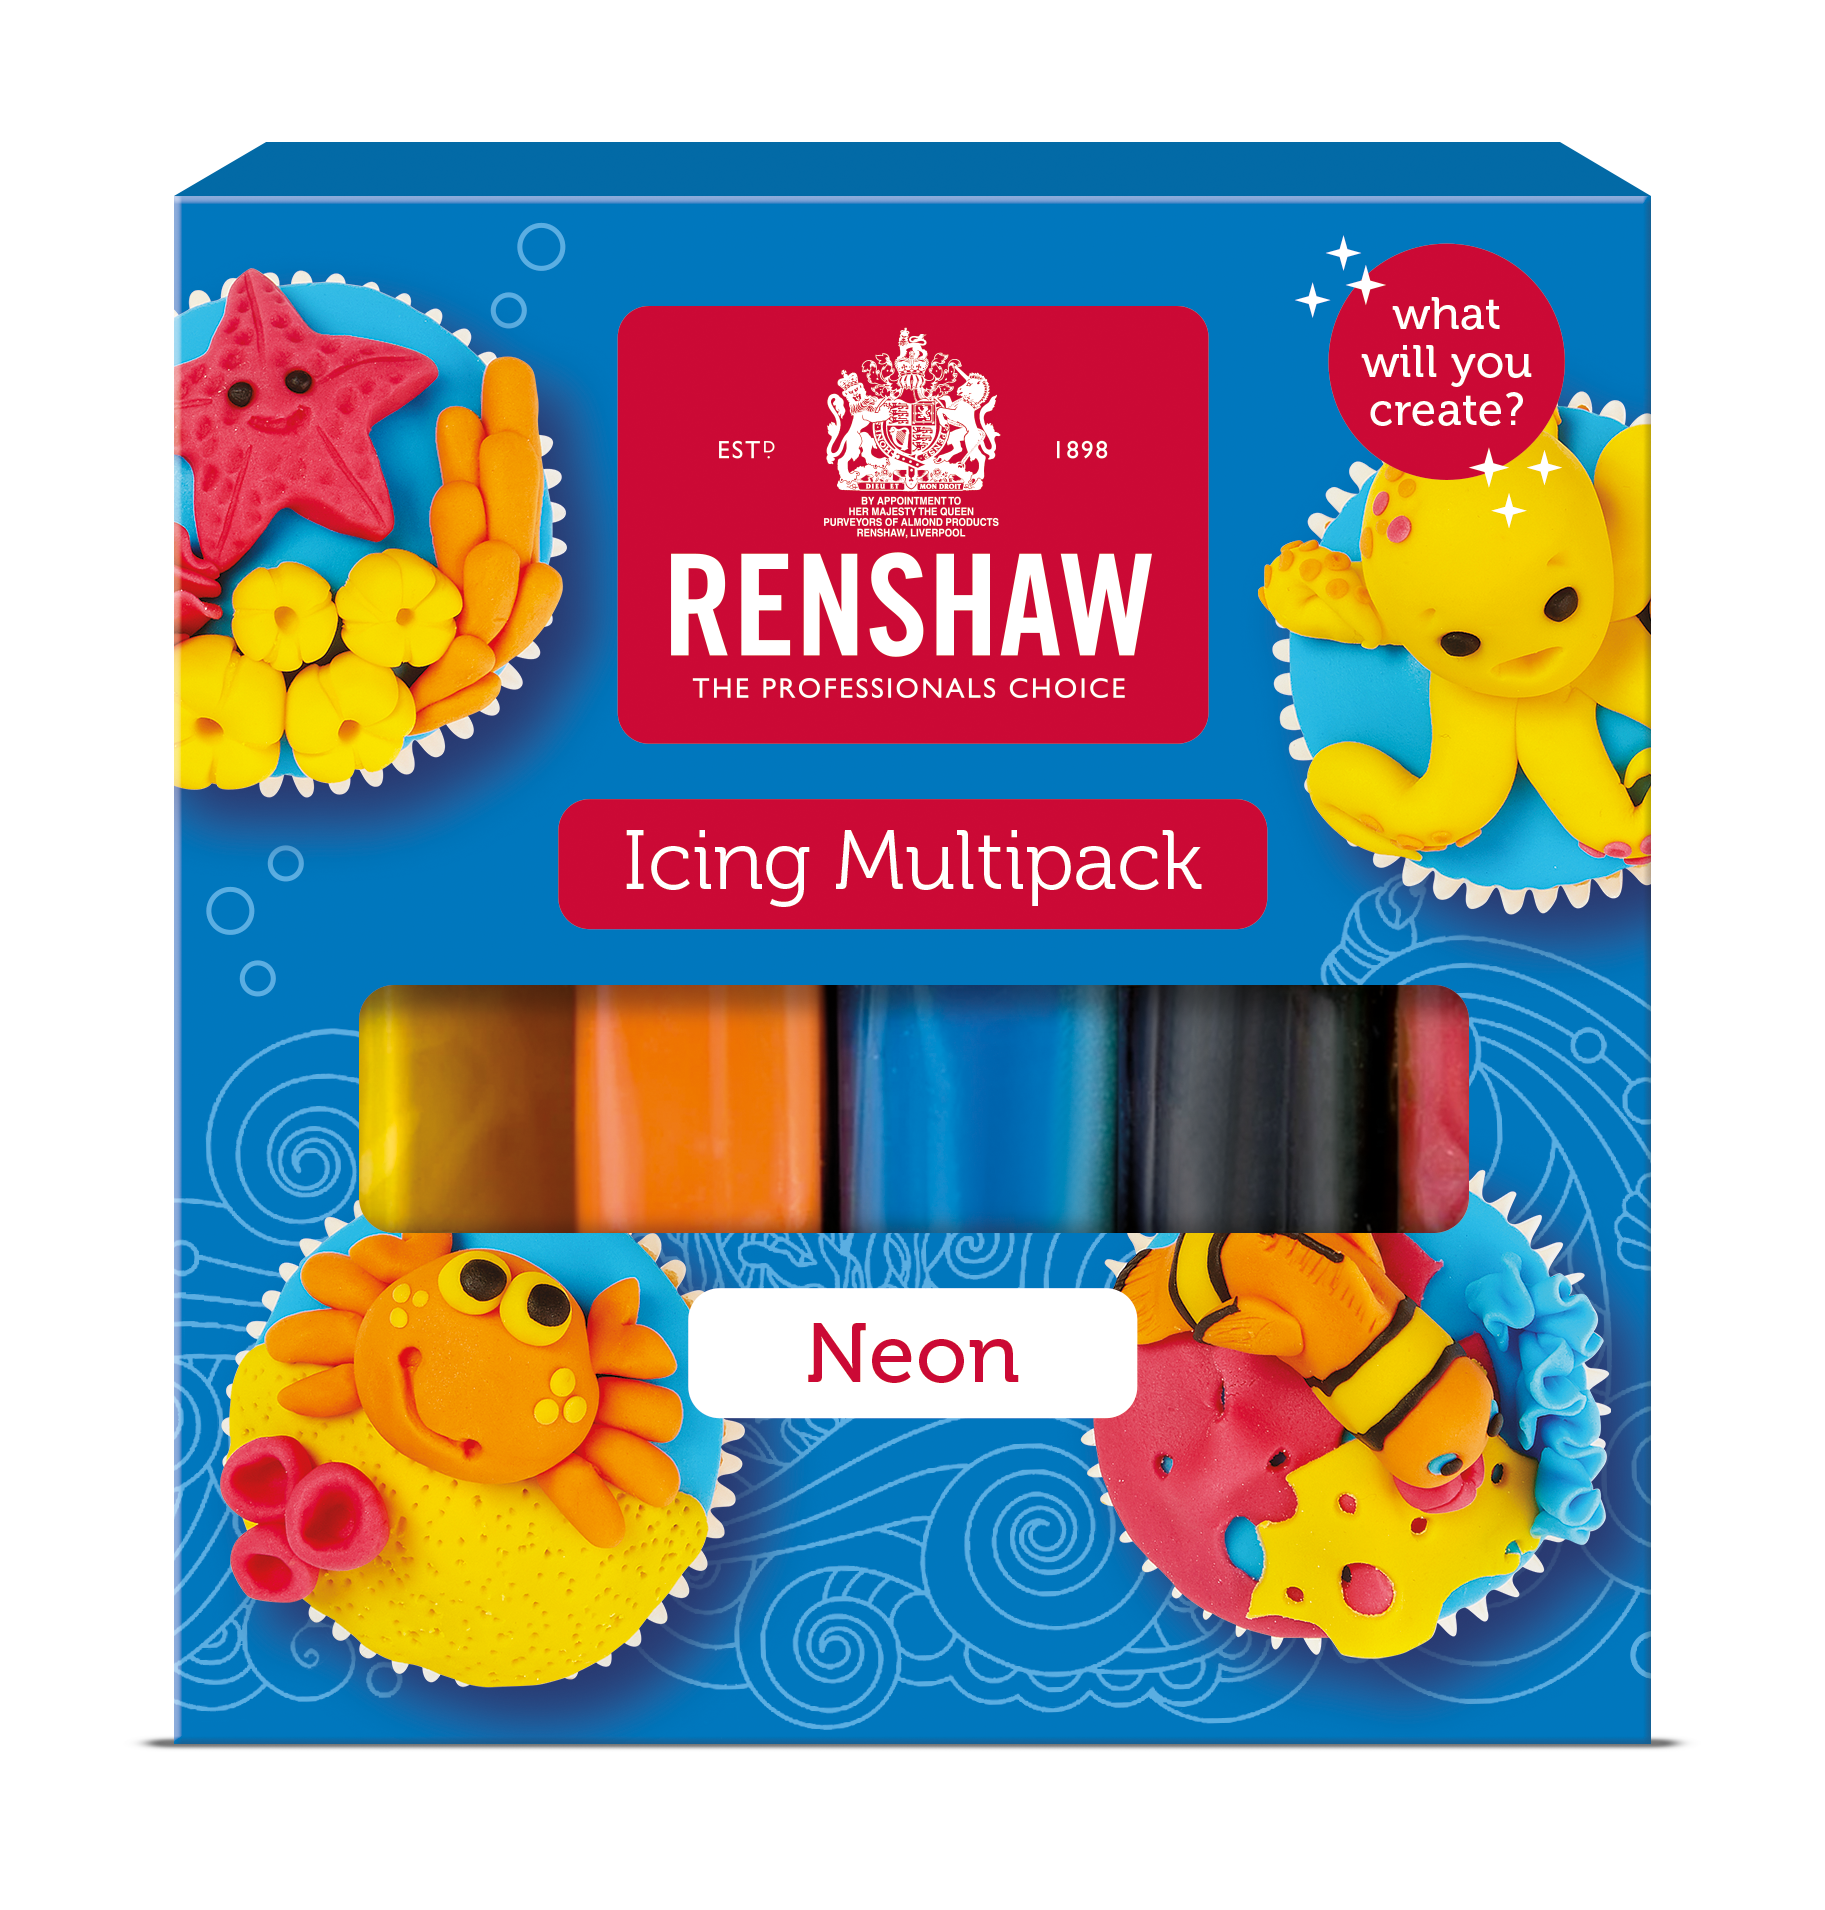
Renshaw products used


Email this recipe
Instructions
Making the Gingerbread:
Step 1
Sieve together the strong plain flour, mixed spice and ground ginger into a large heat proof bowl.
Step 2
Lightly whisk the egg yolk.
Step 3
Melt the golden syrup, dark brown sugar and butter together in a saucepan. Do not allow to boil.
Step 4
Make a well in middle of flour and spice mix and pour in the melted golden syrup, dark brown sugar and butter along with the egg yolk and the bicarbonate of soda. Stir to combine.
Step 5
Test the temperature, making sure it is not too hot to handle and knead into a pliable dough in the bowl.
Step 6
Transfer the dough into an airtight plastic bag and allow to rest at room temperature for 20–30 minutes.
Step 7
Pre-heat the oven to 180°C/350°F/gas mark 4.
Step 8
Roll out the gingerbread to 5-6mm thickness on a flour dusted surface.
Step 9
Cut out the gingerbread shapes using a cookie cutter. We used a giant gingerbread man cutter for this.
Step 10
Place on non-stick baking paper on a baking sheet. Ensure the cookies are well spaced as gingerbread expands during cooking.
Step 11
Bake for 12-15 minutes until evenly golden brown.
Step 12
Leave to cool on a wire rack.
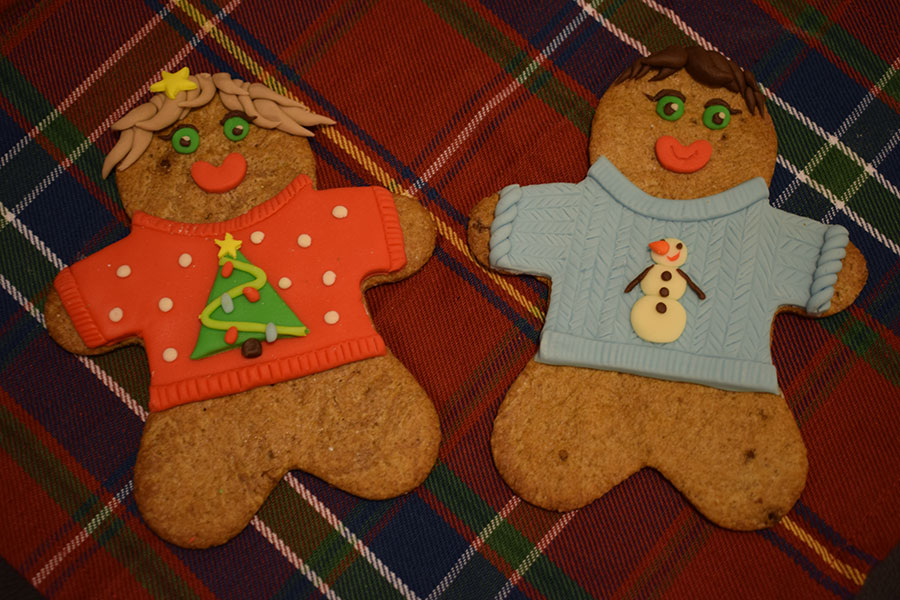
Decorating the Red Jumper:
Step 13
For the red jumper; knead Poppy Red icing until smooth and pliable, then roll out on a surface lightly dusted with icing sugar.
Step 14
Use the same gingerbread man cutter on the icing. Cut a straight line for the bottom of the jumper and trim the hands off to create sleeves. Use a large circle cutter to make the neck.
Step 15
Mark in straight lines along the edge of the sleeves and bottom of the jumper, about half a centimetre wide. Use a modelling tool or knife along the edges to press in the fabric detail.
Step 16
Do the same for the neck of the jumper but with a curved line, you can use the circle cutter again for this.
Step 17
Knead Lincoln Green icing until smooth and pliable and roll out on a surface lightly dusted with icing sugar.
Step 18
If you have a small triangle cutter (to fit on the jumper) you can use this to cut out the tree, or use a shark knife to cut the shape by hand. Attach this to the front of the jumper with a little cooled boiled water.
Step 19
Knead Lime Green icing until pliable. Take a small ball and roll out against your work surface to create a thin rope. Use a thin paintbrush to add a little cooled boiled water in a swirling shape to the front of the tree. Wind the Lime Green rope along the tree and trim at the ends to create a light rope or tinsel effect.
Step 20
Roll up small balls or oval shapes of red icing and add to the tree with a little cooled boiled water, to create lights or baubles. Repeat with another colour of icing, we used Baby Blue.
Step 21
Knead White icing until pliable, and roll into small balls. Stick these to the jumper with a little cooled boiled water to create a falling snow effect/jumper pattern.
Step 22
Knead and roll out yellow icing. Use a small star plunger cutter to cut out the star for the top of the tree. Attach with a little cooled boiled water.
Step 23
Knead a small amount of Chocolate Flavour icing and shape into a small tree trunk for the bottom of the tree.

Step 24
Add any facial features you'd link with your chosen colours. We created the hair by rolling different sized tear drop shapes and layering them up.
Decorating the Blue Jumper:
Step 25
Knead Baby Blue icing until pliable and roll out on a surface lightly dusted with icing sugar.
Step 26
Use the same gingerbread man cutter on the icing. Cut a straight line for the bottom of the jumper and trim the hands off to create sleeves. Use a large circle cutter to make the neck.
Step 27
Mark equally spaced lines along the body and sleeves of the jumper using a modelling tool or knife. Mark in diagonal lines along one strip from top to bottom, then repeat in the opposite direction on the next strip. Continue until the jumper is covered in a knitted effect.
Step 28
Cut strips from the leftover blue icing to add to the bottom of the jumper and the neck, to create a thick polo neck style.
Step 29
Use a modelling tool or knife along the bottom of the jumper and the neck to press in the fabric detail.
Step 30
Roll out 2 thin strips of blue icing and twist them together. Add these to the sleeves and trim if you'd like to create a knitted effect.
Step 31
Knead white icing and roll into 3 balls of increasing size (that will fit onto the jumper. Flatten these slightly and stick to the front of the jumper with a little cooled boiled water to make a snowman.
Step 32
Knead a small amount of Chocolate Flavour icing into 2 tiny balls, and 3 more slightly larger balls. Add the larger balls down the front of the snowman. Add the 2 tiny ones to the top of the snowman for eyes.
Step 33
Knead a small amount of Tiger Orange icing out and shape into a small cone for the carrot. Add this to the snowman with a little water.
Step 34
Knead up a very small amount of red icing and roll on your palm to make a thin rope. Add this to the snowman to create a mouth and use a modelling tool to curve into shape.

Step 35
Add any facial features you'd link with your chosen colours. We created the hair by rolling different sized tear drop shapes from Chocolate Flavour icing and layering them up.