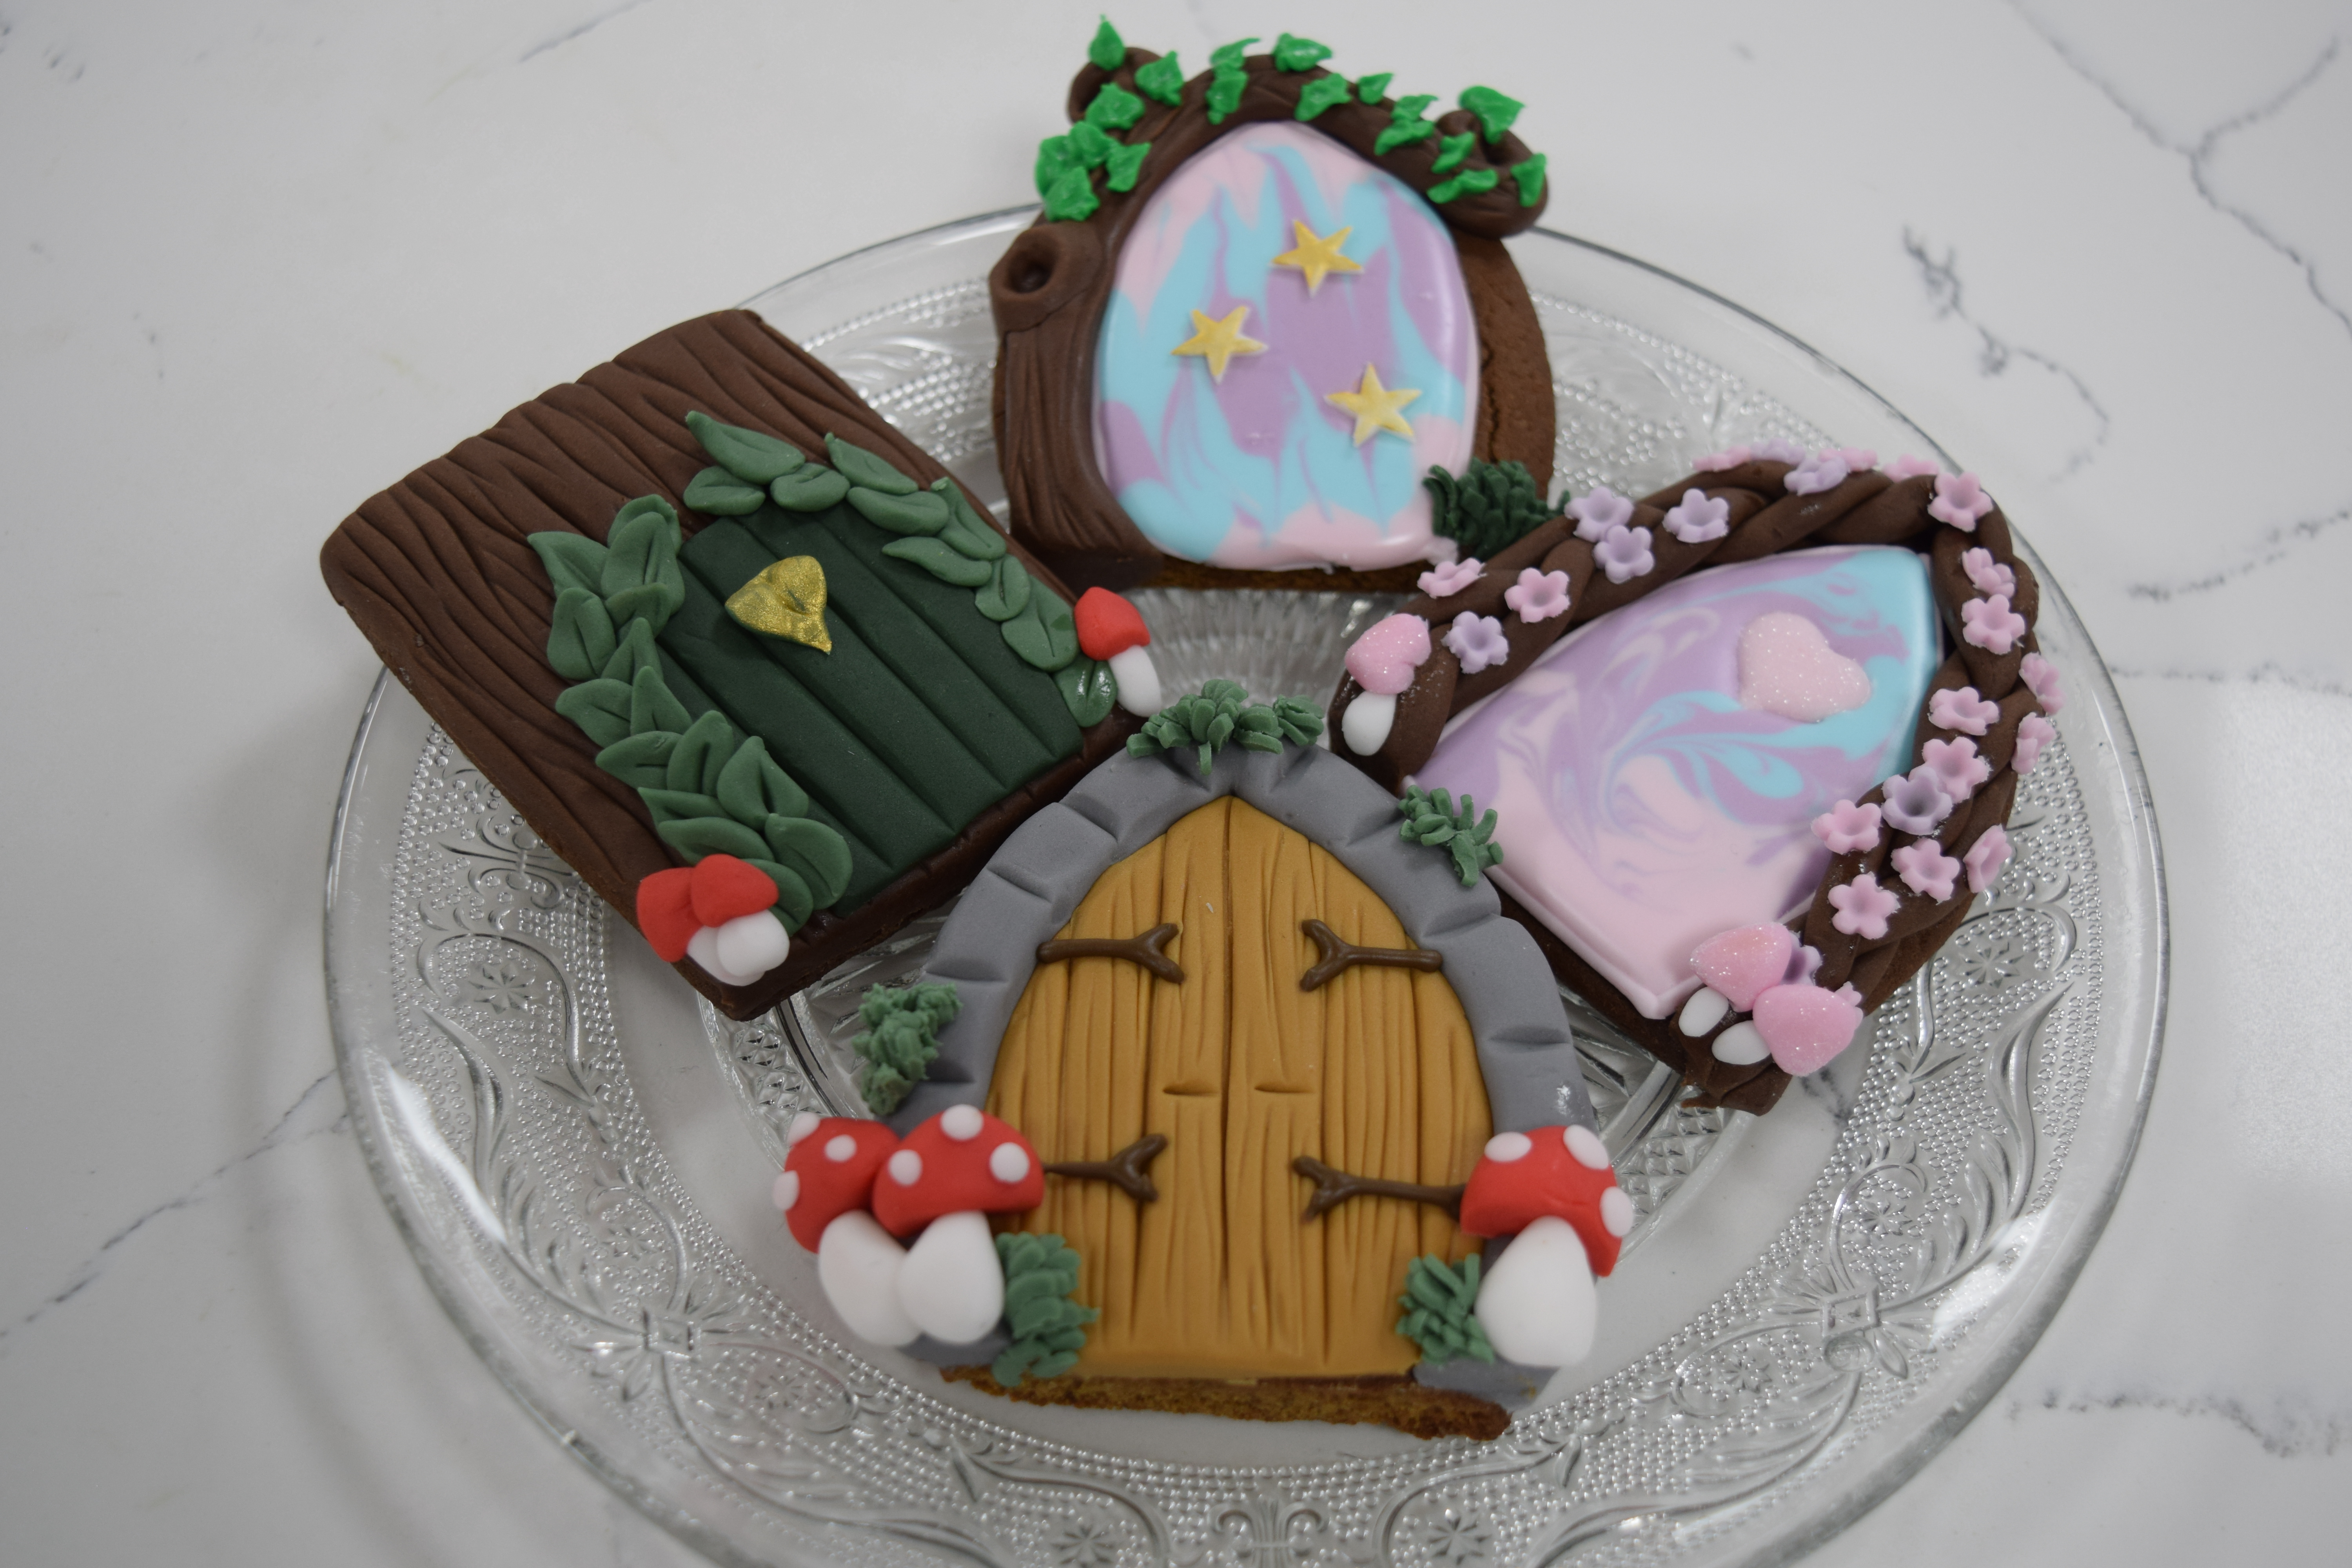
Gingerbread Fairy Doors with Royal Icing
National Gingerbread Day is 5th June. Bake and decorate fairy door gingerbread biscuits with royal icing and ready to roll fondant icing. These would be great for any occasion, from picnics to parties.
Uploaded by Kayleigh McDonough
Time to make
Skill Level
Intermediate
Serves
12 people
Baking ingredients
- 410 g self-raising flour
- 2 tsp ground ginger
- 1.5 tsp mixed spice
- 125 g firm unsalted butter, chilled
- 125 g dark muscovado sugar
- 125 g black treacle
- 1 egg, lightly beaten
Decorating ingredients
- 400 g White Royal Icing
- 250 g Chocolate Flavour Ready to Roll Icing
- 250 g Pink Ready to Roll Icing
- 250 g Dusky Lavender Ready to Roll Icing
- 250 g White Ready to Roll Icing
- Pink food gel paste
- Purple food gel paste
- Blue food gel paste
- Edible glitter
Renshaw products used


Email this recipe
Instructions
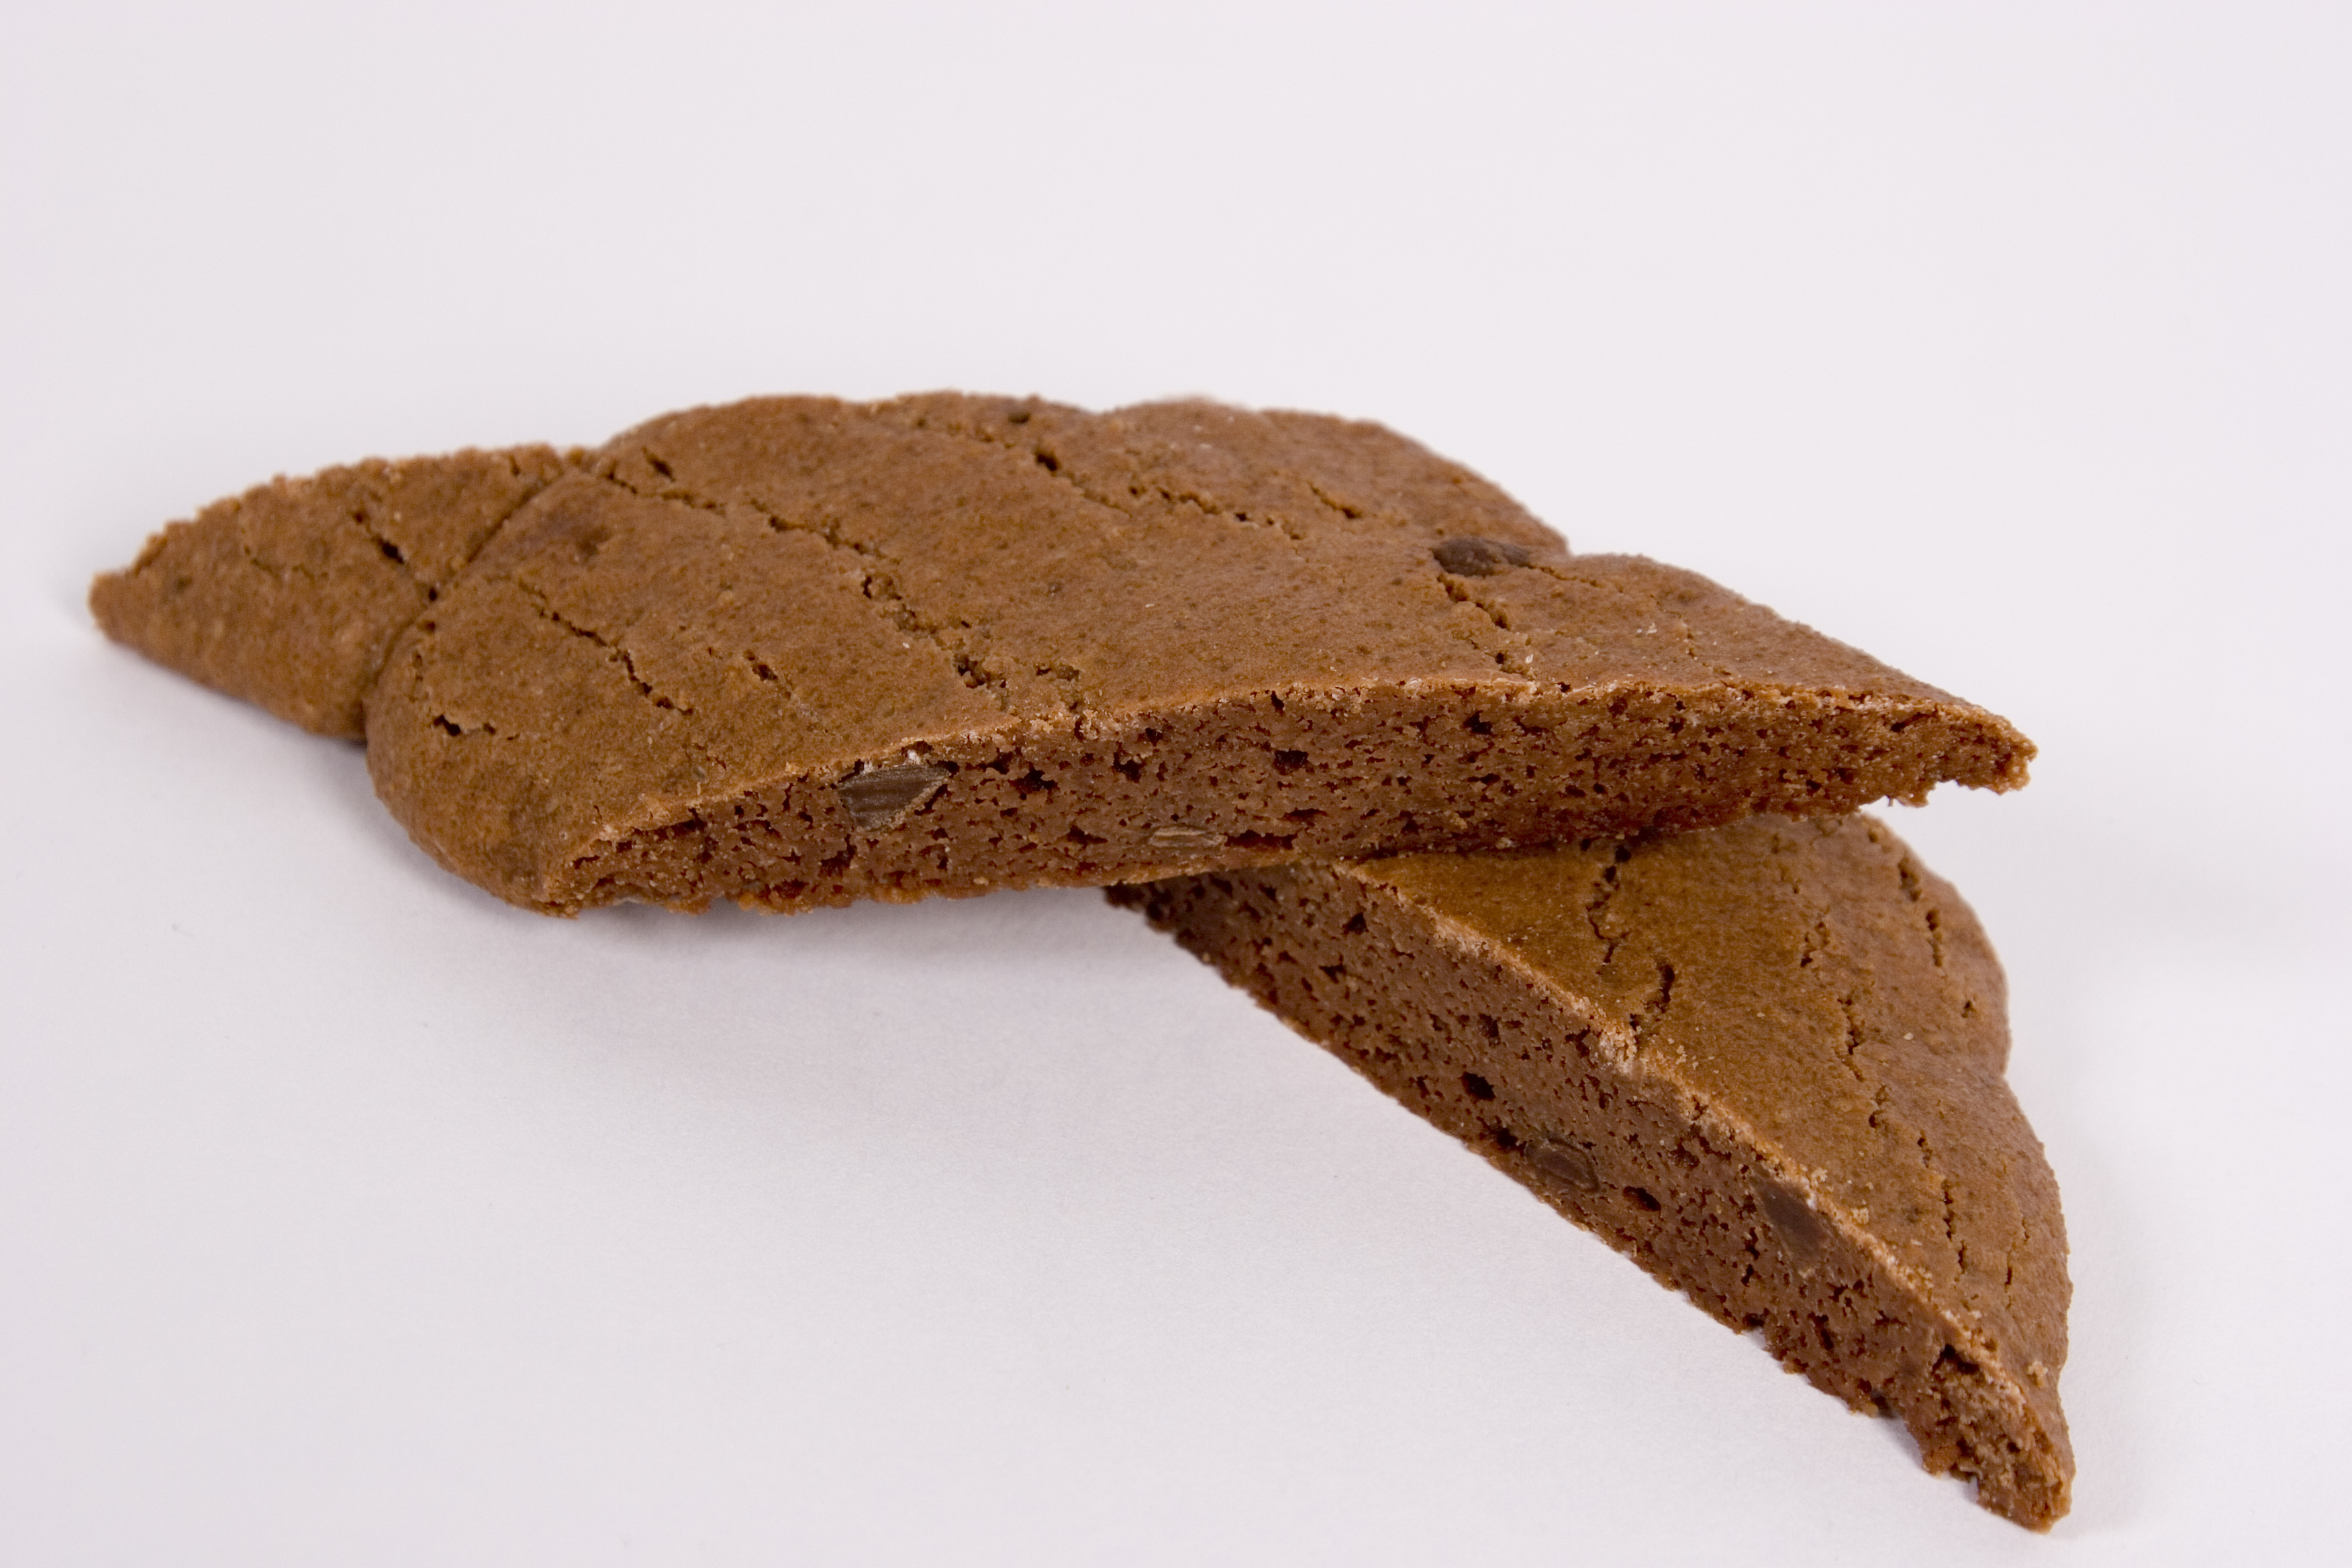
Baking the gingerbread:
Step 1
Preheat the oven to 200°C/ 400°F/ Gas Mark 6 and line two baking trays with greaseproof paper.
Step 2
Put the flour and spices in a bowl. Cut the butter into small pieces and add to the flour mix. Rub the ingredients together until they resemble breadcrumbs. Add the sugar, treacle, and the egg, mix to form dough.
Step 3
Wrap and chill in the fridge for 30 mins.
Step 4
Roll out the dough on a floured surface. Cut into required shapes. Transfer to the prepared baking trays.
Step 5
Bake for 12-15 mins.
Decorating the biscuit:
Step 6
Prepare 4 bags of royal icing: Mix royal icing in 3 separate bowls with pink, purple and blue food gel. Add half of the pink icing into the first bag. Add 6-8 drops of water to the rest of the pink icing and mix together, then add to the second bag. Add 6-8 drops of water to the blue and purple icings and add to the last 2 bags.
Step 7
Pipe a border around the biscuit with the firm pink royal icing. Leave enough space to add branches later on.
Step 8
Pipe a heart into the centre of the biscuit with the firm pink royal icing.
Step 9
Flood the inside of the heart with the runny pink royal icing and tap to level it.
Step 10
Sprinkle edible glitter over the heart before the icing dries and the shake gently to remove the excess.
Step 11
Flood the rest of the biscuit (inside the border) with the runny pink, purple and blue icing. This part does not have to be neat or in a pattern.
Step 12
Drag through the wet icing with a cocktail stick to run the colours into each other, and create a tie-dye type effect. Tap the biscuit against the work surface to level the icing and leave to dry.
Step 13
Knead chocolate flavour icing until pliable and roll out 3 long strips of equal size.
Step 14
Plait the chocolate icing strips together, measuring against the edge of the biscuit to check size as you go along.
Step 15
Add water to the back of the icing plait and the stick this around the edge of the biscuit. Trim off any excess.
Step 16
Knead and roll out pink and lavender icing thinly, then use a small flower shaped plunger cutter to add little flowers around the edge of the biscuit, attaching with a little water.
Step 17
Knead white and pink icing until pliable, the mould into mushroom shapes and stick these to the bottom corners of the biscuit with a little water.