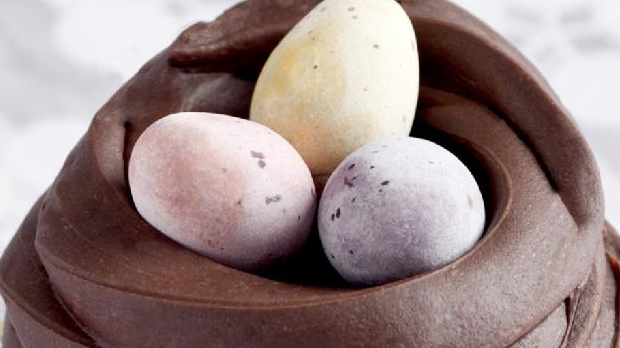
Giant Creme Egg Cake
A giant, sticky, sweet Easter treat! Inspired by Creme Eggs but all made from scratch, using Renshaw white fondant for the creme filling. See more at the Bakearama blog.
Recipe by Jen Ball
Uploaded by Mrs Ball
Time to make
Skill Level
Intermediate
Serves
24 people
Baking ingredients
- 300 g butter
- 350 g sugar
- 2 tbsp vanilla extract
- 100 g cocoa powder
- 100 ml milk or water
Decorating ingredients
- 100 ml milk
- 100 g icing sugar
- 50 g butter
- 200 g Dairy Milk chocolate
- 100 g Dairy Milk chocolate
- 500 g Renshaw White Ready to Roll Icing
Renshaw products used

Email this recipe
Instructions
Step 1
Start with the cake mix by beating the butter and sugar until creamy and fluffy. Whisk in the eggs, vanilla essence and cocoa powder, until thoroughly combined. Sieve the flour and fold in two tablespoons at a time, alternately with a tablespoon of milk. Divide the mixture into 3 rectangular tins of slightly decreasing size. I used 12 x 7 inches, 10×7 inches, and 9×6 inches. If you don’t have exactly these sizes it doesn't matter at all – work with what you've got. Your layers will be a bit thicker/thinner depending on the sizes, but you can easily shape the ‘egg’ still.
Step 2
Bake at 180°C/gas mark 4 for 15-20 minutes until firm and springy when pressed. Cooking time will vary slightly for the different tin sizes (and thickness of mixture), so make sure you check each one before removing from the oven. Turn out from the tins and leave to cool.
Step 3
Next onto the chocolate icing – in a saucepan heat together the milk and butter, until just starting to boil. Turn the heat off and add the 200g chocolate, broken into small pieces. Stir well; the residual heat should be enough to melt the chocolate after a couple of minutes. Sieve the icing sugar and cocoa powder – very important or you’ll get lumpy icing – before stirring into the chocolate mixture. Once fully combined, set aside to cool.

Step 4
Once the cakes are cool, cut the largest into an oval/egg shape using a serrated knife. Make a paper template beforehand if you’re worried about doing it freehand. Be sure to keep the offcuts (don’t eat them all!) as they’re needed later on. Place the next size of cake on top and cut to the same size. Then, cut the sides at slight angle to start creating the curved effect of the edge of the egg.
Step 5
Once you’re happy with the size and shape of the two bottom layers, sandwich together with a thin layer of chocolate icing. Next, use the offcuts from the first two layers to create a third outer ring layer – like a wall around the top of the cake. This is what the fondant/creme filling will sit in. Arrange the pieces ‘dry’, and once you’re happy with the whole layer, ‘glue’ into place with a little more chocolate icing. Secure with cocktail sticks if needed, until the icing sets. Be sure to leave the tops of the cocktail sticks poking out so you can remove them later. At this point, put the whole cake in the fridge for at least an hour, to set.

Step 6
Melt the remaining 100g of chocolate in the microwave/over hot water. Using the back of a teaspoon, coat the entire inside of the cake (bottom and sides) in chocolate, being sure not to leave any gaps. This will form a sealed space for the fondant to sit in – so it won’t soak into the cake or leak out the sides. Remember there’s no such thing as too much chocolate, so add more if you’re not sure the edges are sealed or not. Refrigerate again until the chocolate has set.
 in chocolate, being sure not to leave any gaps. This will form a sealed space for the fondant to sit in – so it won’t soak into the cake or leak out the sides. Remember there’s no such thing as too much chocolate, so add more if you’re not sure the edges are sealed or not. Refrigerate again until the chocolate has set.")
Step 7
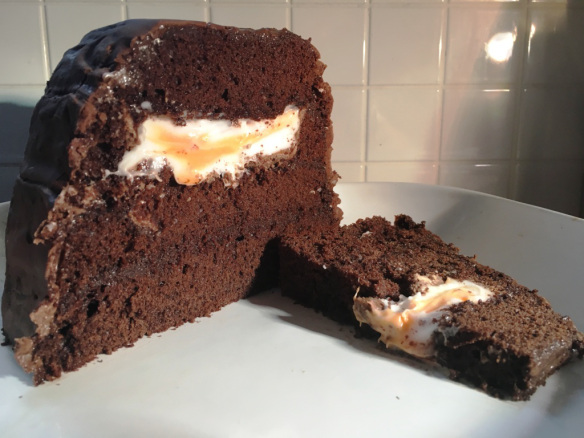
While the cake’s in the fridge, you can make the filling. Grate or finely chop the white fondant icing (if it’s colder this’ll be easier), and put in a large bowl or a stand mixer if you have one. Add a tablespoon of boiling water and start mixing. You should slowly find the icing starts to meld back together in a firm, buttercream like consistency. If it’s too stiff to mix, add a little more boiling water, a teaspoon at a time. You want the mixture to be firm enough for a spoon to stand up in – or it will run everywhere when you cut the cake! If you accidentally add too much water, a little icing sugar will firm the mixture up again. Transfer two tablespoons of the fondant mixture into a separate bowl, and mix together with a drop of orange food colouring. Remove the cake from the fridge and spoon in two-thirds of the white fondant. Create a well in the centre and add the orange fondant. Try not to mix it around too much, you want the colours to remain separate. Spoon the remaining white fondant over the orange, to cover it. Don’t feel you need to use all the fondant if there’s too much for your cake. You don’t want it spilling out the sides.
, and put in a large bowl or a stand mixer if you have one. Add a tablespoon of boiling water and start mixing. You should slowly find the icing starts to meld back together in a firm, buttercream like consistency. If it’s too stiff to mix, add a little more boiling water, a teaspoon at a time. You want the mixture to be firm enough for a spoon to stand up in – or it will run everywhere when you cut the cake! If you accidentally add too much water, a little icing sugar will firm the mixture up again. Transfer two tablespoons of the fondant mixture into a separate bowl, and mix together with a drop of orange food colouring. Remove the cake from the fridge and spoon in two-thirds of the white fondant. Create a well in the centre and add the orange fondant. Try not to mix it around too much, you want the colours to remain separate. Spoon the remaining white fondant over the orange, to cover it. Don’t feel you need to use all the fondant if there’s too much for your cake. You don’t want it spilling out the sides.")
Step 8
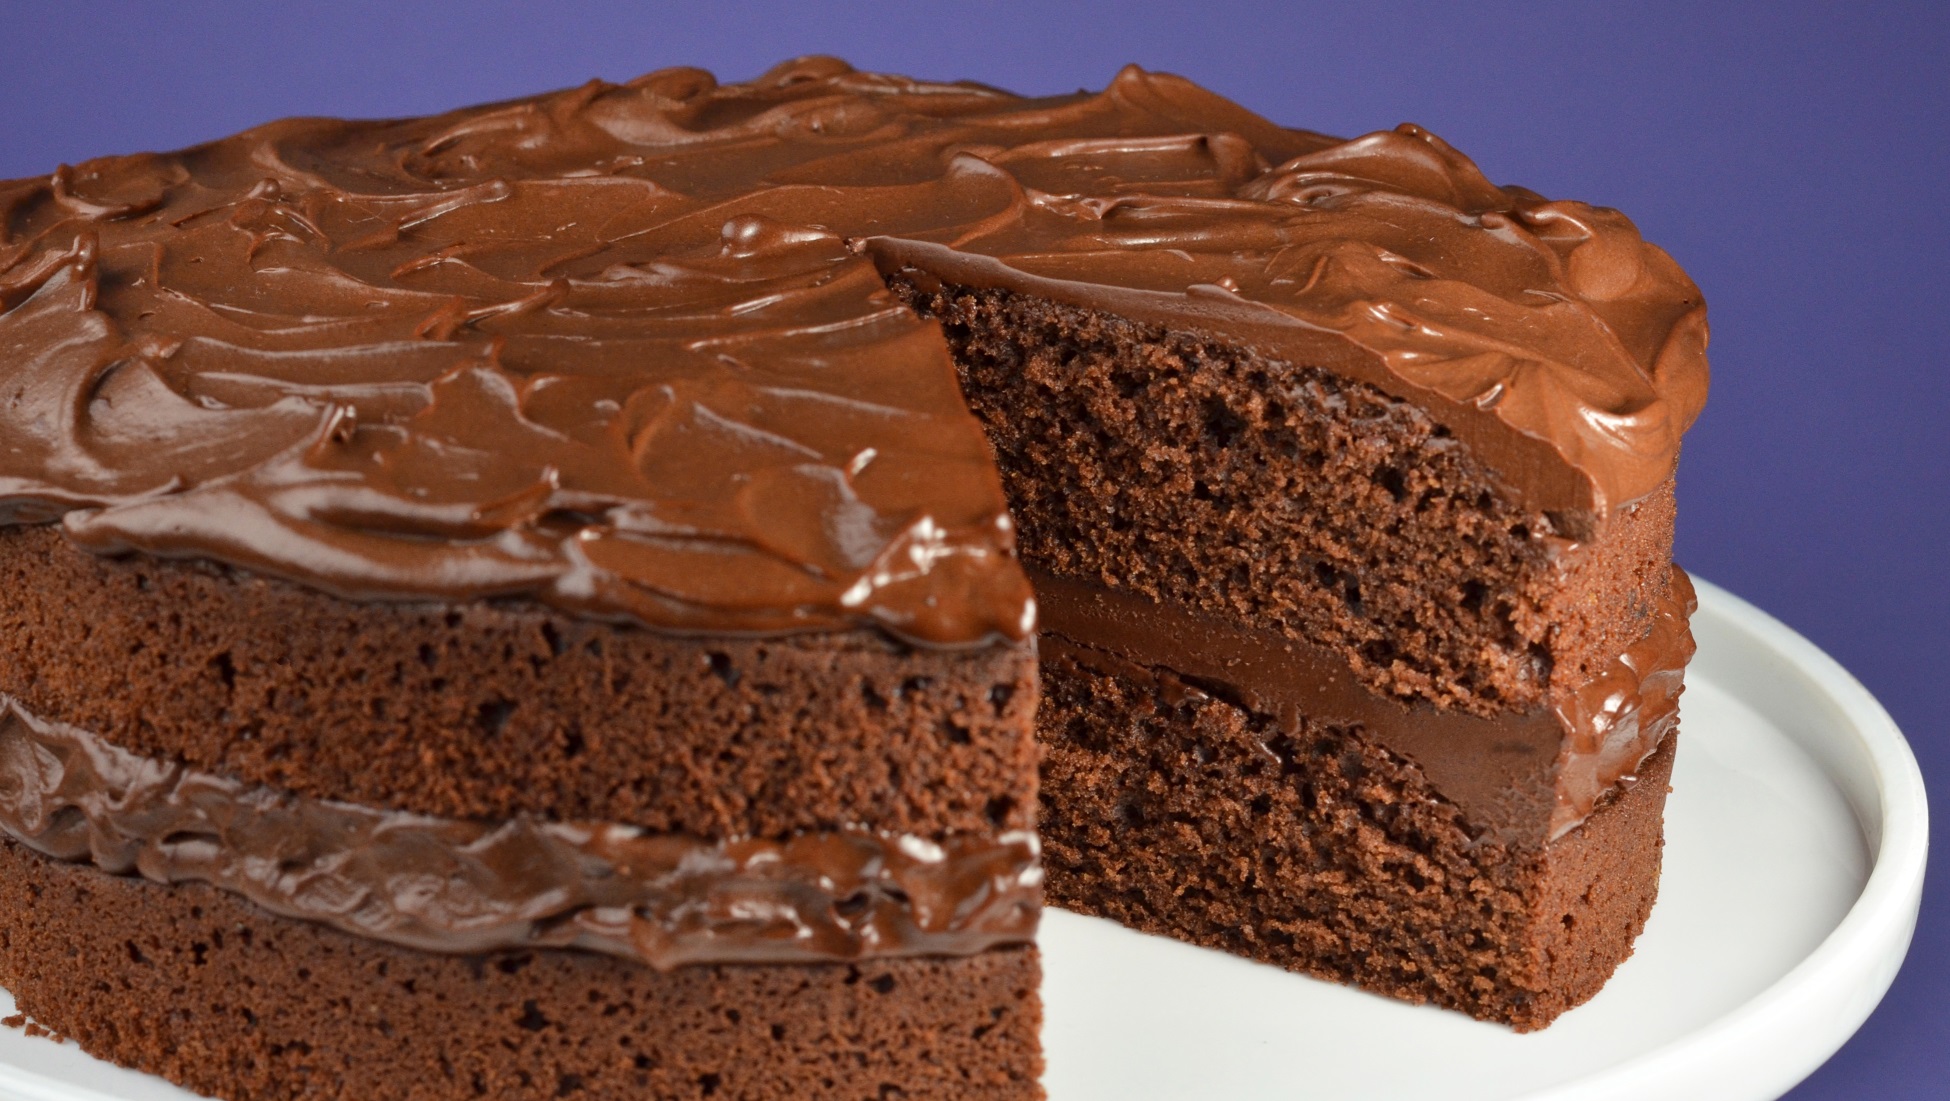
Cut the final piece of cake into a smaller oval shape, so it will cover the fondant filling. Use a serrated knife again to slope the sides and form the edge of the egg shape. Put a little chocolate icing around the top edge of the cake, before placing the final cake piece on top. Cover the cake in the remaining chocolate icing – I’d recommend a thin crumb coat first, refrigerate for half an hour, then a second smoother coat. Finish with a star design on the top and lines around the outside, using a thin knife. Chill until ready to serve, slice, and enjoy!
Step 9
See more at the Bakearama blog - https://bakearama.wordpress.com/2016/03/20/giant-creme-egg-cake/