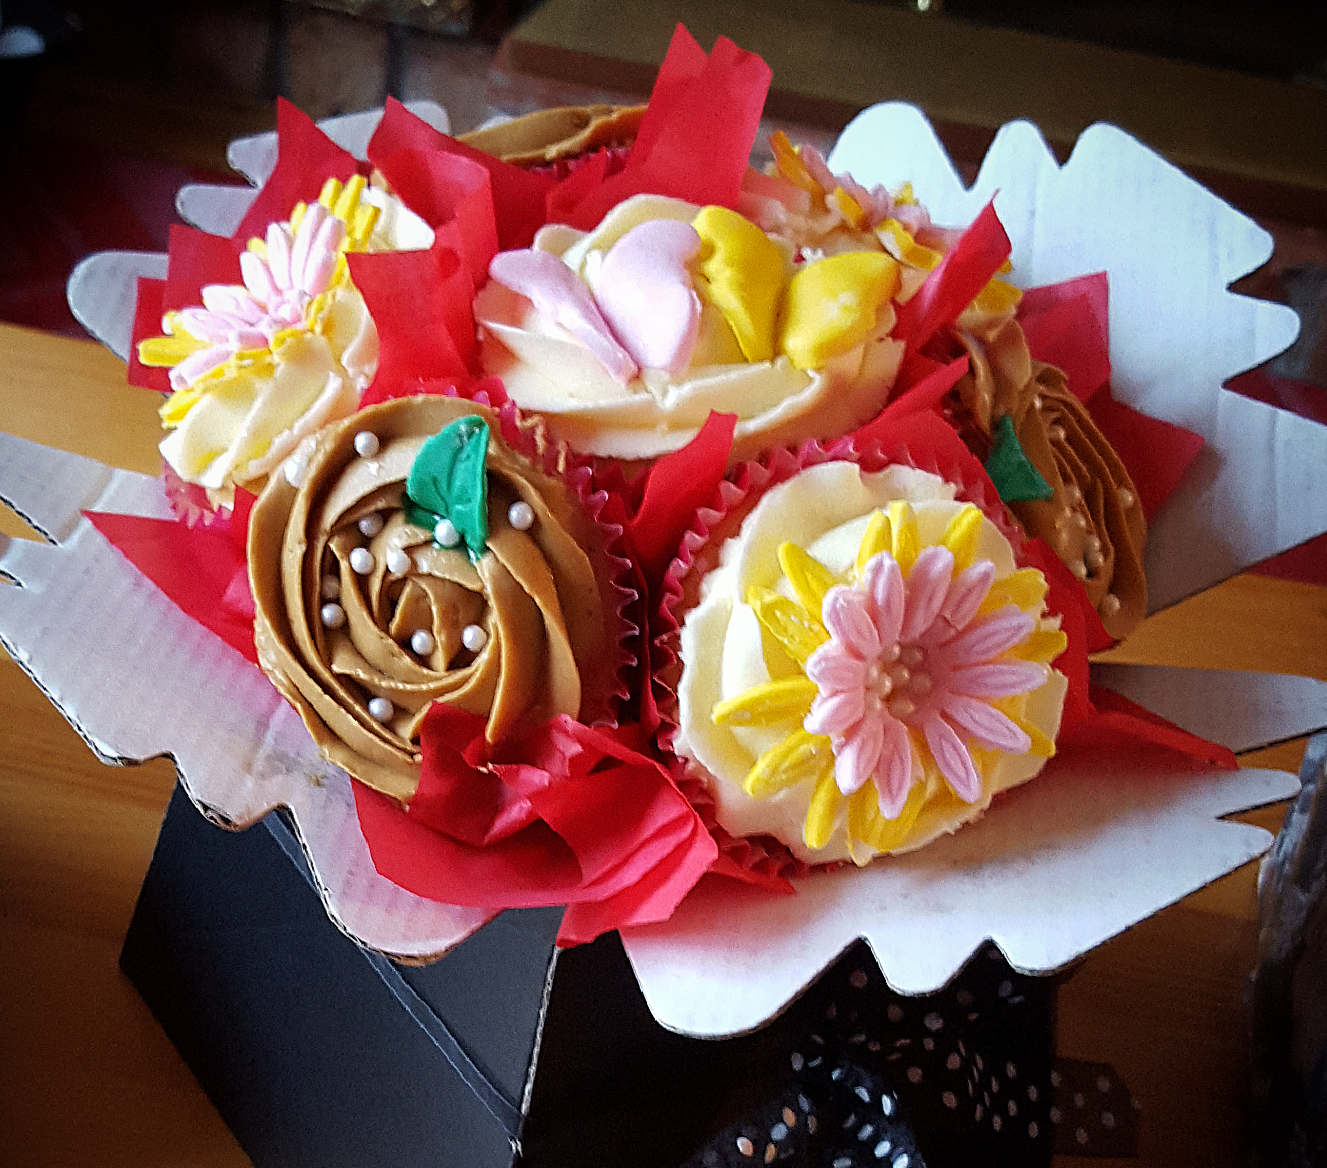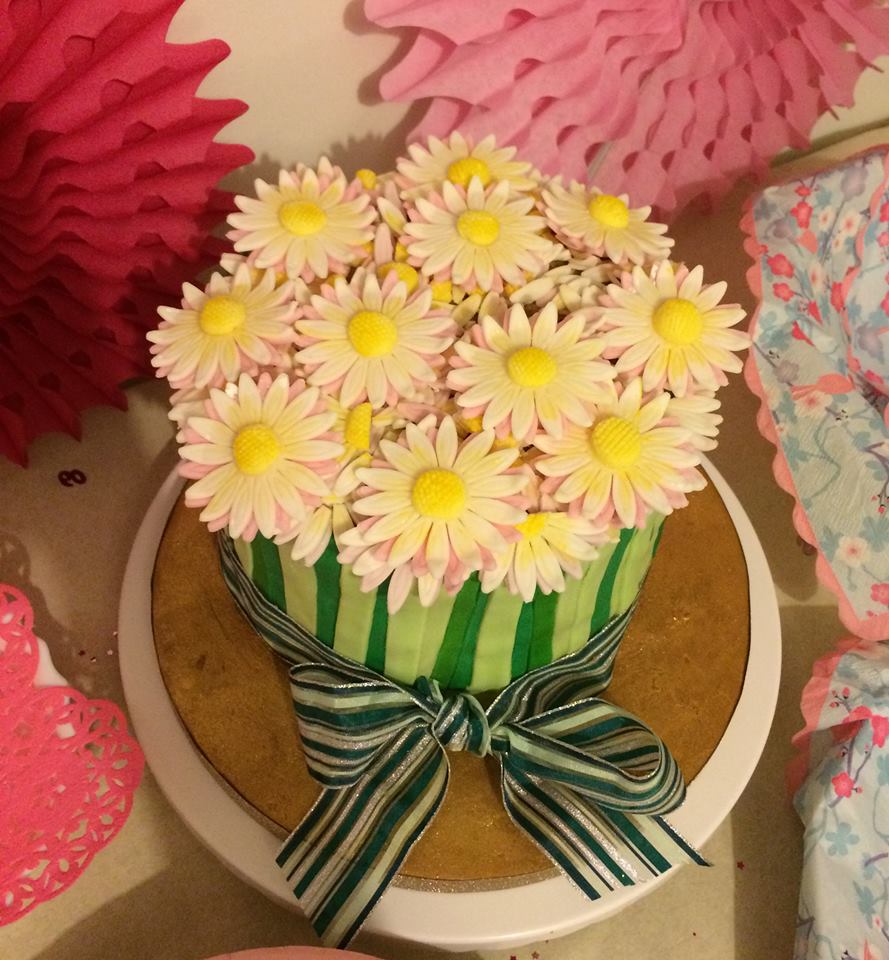
Coffee Cake with Sugar Paste Daisies
This cake was made with my Mum in mind! Her favourite type of cake is coffee cake. When I was younger used to love drawing smiley daisies for her. So I’ve put the two together for this creation. Perfect for Mothers Day with a cup of tea!
Recipe by Lucy May
Uploaded by Lucy
Time to make
Skill Level
Intermediate
Serves
12 people
Baking ingredients
- 150 g caster sugar
- 150 g plain flour
- 150 g stork
- 3 eggs
- 2 tsp baking powder
- 1 tsp instant coffee granules
- 1 tbsp hot water
Decorating ingredients
- 525 g icing sugar
- 225 g stork
- 1 tsp instant coffee granules
- hot water
- 250 g Renshaw Ready to Roll White Icing
- 250 g Renshaw Ready to Roll Baby Pink Icing
- 250 g Renshaw Ready to Roll Pastel Yellow Icing
- 250 g Renshaw Ready to Roll Lincoln Green Icing
- 250 g Renshaw Ready to Roll Pastel Green Icing
- 250 g Renshaw Ready to Roll Emerald Green Icing
- 250 g Renshaw Ready to Roll Teddy Bear Brown Icing
- Yellow gel food colouring
Renshaw products used


Email this recipe
Instructions
Baking the sponge:
Step 1
Preheat the oven to 170°C'gas mark 4, and line and grease two cake tins. Weigh out all of the cake ingredients. Mix together the instant coffee granules and hot water in a small bowl and set aside. In a large bowl add all the other ingredients and using an electric whisk, mix for a few minutes until smooth. Add the coffee mixture and stir in until well combined.

Step 2
Place in the oven for around 25-30 minutes, depending on your oven. Take out of the oven and leave to cool. Please note: For the cake I made I wanted something extra tall so I repeated these steps to make a larger cake. This is entirely optional, but we really like cake! If you do this you will need an extra bit of icing too.

Step 3
This buttercream filling is very simple to make. Basically the same as normal buttercream but instead of any vanilla flavouring just a very strong coffee! Weigh the stork into a bowl and mix until softened. Gradually add the icing sugar until fully combined. In a cup put one to two (depending on how strong you like it) teaspoons of instant coffee. Add a small amount of hot water to dissolve the granules (the less the better so that the icing doesn't become too runny). Carefully add into the buttercream until thoroughly mixed. Then your icing is ready to use.
 teaspoons of instant coffee. Add a small amount of hot water to dissolve the granules (the less the better so that the icing doesn't become too runny). Carefully add into the buttercream until thoroughly mixed. Then your icing is ready to use.")
Covering the cake board:
Step 4
I decorated the cake board well in advance. To create the gold effect I used Renshaw icing in Teddy Bear Brown and then brushed with edible gold shimmer dust.

The fun part - Decorations and Daisies!:
Step 5
To make the daisies knead the Renshaw pink and white ready to roll icing separately until soft and pliable. Dust the surface with a small amount of icing sugar and then carefully roll out the icing. Place empty cupcake cases upside on a tray ready for later use.

Step 6
Using an embossed flower cutter, cut out as many flower shapes as required with the white icing. Place each flower carefully on the cupcake cases with the embossed side facing down. This helps the flower to dry into a natural shape to give the cake a bit more character.

Step 7
Once you have placed all the white flowers down to dry, repeat these steps but with the pink icing. Dab a small amount of cooled boiled water in the centre of each white flower and place the pink flower on top with the petals overlapping slightly.

Step 8
Leave the flowers to dry for as long as possible (I left these for 24 hours to make sure they were fully hardened). Take each flower off of the cupcake case and place the right way around on the tray. Next, mix a small amount of yellow gel colouring with water and brush from the centre outwards on each flower. Set the flowers aside and make the pollen centre.
. Take each flower off of the cupcake case and place the right way around on the tray. Next, mix a small amount of yellow gel colouring with water and brush from the centre outwards on each flower. Set the flowers aside and make the pollen centre.")
Step 9
To do this, knead some yellow icing until pliable and press small amounts into a sieve. With each piece cut it into a perfectly round centre for the flower with a cutter (here I have used an icing tip as it is the perfect size).
.")
Step 10
Using cooled boiled water, stick the yellow centre onto the middle of each flower. Leave the flowers aside to decorate the tops of the cake.

Assembling the cake (nearly time to eat!):
Step 11
Use a small amount of the buttercream to stick the first layer of the cake to the board. Add a layer off buttercream and then another of cake until you've sandwiched all of the pieces together. Coat the whole cake in the buttercream. This creates a smooth even finish as well as making it easier to add the decorations.

Step 12
Next use three different green colours of Renshaw Ready to Roll Icing to create the outside of the cake. After kneading, roll each green colour out separately and cut out various different strips in different widths. Stick each strip around the edge of the cake using either edible glue or cooled boiled water.

Step 13
To finish the cake place a layer of the flowers randomly on the top of the cake and then finish with a neat layer around the edge and in the centre of the cake. Use a few layers of flowers to build up a bouquet effect. Next, choose a ribbon in a complimentary colour and tie a big bow around the cake. Enjoy!