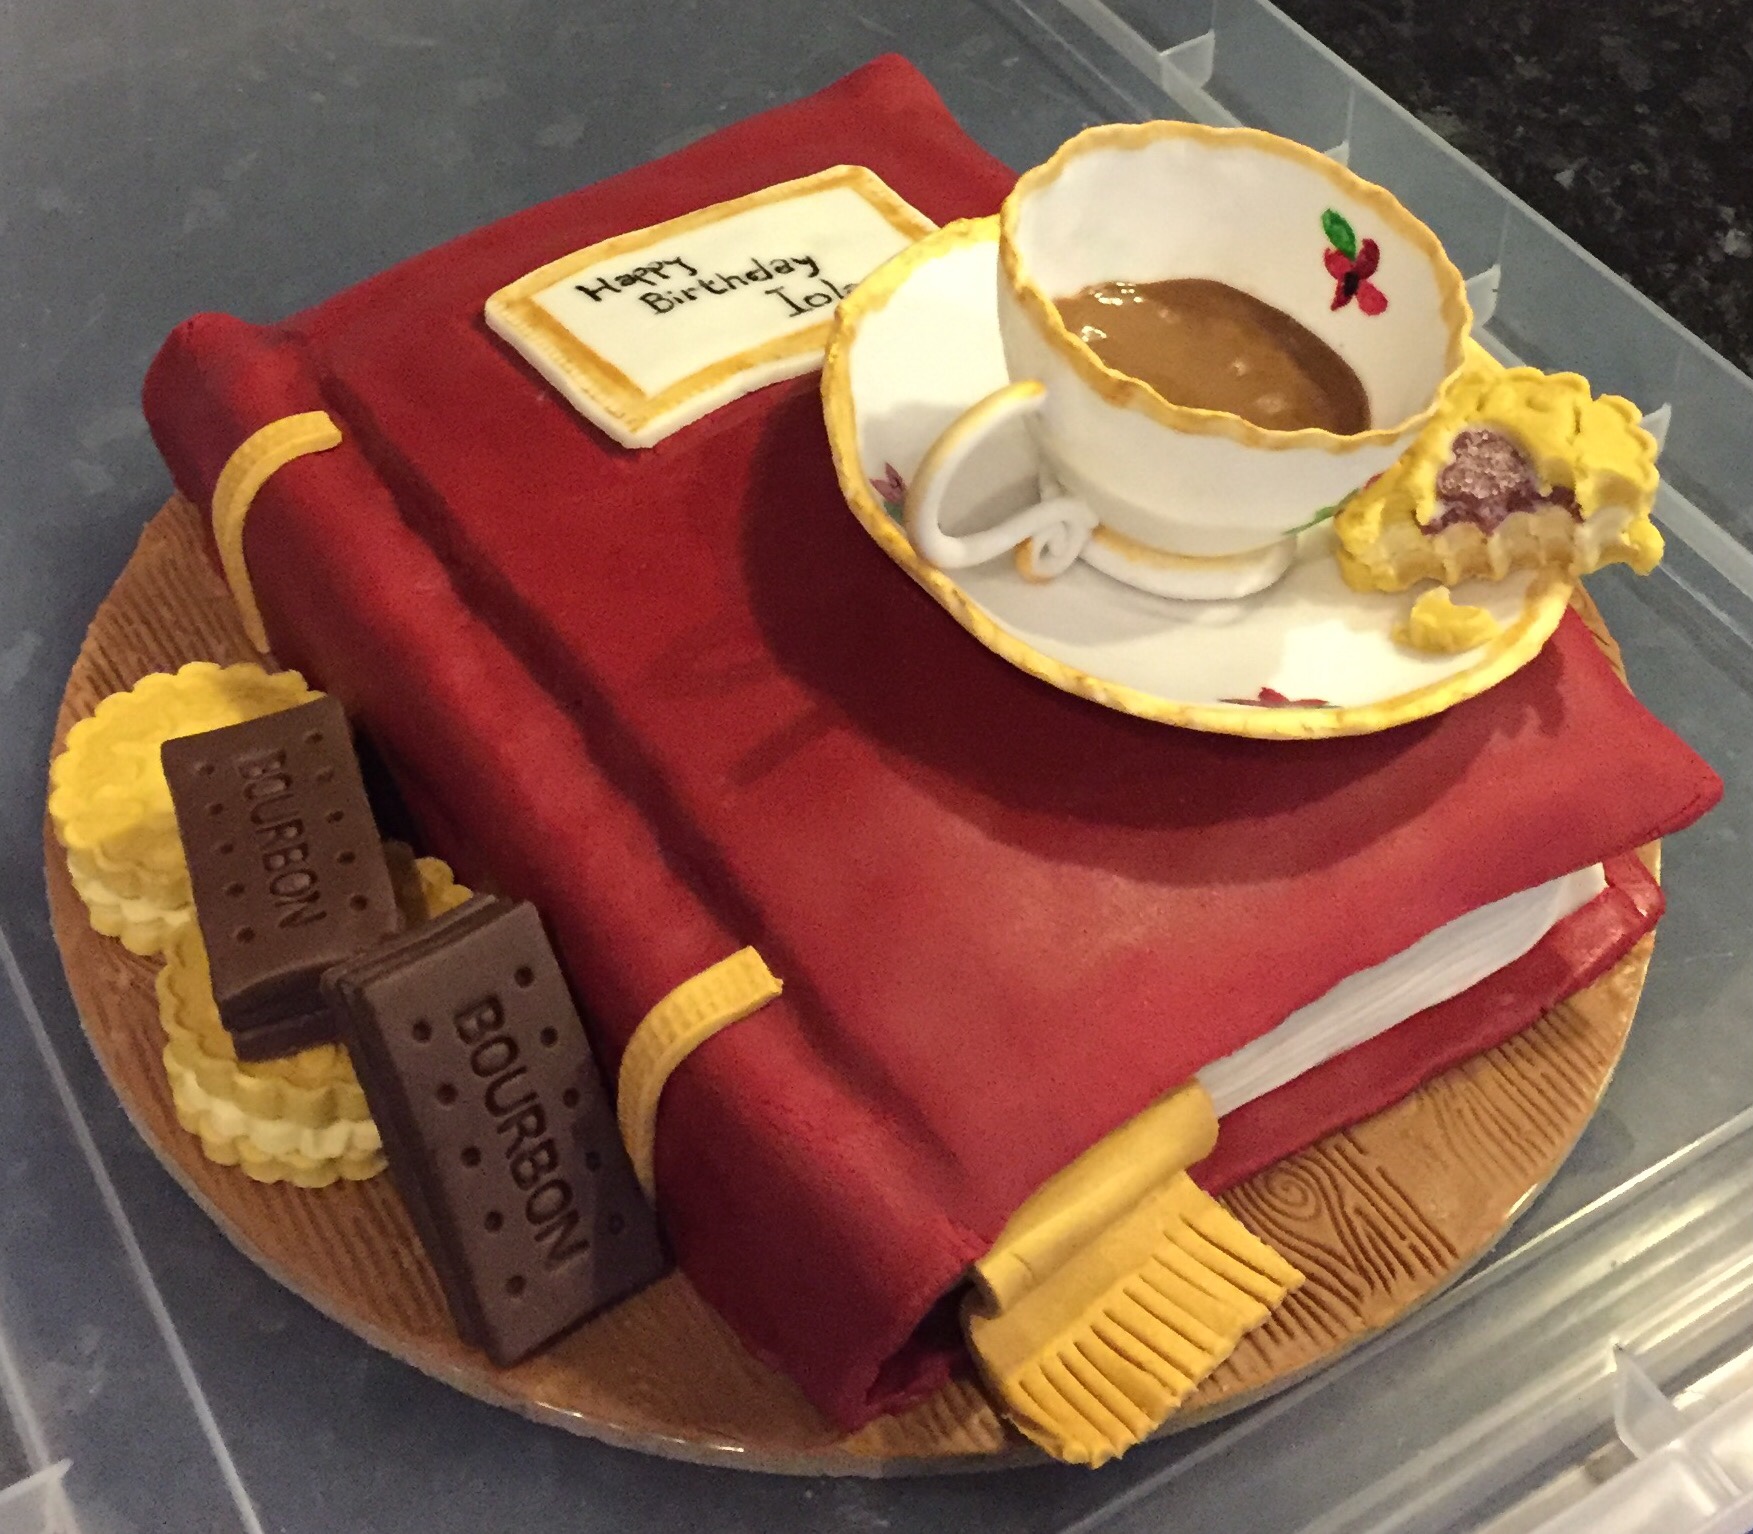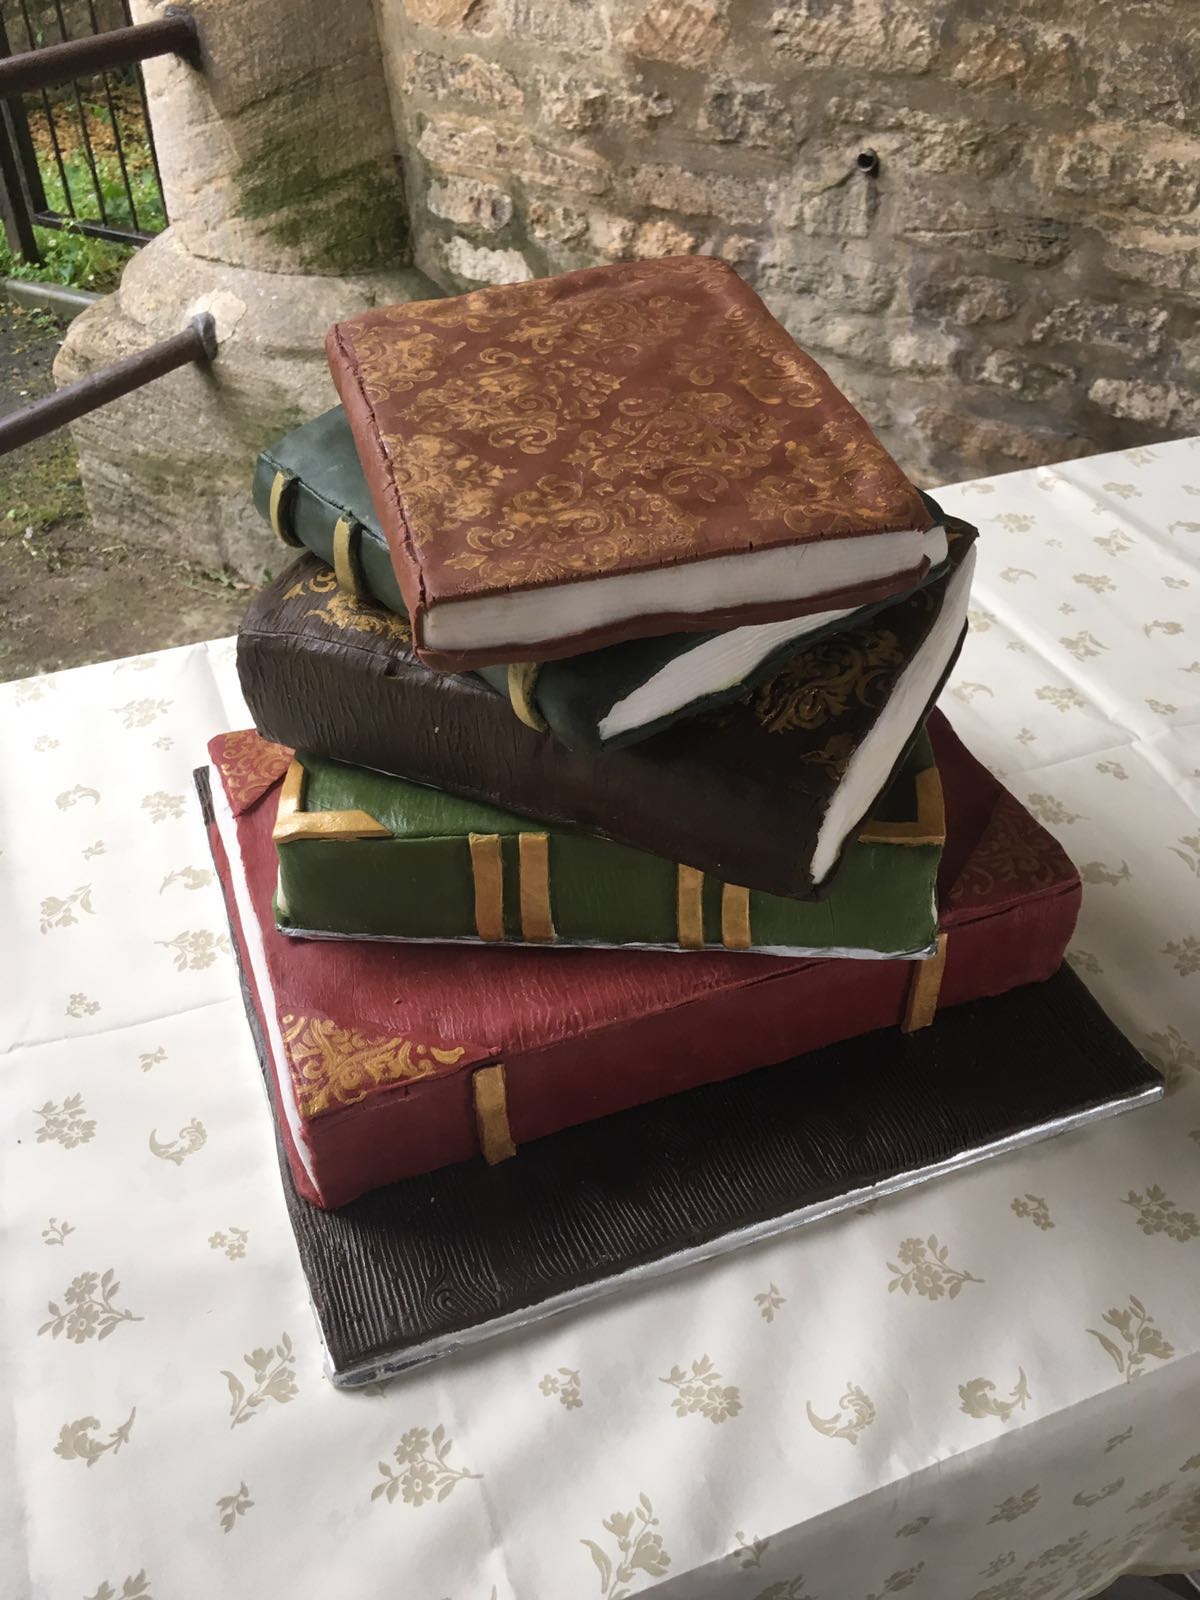
Antique Books Wedding Cake
How to make a stacked book wedding cake with fruit cake, sponge cake, rice krispie tray bake and decorated with Renshaw Ready to Roll Fondant Icing.
By Chloe Knox
Uploaded by Chloe Knox
Time to make
Skill Level
Experienced
Serves
100 people
Baking ingredients
- 2 vanilla sponge cakes
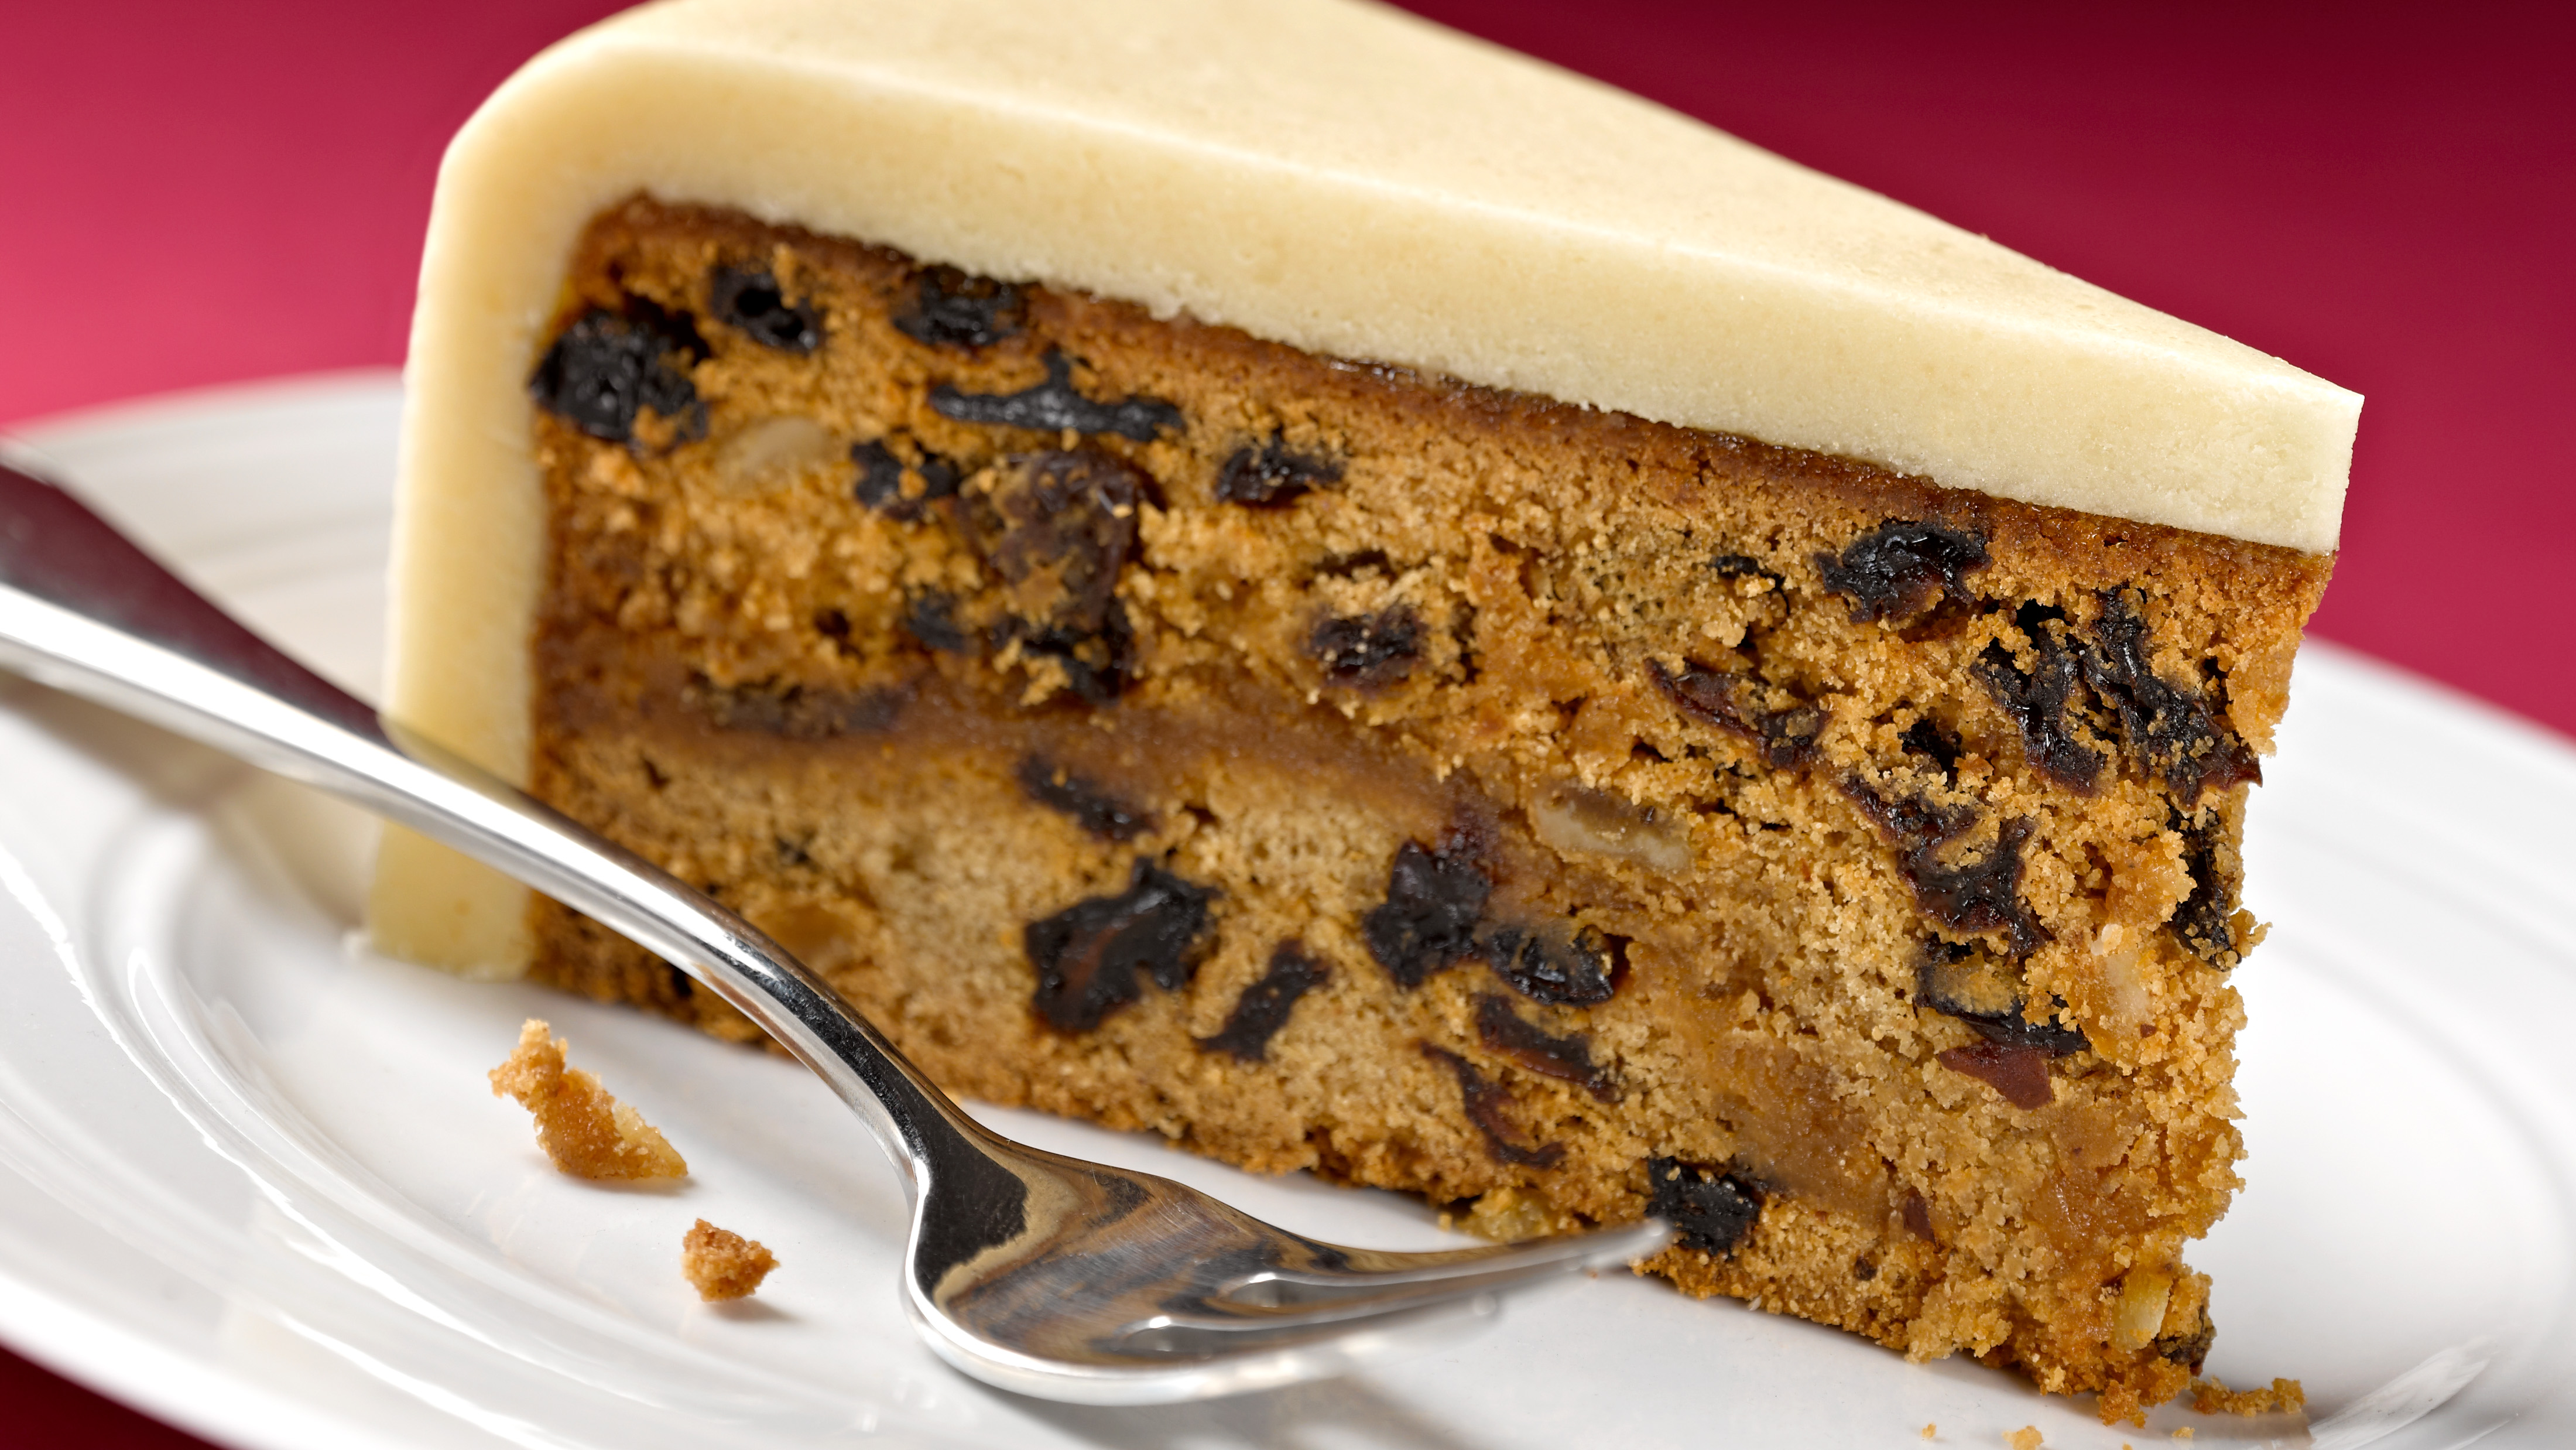
- 2 fruit cakes
- 1 rice krispie/marshmallow tray bake
- Buttercream
Decorating ingredients
- 500 g Renshaw Ruby Red Ready to Roll Icing
- 500 g Renshaw White Ready to Roll Icing (keep uncoloured)
- 500 g Renshaw White Ready to Roll Icing (with added Holly Green ProGel)
- 250 g Renshaw Chocolate Flavour Ready to Roll Icing
- 500 g Renshaw Jet Black Ready to Roll Icing
- 1 Edible gold lustre paint
- Rainbow Dust Holly Green ProGel


Instructions
Step 1
Bake 2 rectangular fruit cakes for your bottom 2 layers. Bake vanilla sponges for the next 2 layers, and make a rice krispie and marshmallow tray bake for the top layer. Make each layer of cake slightly smaller than the one below it.
Step 2
Give each fruit cake and the rice krispie layer a thin coating of butter cream. Fill and coat the vanilla sponges with buttercream and leave to chill.
Step 3
Knead the Ruby Red icing on a clean work surface until pliable. Lightly dust the surface with icing sugar and roll out the icing, trying to keep a rectangle shape, and turning often so that it doesn't stick.
Step 4
Use a ruler to measure the length of the bottom layer of cake, and the width (including the edge which will be the spine of the book). Once the icing is rolled out long enough, use the ruler again to measure the icing and use a sharp knife to cut straight edges into the icing for the cover on the book.
Step 5
Gently lift the icing and place this onto the top of the cake, overlapping on one of the longer edges, so that the edges of icing match up with the edges of the cake. Gently smooth this over with a cake smoother.
Step 6
Wrap up any leftover icing and store in an airtight container as you'll need this for finishing details later on.
Step 7
Repeat this process on your other layers of cake using the Chocolate Flavour icing for the top rice krispie layer, and the Holly Green and Jet Black icing for your layers in between.
Step 8
Knead and roll out the white icing, and cut rectangle strips from this to wrap around the three uncovered edges of the cakes. Trim the white icing around the cake so that it doesn't overlap the coloured cover of the book. Use a modelling tool or knife to gently mark in pages on the white icing.
Step 9
Measure cake dowels against the height of your bottom tier and trim to size so that they don't poke out the top of the icing. Insert these into the area of the cake that will be covered by the next tier, to support it.
Step 10
Repeat this with the next 3 tiers of cake, then stack them gently on top of each other. You can fix the cakes into place with a little royal icing.
Step 11
Place a stencil over the top tier and dab over this with edible gold lustre paint.
Step 12
Knead and roll out the leftover icing in each colour and cut thin strips for around the bottom edge of each cake, to make the appearance of the back cover of the book. Stick in place using edible glue or cooled boiled water.
Step 13
Cut out small rectangles in each colour of icing to place on the spine of each book (as shown in the picture), and paint these with edible gold lustre paint to complete the decorations.