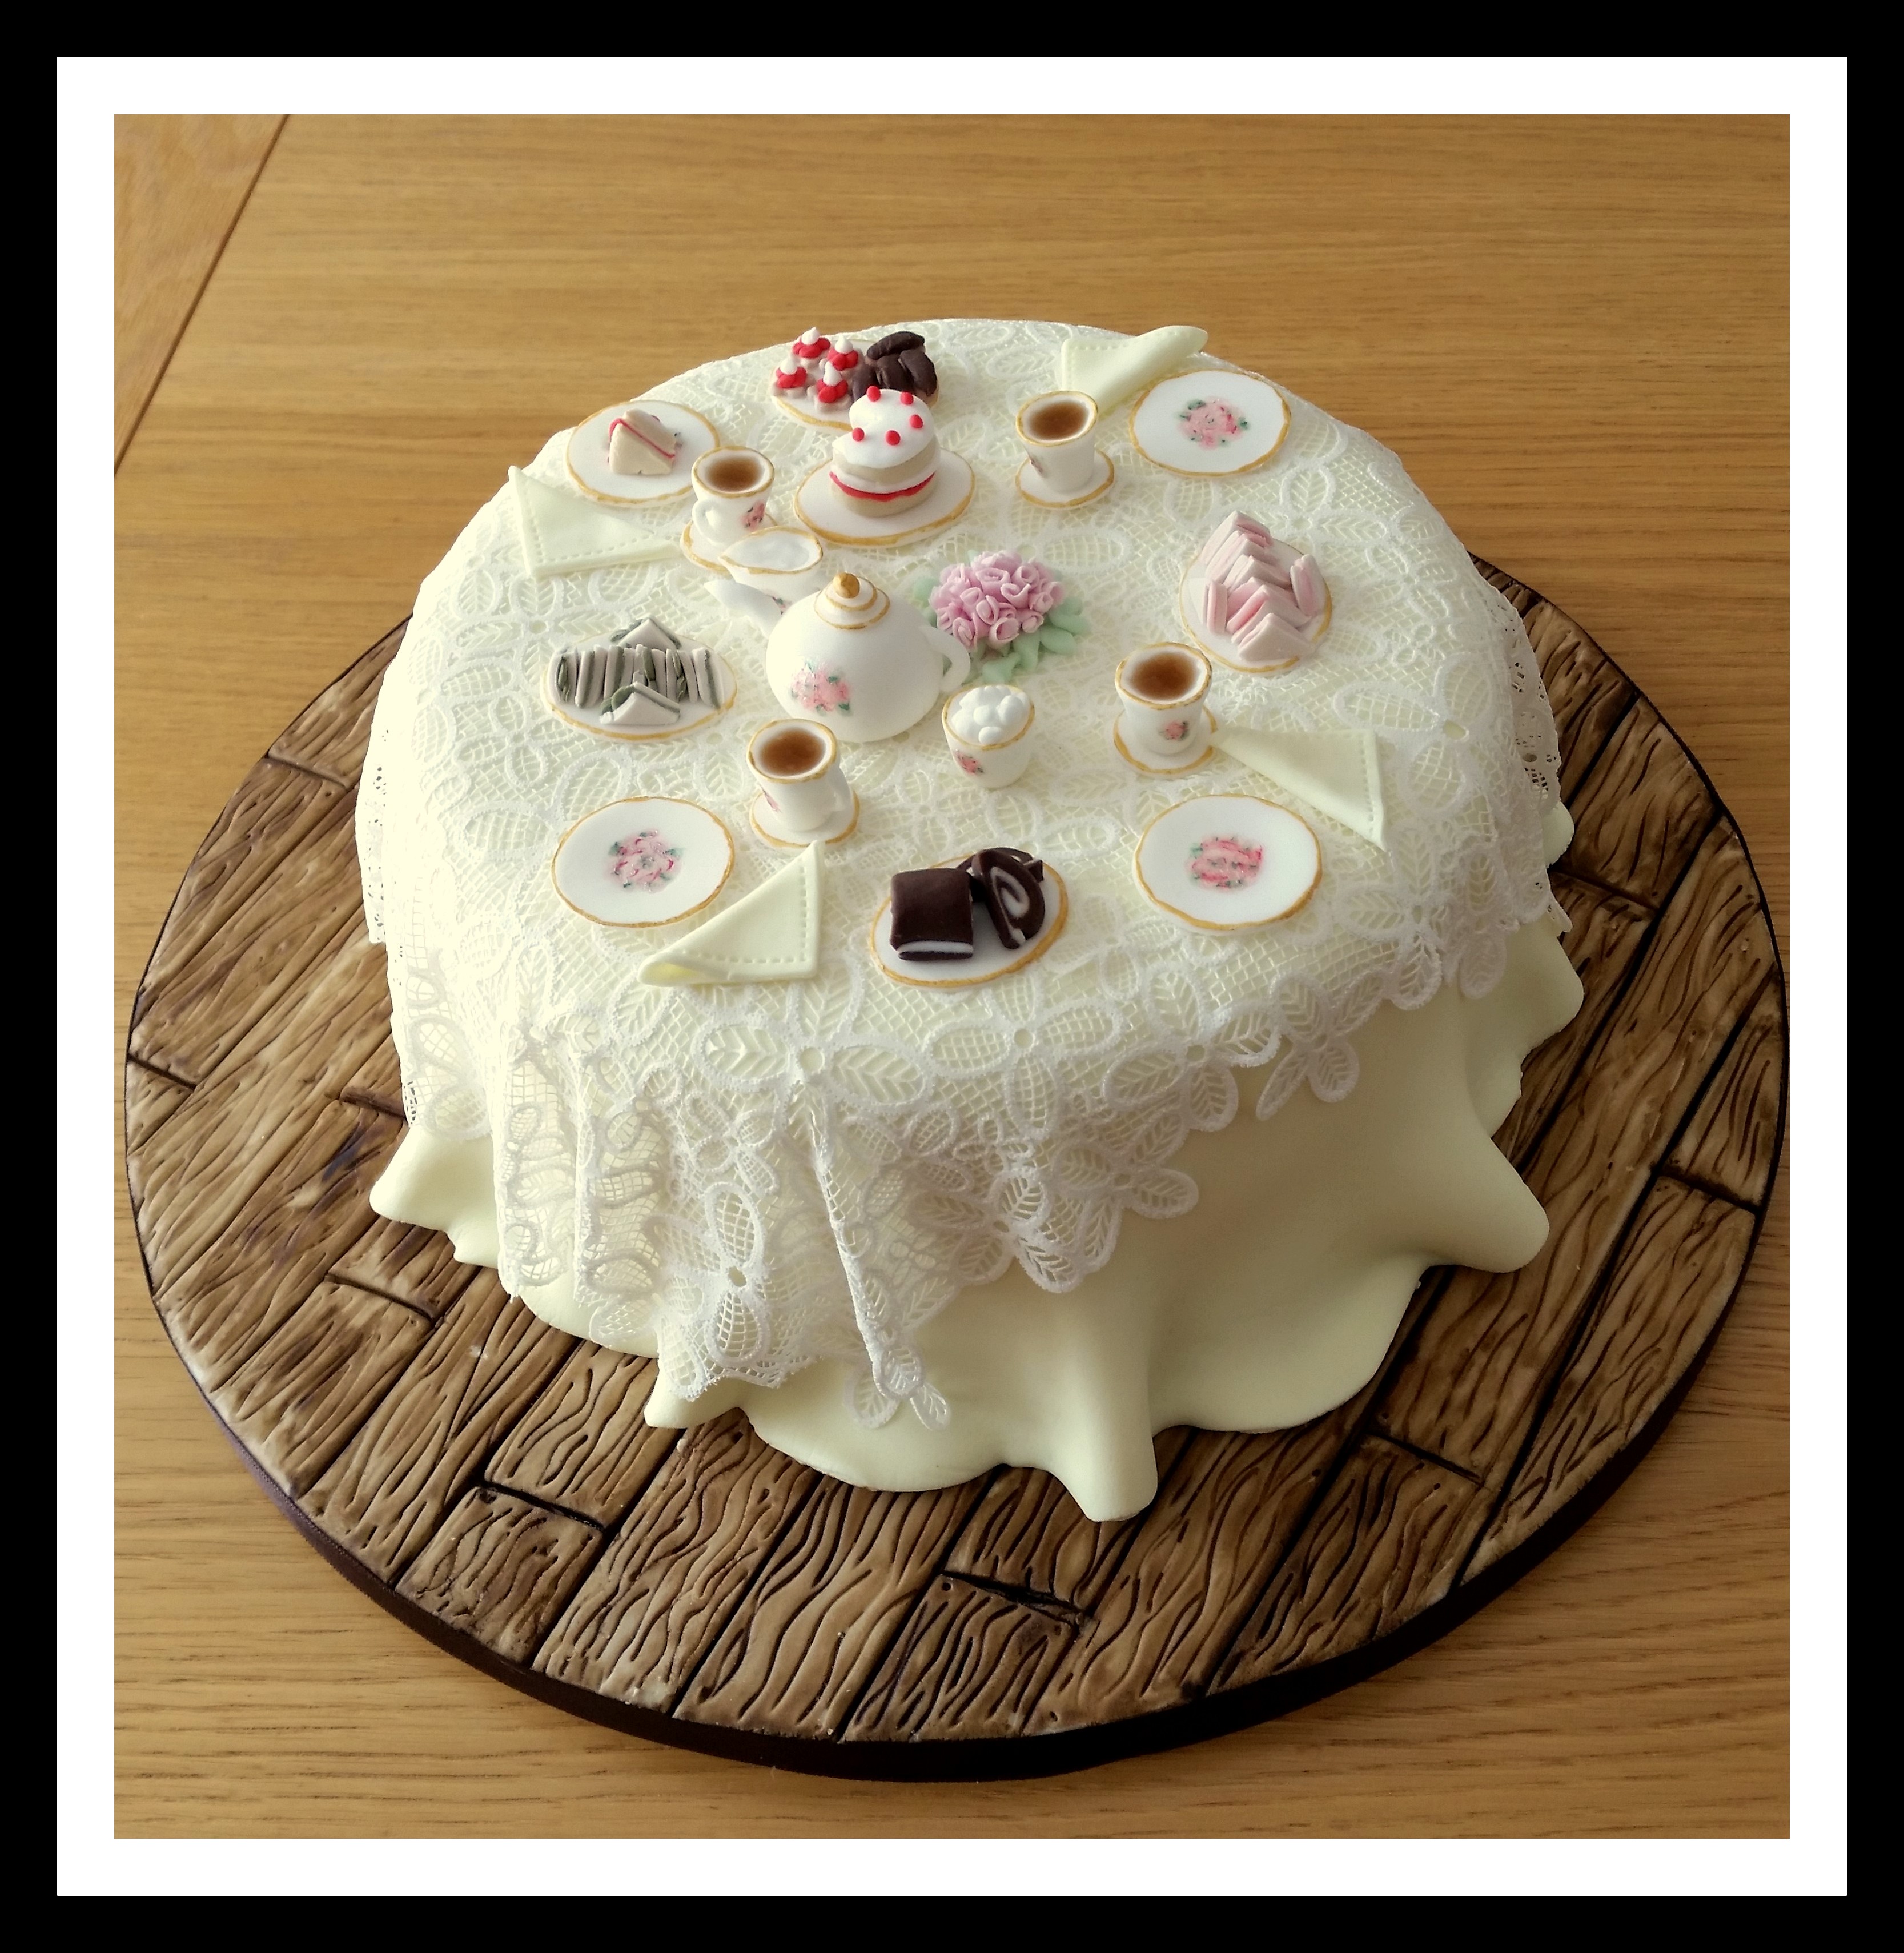
Afternoon Tea Table Cake
A deep, moist sponge cake with the lovely flavours of coconut and raspberry. Decorated to look like a table with a lace cloth effect and topped with modelling paste china pieces. This cake would make a special Mother’s Day gift or make a nice alternative to afternoon tea.
Recipe by Amanda Parry
Uploaded by Amanda Parry
Time to make
Skill Level
Intermediate
Serves
12 people
Baking ingredients
- 400 g margarine
- 400 g caster sugar
- 400 g self-raising flour
- 100 g desiccated coconut
- 8 eggs
- 8 tbsp coconut cream
- 2 tsp baking powder
Decorating ingredients
- 100 g rasbperry jam
- 100 g coconut buttercream
- 750 g Renshaw White Ready to Roll Icing
- 500 g Renshaw Pastel Yellow Ready to Roll Icing
- Cake Lace
- 250 g Renshaw White Flower and Modelling Paste
- Various edible paints to decorate and colour the food and board
Renshaw products used

Email this recipe
Instructions
BAKING THE SPONGE:
Step 1
Preheat the oven to 155°C/gas mark 2.
Step 2
Cream sugar and margarine together then add eggs one at a time. Fold in the flour, coconut and baking powder then add the coconut cream.
Step 3
Divide the mixture into 2 x 8 inch lined and greased baking tins.
Step 4
Bake in the oven for 50 minutes. Leave the sponge to cool before assembling and covering the cake.
Step 5
Fill cake with the coconut buttercream and jam, then crumb coat ready for covering with icing.
COVERING THE BOARD:
Step 6
Knead 250g of white icing (or more depending on how big your cake board is) on a clean surface until pliable. Dust the surface with a little icing sugar then roll your icing out, turning after each roll to keep it circular and to stop it from sticking.
Step 7
If you are going to use a wood effect embosser or textured mat to create the wooden effect then imprint this before adding the icing to the board.
Step 8
Add a little cooled, boiled water to the board to help the icing stick. Once the icing is rolled enough to cover the board, lift this over and then gently smooth across the surface with a cake smoother or with the palm of your hand. Cut away the excess by holding a sharp knife straight against the edge of the board to get a neat finish.
Step 9
Use a Dresden tool to mark a grain effect into the icing, then use a ruler to gently indent evenly spaced floor boards.
Step 10
Mix brown food colouring with lemon juice and paint this on to the boards. Make the colour darker between the boards and in the grains. Alternatively you could use edible food paint or dusts to create this effect.
Step 11
Leave the board to set and dry before adding the cake.
DECORATING THE CAKE:
Step 12
Knead the rest of your white icing on a clean, dry surface until pliable. Dust the surface with icing sugar then roll the icing out, rotating after each roll.
Step 13
Lift the icing over your cake then smooth over the top and sides. Lift pleats and creases out as you move around the cake, and smooth the icing down with your hands.
Step 14
Cut the excess icing away from the bottom of the cake with a sharp knife. Stick the cake to the board using a little buttercream.
Step 15
Knead Pastel Yellow icing on a clean, dry surface until pliable. Dust the surface with icing sugar and roll out the icing, rotating often.
Step 16
Roll the icing wide enough to cover the cake and trim around the edges so that it's circular.
Step 17
Lift the icing over the cake and drape over. Smooth over the top surface and gently over the top edges. Leave the rest of the icing in pleats around the cake so that it looks like a table cloth.
Step 18
Using Cake Lace and a mat, create a lace effect cloth for the top of the table. Follow the instructions on pack for using.
Step 19
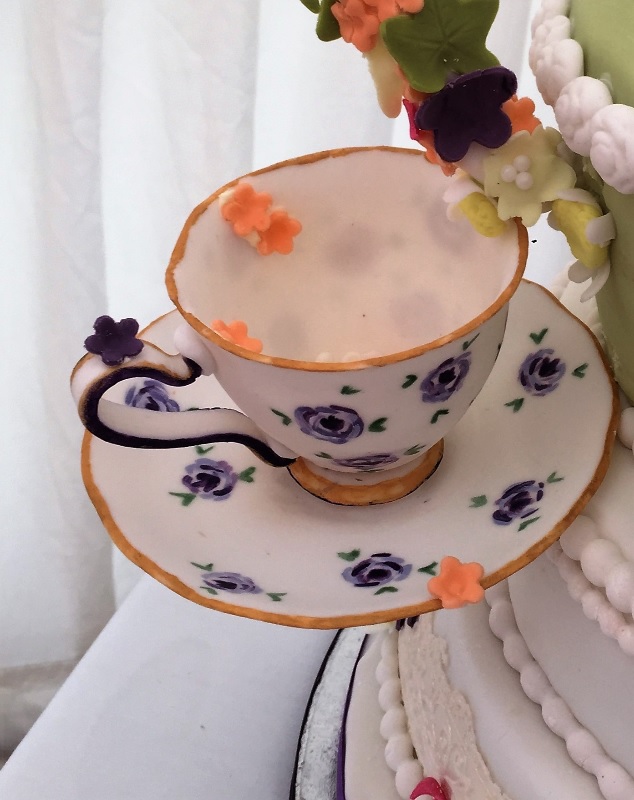
To make the plates, roll White Flower and Modelling Paste out thinly and use a circle cutter to make the shape. Leave these to set before painting.
Step 20
To make the napkins, cut squares from the rolled out modelling paste. Indent along the edges and fold one corner towards the opposite corner. Leave to set.
Step 21
To make the tea pot, roll white modelling paste into a ball until there are no cracks in the surface. Gently press the top and bottom so that it becomes more oval shaped. Roll more white paste into a thin sausage. Cut a small section and gently shape it into a spout. Measure another section against the size of the pot and curve to create a handle. Model a small top for the pot with more modelling paste. Leave all the pieces to set before assembling with edible glue.
Step 22
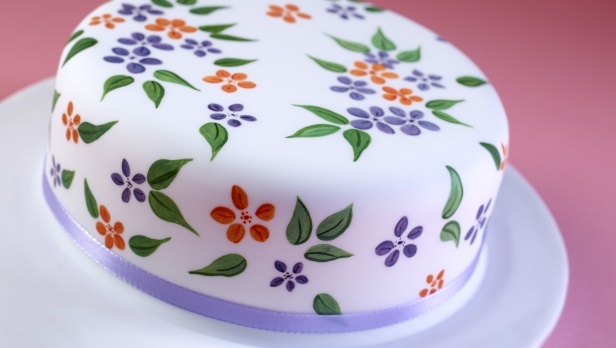
Once all your decorations are set firm, use edible paints to paint on a floral pattern and gold metallic edges.
Step 23
Attach the decorations to the top of the cake with edible glue or a little royal icing.