How to make a wired Peony cake topper
Friday 12th April 2019
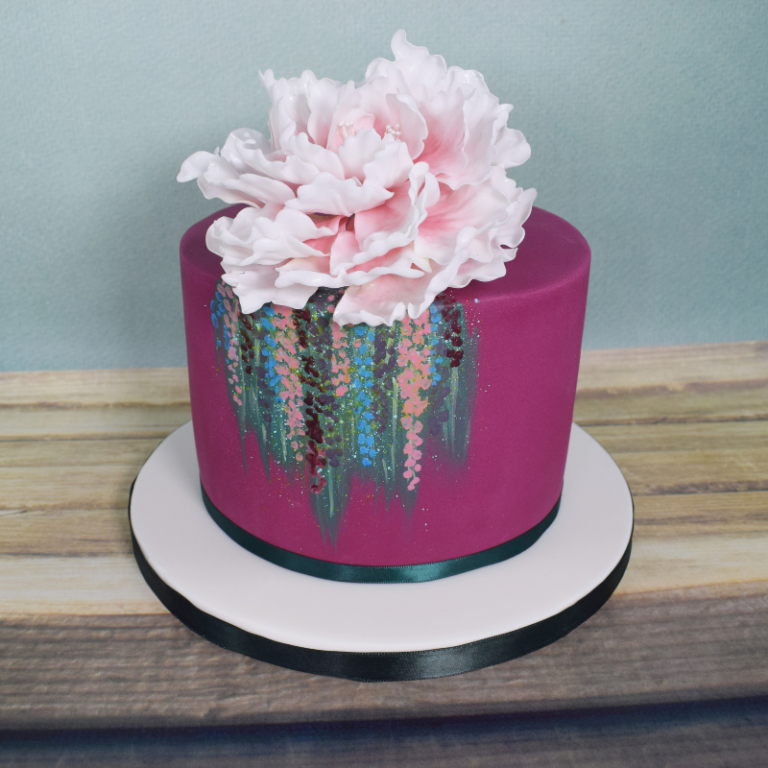
If you’ve mastered the art of making a sugar rose and are getting more confident with your flower making skills, then the Peony is the next exciting challenge for you! Peonies make beautiful toppers and decorations for wedding cakes and other celebrations. Renshaw Petal Paste is ideal for making a Peony and many other sugar flowers as it can be rolled very thinly to achieve fine, lifelike petals. Dusting with a range of Rainbow Dust Powder Colours can bring your Peony and other flowers to life, adding depth and realism.
You will need…

Products:
- 1 x 300g Renshaw Petal Paste or Renshaw Flower and Modelling Paste
- Rainbow Dust Powder Colour in Rose, Claret and Citrus Green
- Rainbow Dust Edible Glue
Equipment:
- 26g – 1/4 length white wire
- Peony 4 cutter set
- Peony petal veiner
- Pliers/wire cutters
- Petal pad
- Small rolling pin
- Large and small ball tool
- Scriber
- Foam petal former and 9 table spoons
- Petal/leaf roll-out board
- Dusting brush
- White floral tape
- Hot water
- Cornflour
- Trex
- Pearl stamens
- Posy pic
How to make a wired Peony
1.) Knead white Petal Paste until pliable.

2.) Rub a small amount of white fat onto the grooved board. Pin out the petal paste as thin as possible over the grooves. Remove the petal paste from the board and place on the work surface, veined side facing up.

3.) Cut out petal shapes making sure the central vein goes 2/3 the length of the petal and is lined up with the base of the petal.


4.) Dip a wire into edible glue and wipe the excess off on the back of your hand. Insert the wire 2/3 through the petal.

5.) Dab the petal veiner with cornflour and press the petal to add veins.


6.) Place the petal onto the petal pad and thin out the edge of the petal with a large ball tool. Use a small ball tool to cup inwards the edge of the petal. Place the petal onto the foam petal former to set.

7.) Repeat these first steps until you have 7 small petals, 7 medium, 9 large and 9 extra-large petals. Set the extra-large petals on tablespoons lightly dusted with cornflour. Allow all petals to set for 24 hours.

8.) Make 3 carpels by shaping a small pea size piece of Petal Paste into a pointed cone. Make a hook in the end of the wire with pliers and attach the cone with a small amount of edible glue. Mark 4 vertical lines with the scriber from the base to half way up the carpel. Allow to set for 24 hours then tape the base 1in down the wire with ½ width white tape.


9.) Make 3 groups of stamens by attaching 3 pearl stamens to a wire. Fold the stamens in half and twist 1.5 cm of the wire around itself to secure the stamens at the top. Tape the wire with ½ width white tape.


10.) Once all the petals are thoroughly set, dust the centre and base of each petal with Rose Powder Colour. Dust the central vein with Claret Powder Colour. For the carpels, dust the base with Citrus Green Powder Colour and the top with Rose Powder Colour.


11.) Begin to assemble the flower; tape together the carpels and the stamens in an alternate pattern with white tape.


12.) Use one length of white tape to secure the petals, arrange 3 small petals around the centre. Next, add 4 small petals interlocking the petal with the next. Continue to add all the petals interlocking and arranging them as you go.


13.) Once all the petals are added, steam the flower over a pan of boiled water for a couple of seconds so the steam sets the colour.


14.) Allow to fully dry before attaching to the cake with a posy pic.


We hope you’ve found this Peony tutorial helpful. You can share your own floral creations with us on social media at Renshaw Baking.