Christmas Cake Guide: How To Ice A Christmas Cake By Claire Bailey
Monday 25th November 2013
Welcome to part three of our guide on creating the perfect Christmas cake. So far we’ve learned how to make a delicious chocolate fruit cake with Sandra Monger, then with the help of Juliet Sear we applied a smooth and consistent marzipan layer. Now it’s time to quite literally put the icing on our Christmas masterpiece. Helping us through this deceptively tricky task is our very own Claire Bailey.
Icing a cake with Renshaw ready to roll icing is quite similar to the marzipanning process we followed last time. It’s really important to take your time and get things just right. You want the icing on your Christmas cake to be smooth, polished and inviting, not full of lumps, bubbles and little tears. It’s a cliché but the first bite really is with the eye, so follow Claire’s advice and you’ll have a cake that looks as amazing as it tastes.
You Will Need:
- The marzipan-covered fruit cake from last time
- Cooled boiled water OR alcohol
- Renshaw White Ready To Roll Icing
- Icing sugar
- Rolling pin
- Sharp knife
- Cake smoother
Much like marzipanning a cake, this isn’t a difficult job but to get it perfect takes a little patience and attention to detail.
Step-By-Step:
1. With your marzipanned Christmas cake in front of you, use a brush to lightly coat the surface with cooled boiled water. You can use alcohol for this stage, but if you soaked your cake in spirit then make sure to use the same one.

2. Dust down your work surface with some icing sugar.

3. Take your Renshaw White Ready To Roll Icing and start kneading it. The icing has to be easy to work with, so make sure it’s soft and pliable. Then begin rolling it out. As you roll the icing out you should turn it around to make sure it doesn’t stick to the work surface.


4. Using even pressure continue to roll out the icing until you have a circle that is big enough to cover your cake. To ensure you get a great fit make the circle slightly bigger than you think you need it. If you can’t judge by eye you can use your rolling pin as a makeshift measure.

5. Fold the icing in half over your rolling pin and gently lift it over the top of the cake, then roll the icing out over it. Smooth the icing down the sides of the cake with the palms of your hands.


6 Working your way around the cake gently pull out any creases, taking care not to tear the icing. As you go around continue to smooth down the icing with your hands.


7. Now the icing is applied the next step is to give the surface a real polish. You can use your hands for this, just applying gentle pressure with your palms. A great alternative is to take a ball of icing and buff it against your work surface and then use the polished bottom of the ball to buff over the icing.


8. Take your knife and trim off the excess icing around the base of the cake. If you have any ragged edges these can be pressed in and smoothed out using your fingers.


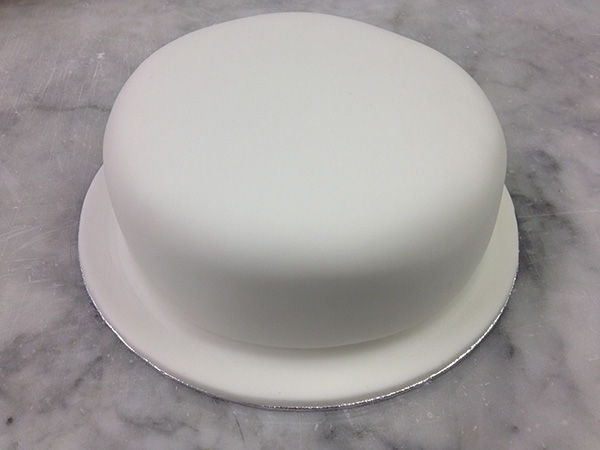
9. For a fine polished finish, take a cake smoother and work it around the whole cake.
So there you have it, a Christmas cake that looks and tastes better than anything you could buy off the supermarket shelves.

You could stop there, maybe adding a red ribbon around the cake, and you’d have a wonderful Christmas cake, but next month we’re going to show you how to put those finishing touches to the cake. We’ll help you decorate your cake and make it a fantastic festive feast fit for Father Christmas himself.