Baking ingredients
- 700 g butter or margarine
- 700 g caster sugar
- 14 medium eggs – beaten
- 835 g plain flour
- 1 pinch salt
- 3.5 tsp ground mixed spice
- 3.5 kg mixed raisins, currants and sultanas
- 620 g chopped mixed peel
- 10 tbsp rum
Decorating ingredients
- 6 kg Renshaw White Ready to Roll Icing
- 6 kg Renshaw Original White Marzipan
- 2 kg Renshaw Baby Pink Ready to Roll Icing
- 1.1 kg Renshaw Flower & Modelling Paste
- White royal icing
- Pastel pink colour paste
- Green colour paste
- Spring green edible colour dust
Renshaw products used

Email this recipe
Instructions
Baking Instructions:
Step 1
Preheat oven to 140°C/275°F/gas mark 1.
Step 2
Grease and line a 4in, 6in, 8in and 10in round cake tin with baking paper.
Step 3
Cream the butter and caster sugar together until pale and fluffy.
Step 4
Add the egg, little by little, beating well between each addition. Sift in the plain flour, salt and mixed spice and mix in thoroughly
Step 5
Finally, add the mixed dried fruit, peel, almonds and rum and stir into the mixture.
Step 6
Add the cake mixture to each tin and smooth the top to create a flat surface, leaving a slight dip in the centre to allow for the cake to rise.
Step 7
Bake each cake individually in the pre-heated oven for 1¾ hours. Test if the cake is ready by inserting a skewer in the middle. If the skewer comes out clean, the cake is ready.
Step 8
Leave to cool in the tin on a wire rack.
Decorating Instructions:
Step 9
Several days ahead, pre-ice two 8in and a 13in drum board with Renshaw Baby Pink Ready to Roll Icing and a 15in drum board with Renshaw White Ready to Roll Icing. Fix a 6in and 2in round polystyrene divider centrally on top of one of the 8in pre-iced boards and set aside (If you wish you can finish the edges with white ribbon or paper fixed on with double sided tape). Allow these items to dry fully. Once the boards are dry, finish the board edges with a 15mm white ribbon trim fixed with double sided tape with the joins at the back.
Step 10
Knead the Renshaw Original Marzipan and remaining white icing separately until pliable before lightly dusting your work surface with icing sugar and rolling out each to the desired thickness. First lift the marzipan over the 4in cake, smoothing down the sides with the palm of your hand. Trim excess icing. Repeat with the white icing, and to give a sheen to the surface, smooth with the palm of your hand. Set on a 4in cake board.
Step 11
Re-roll excess marzipan and white icing and repeat with the 6in, 8in and 10in cakes, setting each on a cake board of corresponding size.
Step 12
Once the icing is dry, make the templates for piping the scalloped pattern. Take four lengths of greaseproof paper, each 3in wide and long enough to go around each cake with the end meeting exactly.
Step 13
The templates for the 10in and the 8in cakes should be folded accurately in half three times (to give 8 equal spaces when opened out). With the paper still folded, place a 6in round cake board or side plate on the top unfolded edge so that both corners meet with the curve of the plate. Draw around the board and then cut out the scallop shape. When the paper is opened out it will give 8 evenly spaced scallops.
Step 14
For the 4in cake template, repeat Step 5, folding the paper twice to give four equal scalloped spaces.
Step 15
Put the 6in cake aside as the template for this cake will be made from that for the 10in cake after it has been scribed.
Step 16
Wrap the templates around the side of the cakes. Ensure that it conforms evenly to the sides of the cake and the bottom edge of each template is aligned evenly with the base. Fix the ends together with masking tape. Use a scribing tool to lightly mark the scalloped line ready for piping. (Standing the cakes on a turntable will make this easier).
Step 17
Once you have marked the 10in, 8in and 4in cakes, take the 10in template and cut it down so that you have a length which is 5 complete scallops long. This should fit around the 6in cake. Attach and scribe as with Step 8.
Step 18
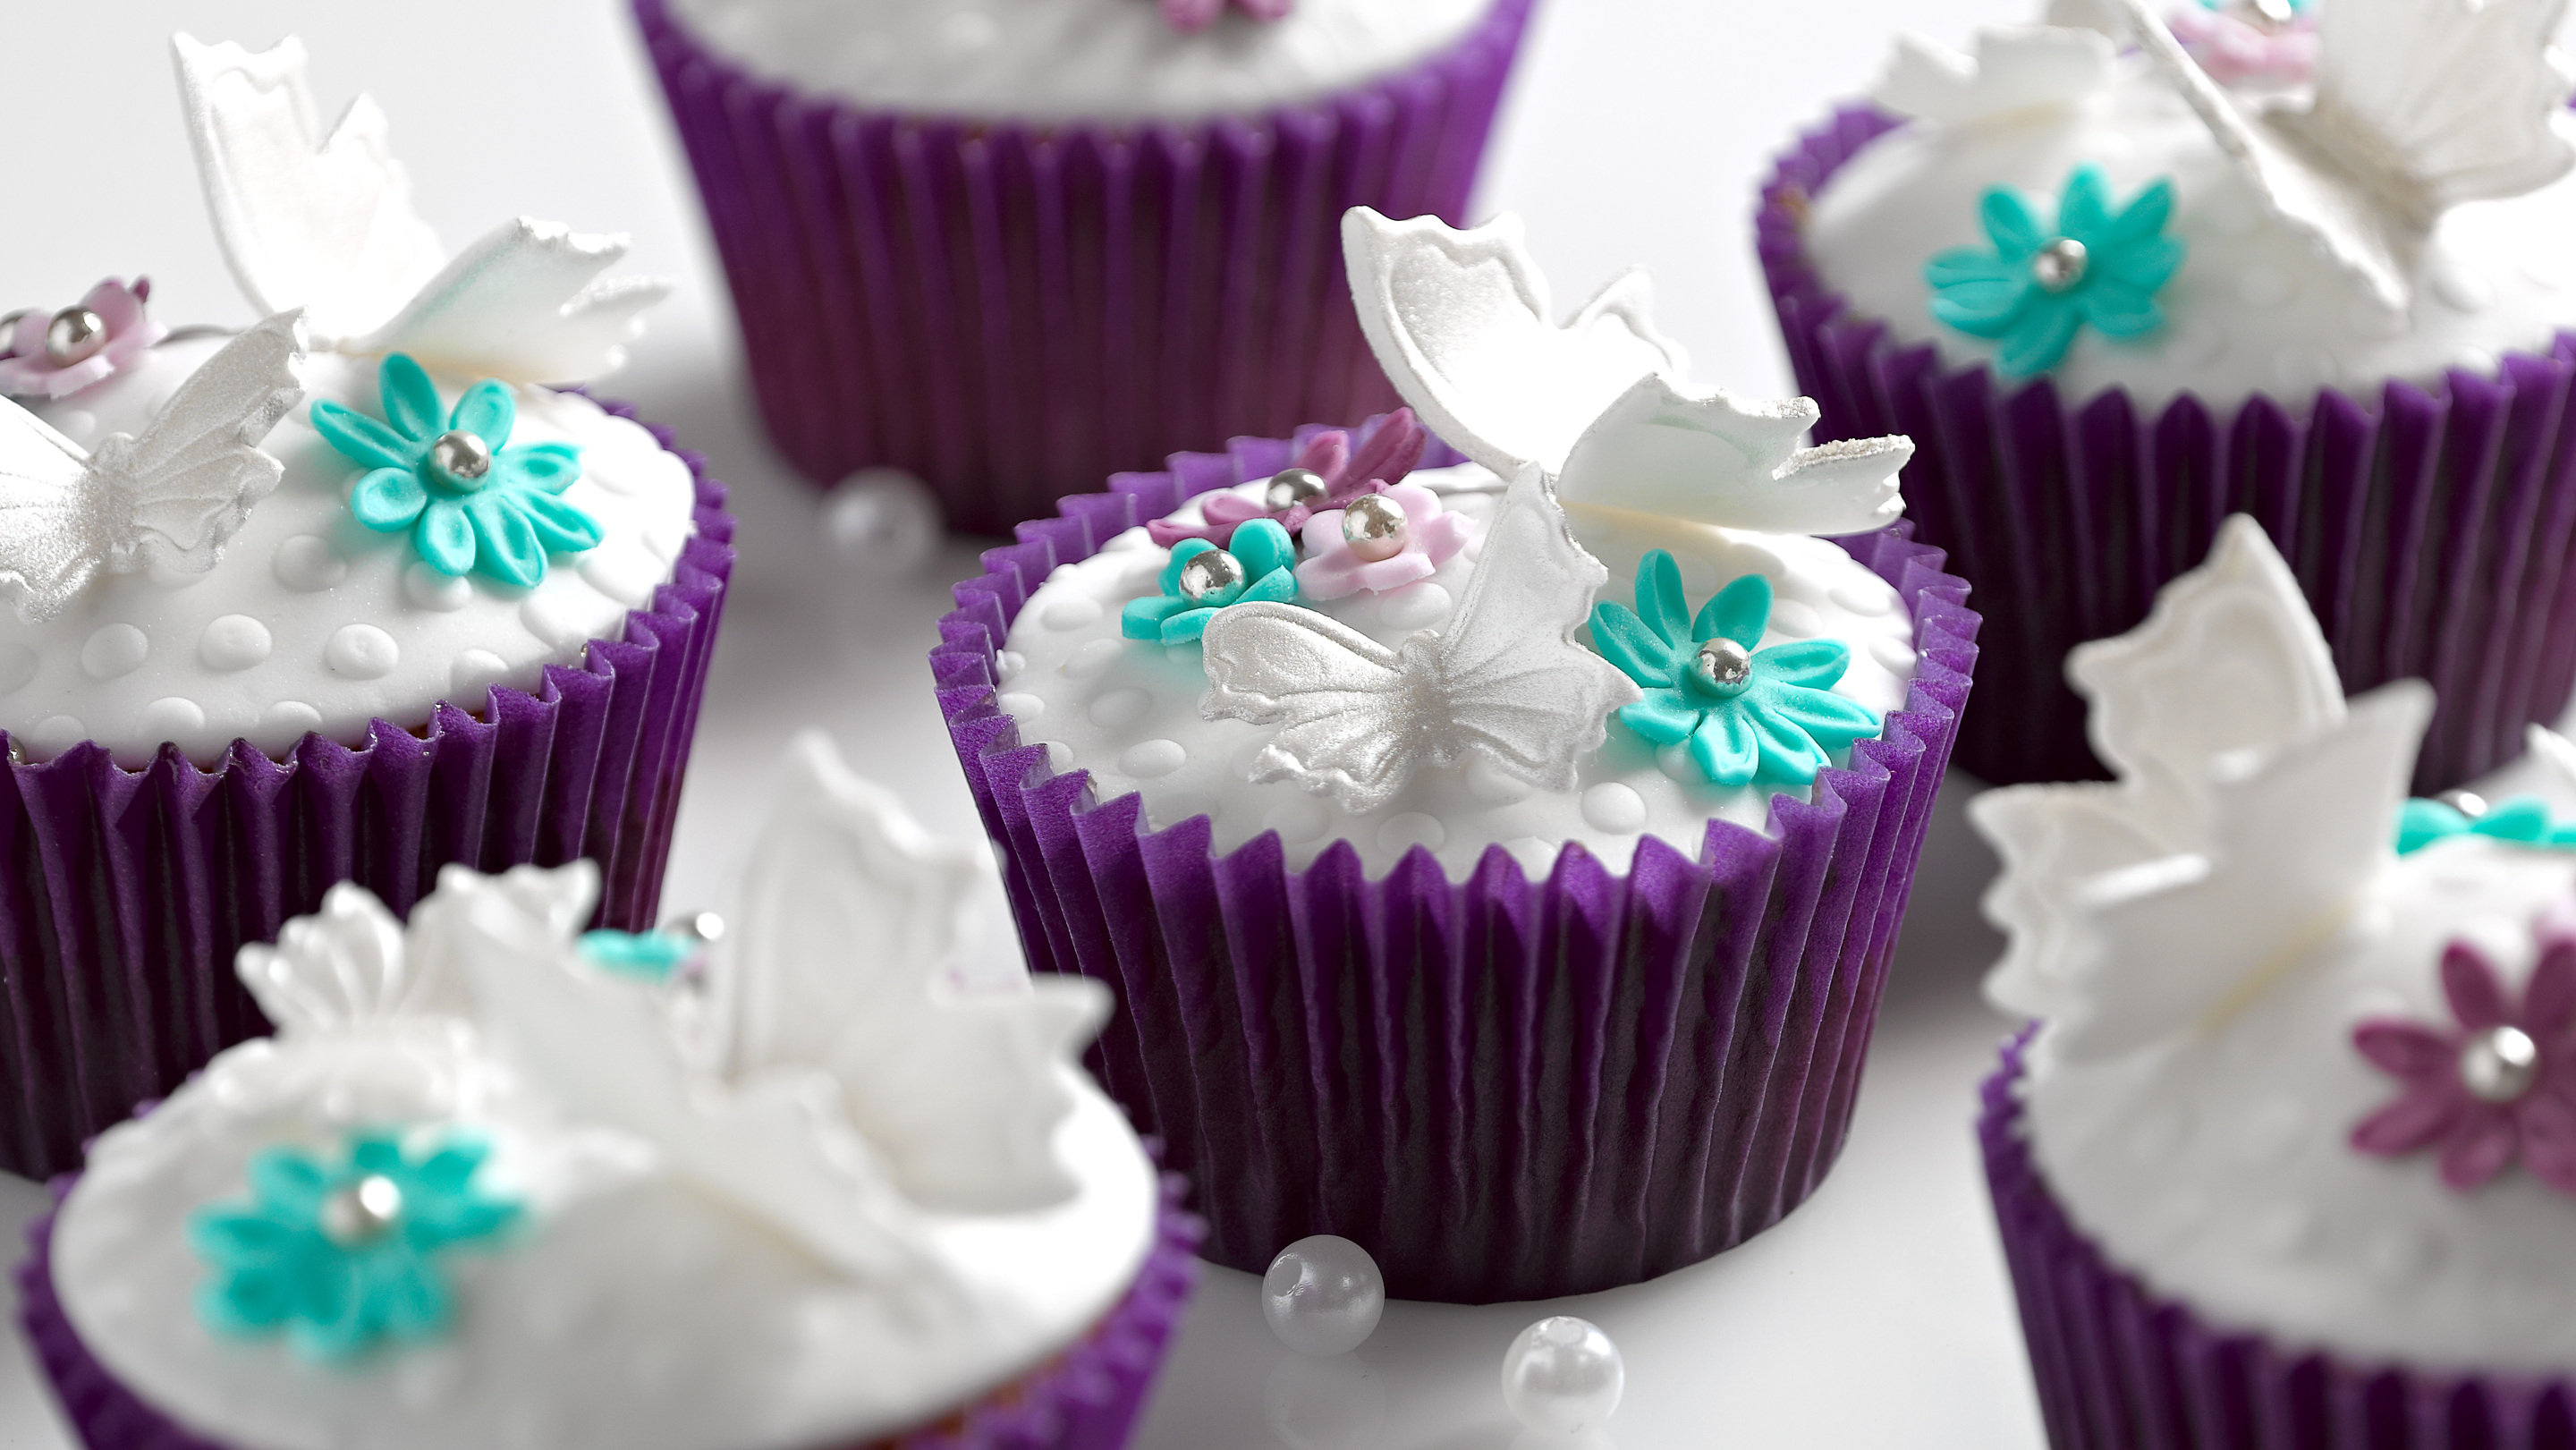
Mix 700g Renshaw Flower & Modelling Paste with pastel pink colouring paste. Thinly roll it out to 1mm thickness and cut out flower shapes with a 4 petal cutter. You will need one for the peak of each scallop. Fix the flower shapes in place with cooled boiled water.
Step 19
To pipe the scalloped decoration, fill a piping bag with white royal icing. Use a number 1 nozzle to pipe a dot in the middle of each flower and centrally at the base of each scribed scallop. Then pipe the tiny leaf / tear-drop shapes on alternate sides of the scribed line in each scallop. Pipe away from the central dot up towards the flower with the thin ends of the piped shapes facing towards the flower. Repeat on all tiers.
Step 20
On the 10in and 6in tiers there are vertical droppers piped under each flower. These are made up of three small piped dots and finished with one larger dot.
Step 21
To assemble the cakes, secure the 13in iced board centrally on top of the 15in board with royal icing. Then place the 10in cake centrally on the 13in board and the 6in cake centrally onto the remaining 8in iced board and secure with royal icing.
Step 22
Stabilise the cakes using plastic cake dowels. The 10in tier requires eight cake dowels, the 8in cake requires six and the 6in cake requires four. Insert the dowels inside the area that will be covered by the cake tier above. Ensure they are evenly spaced and their tops are level. Fix the 8in board with the divider to the top of the 8in cake with royal icing. Ensure that it is centrally placed and all ribbon joins are to the back. Insert a flower pick centrally into the top of the 4in tier.
Step 23
Place the 8in cake on top of the 10in cake and the 4in cake on top of the 6in cake, securing both with royal icing. Ensure that the scallops and flower shapes are aligned vertically at the front of the cake.
Step 24
Thinly roll out some white and colour paste mixed pale pink flower & modelling paste long enough to go around the circumference of each cake. Using a parallel wheel cutter, cut 1in wide ribbons in white for the 10in and 6in cakes and 1.5in wide in pink for the 8in and 4in cakes.
Step 25
Moisten the circumference at of each tier at its base with a paintbrush and cooled boiled water to fix the sugar ribbons. Roll up the flower & modelling paste ribbons and carefully unroll around the base of each cake, resting its bottom on the board or tier below.
Step 26
Finish the base joins of the ribbons with a piped snail's trail using white royal icing and a number 2 piping nozzle.
Step 27
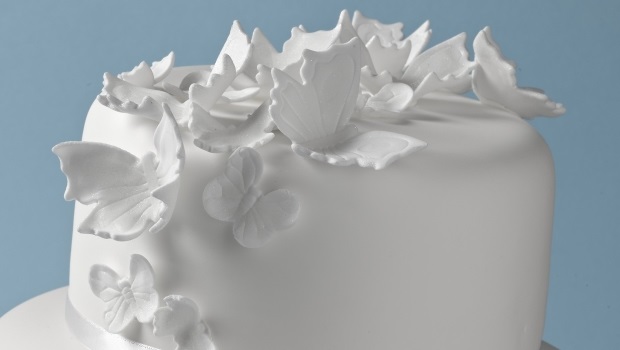
To make the flowers, cut 3in lengths of white 18 gauge wire using wire cutters and hook the ends with rat-nosed pliers. Make 15 to 16 cone-shaped rose centres. Use 5g of the colour paste mixed pastel pink flower & modelling paste for each centre, which should measure 1in in length and have a rounded bottom and a pointed top. Dip the hooked ends of the wires into sugar glue and insert into the bottom of each centre cone. Stand each cone in an oasis and dry until very hard. (Drying can take several days).
Step 28
Using a rose petal cutter set, select a petal cutter that is slightly larger than the cone. Using the colour paste mixed pastel pink flower & modelling paste, thinly roll and cut out five petals with the selected cutter. Soften and thin the rounded wider end of the first petal using a ball tool and pad.
Step 29
Fix this first petal to the cone with a little sugar glue. The petal should sit a little higher than the tip of the cone and wrapped around so that the cone is not seen.
Step 30
Soften, thin and fix the next four petals, spiralling them around the cone and overlapping each petal to form a tight bud.
Step 31
Select the next largest petal cutter and cut a further five petals. Repeat the ball tooling and attaching process as seen in Step 20. Curl these petals at the top so that they form an opening bud.
Step 32
Continue through the cutter sizes, working on five petals at a time, gradually building up the open rose by curling the petals as they get larger. Each of the 15 to 16 roses will need approximately 30 petals each and should be approximately 2.5in in diameter.
Step 33
Finish the back of each rose with a large calyx cutter from thinly rolled lower & modelling paste mixed with green colour paste. Support the completed roses by inserting the wire stems into the oasis and set aside to dry overnight.
Step 34
To make twelve lily of the valley flowers, cut 1.5in lengths of white 28 gauge wire. Form tiny petit pois sized balls of white flower & modelling paste. Moisten the end of each piece of wire with sugar glue and insert into each ball. Set aside to dry overnight.
Step 35
Once dry, cut out small blossom shapes from thinly rolled white flower & modelling paste using a small blossom plunger cutter and attach a tiny cupped white blossom onto each ball using sugar glue. Some can be left without blossoms as these can represent buds.
Step 36
Once dry, five or six buds and flowers can be taped and wired down a 4in length of white 28 gauge wire using half width pale green florist tape to form each stem, leaving enough wire exposed to curl each flower away from the stem using the handle of a small artist's paintbrush.
Step 37
Colour the stems and the back of the flowers using an artist's paintbrush and a little spring green edible colour dust to give a natural look.
Step 38
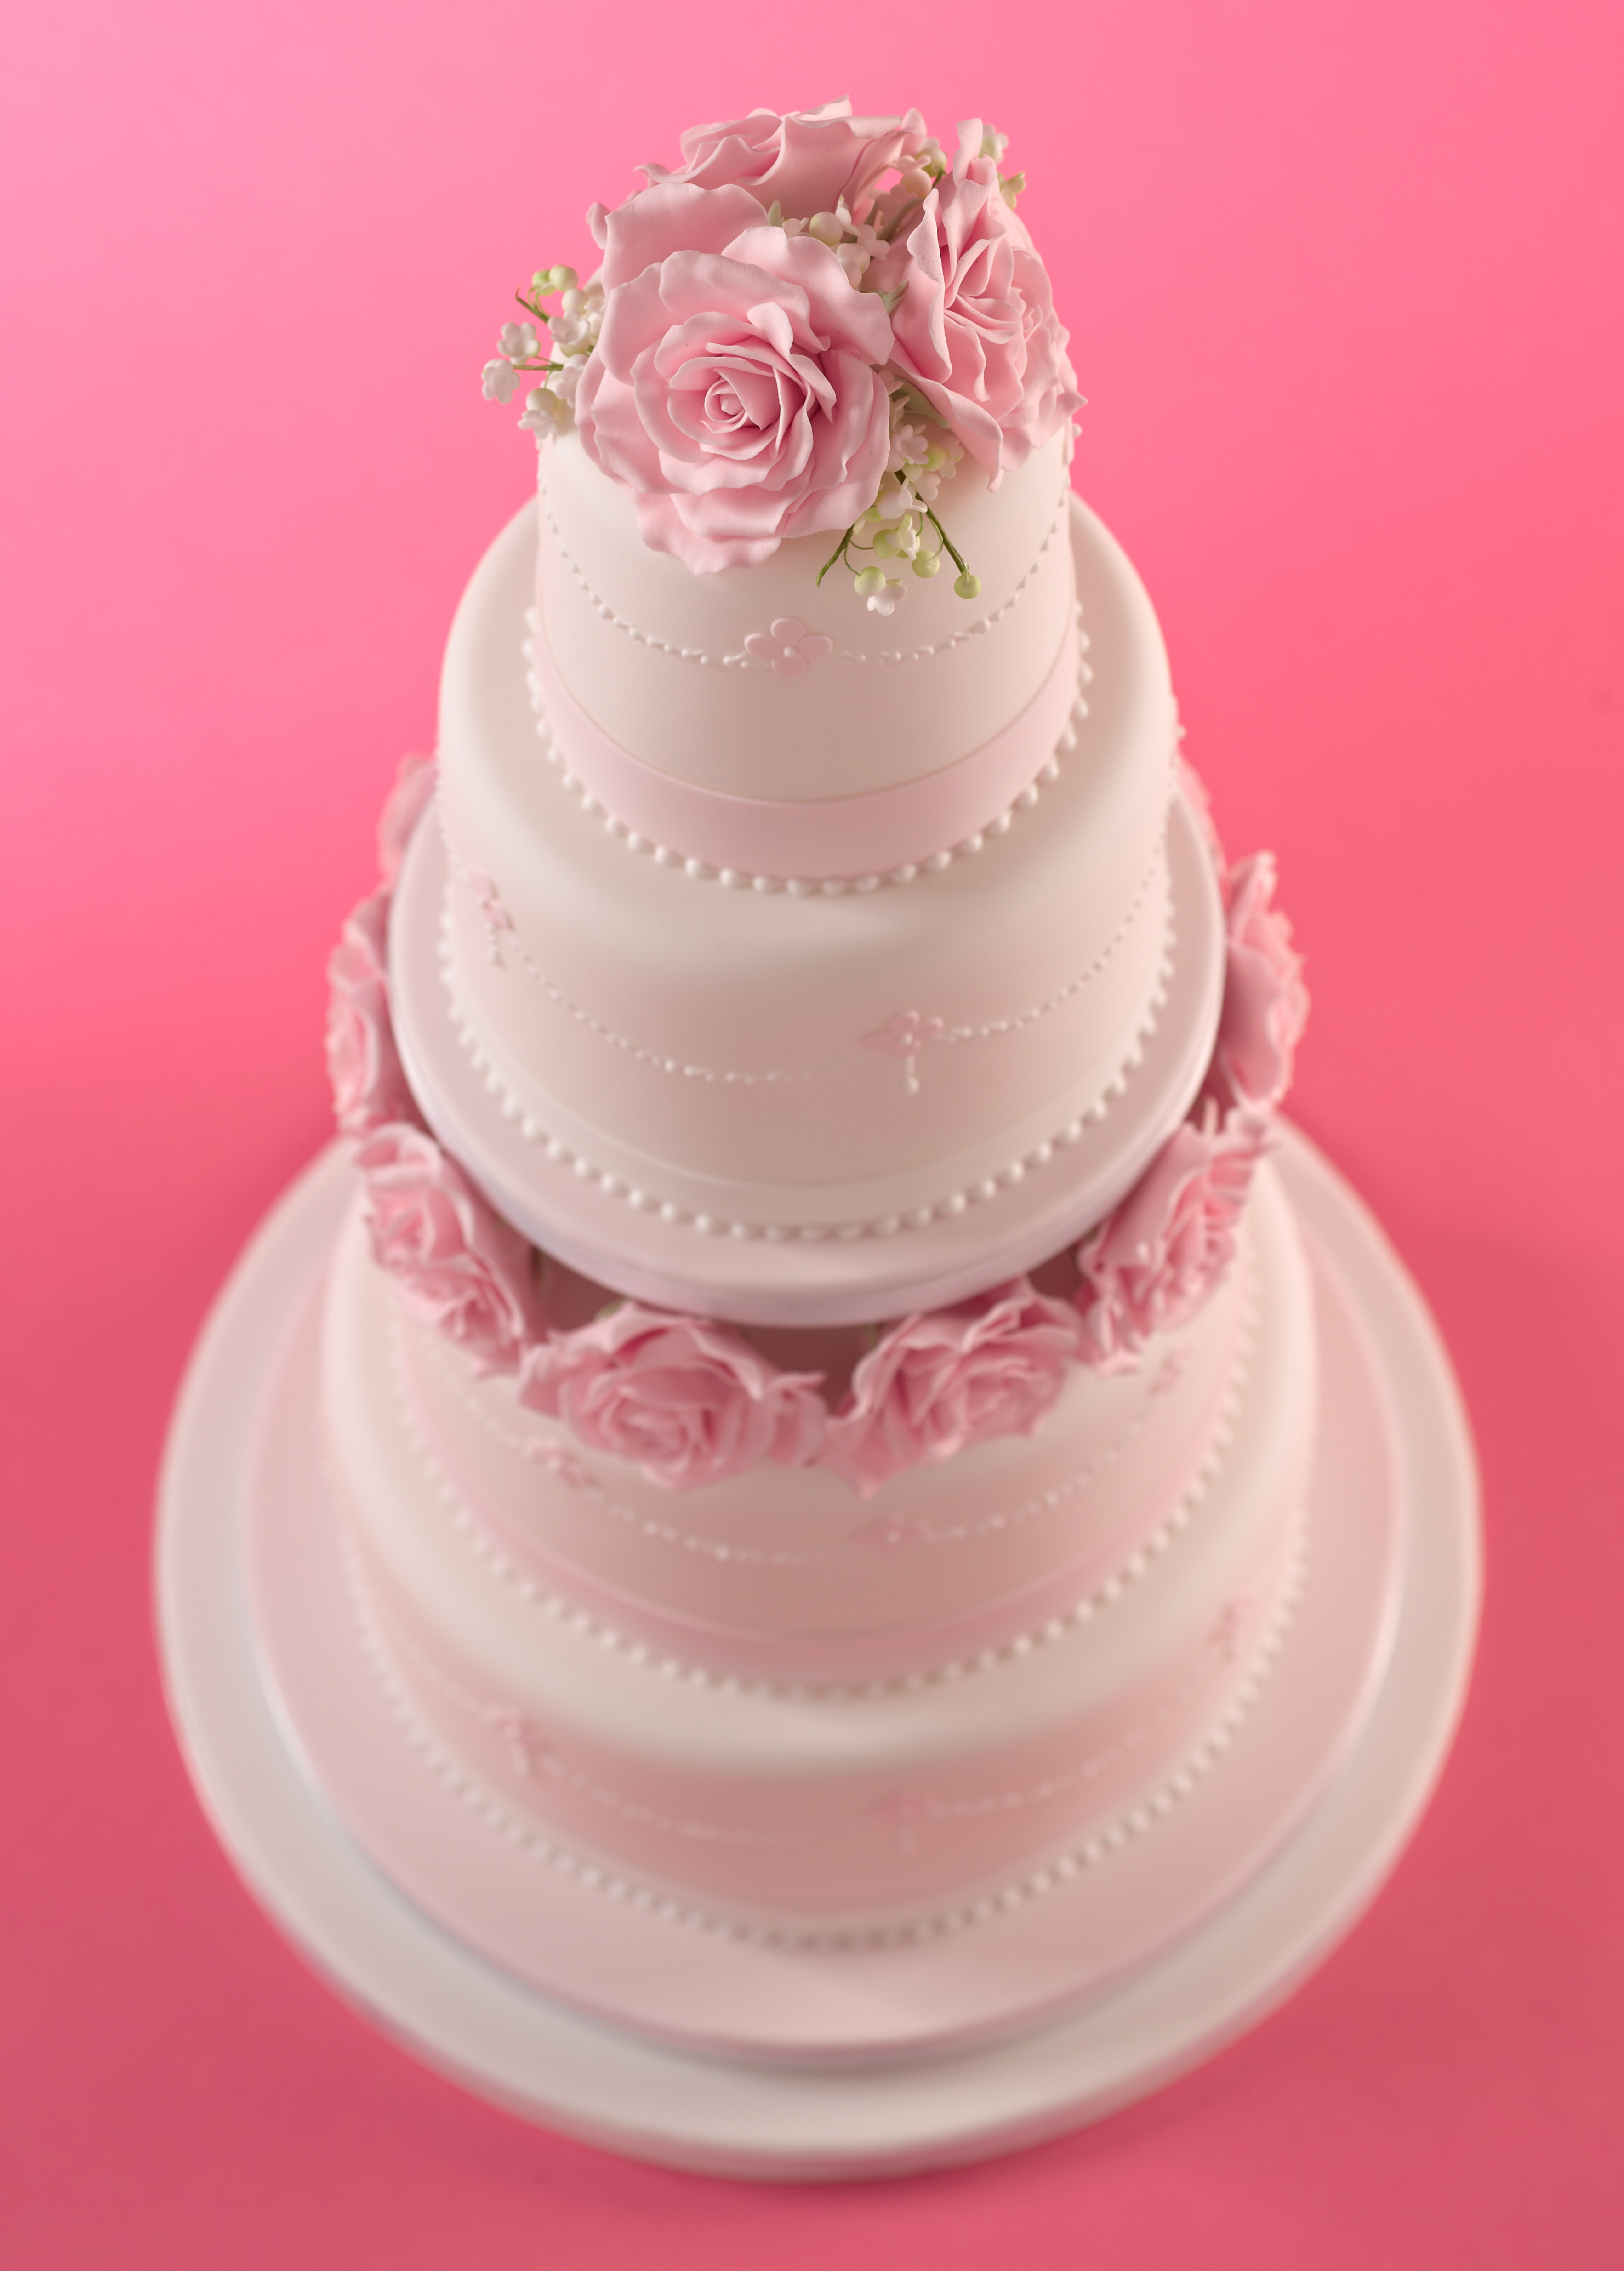
To assemble the cake, fix the smaller top two tiers onto the larger bottom two tiers and divider with royal icing, ensuring they are central and with ribbon joins to the back. Ensure that the scallops and flower shapes are aligned vertically at the front of the cake.
Step 39
To evenly position the roses in the divider, first make a small hole in the centre of the divider with a metal skewer. Ensure this is vertically aligned with the flower shapes above and below. If you have used a ribbon or paper trim take care to avoid damage or tearing when forming the hole. Select a rose and gently insert the wire stem into the hole. You may need to trim the wire a little if it is too long and the rose stands out too far.
Step 40
Then take another rose and hold it next to the first rose to judge where the next hole needs to be made. Repeat this on the other sides of the first rose. Continue adding roses on alternate sides working all the way around the divider to form an even and continuous band of flowers, avoiding gaps.
Step 41
Arrange three roses on top. Trim and bend the wire stems so that they will fit into the flower pick. Trim the stems of the lily of the valley and position between the roses with the stems fitting into the pick. A little royal icing piped carefully into the pick will secure the stems and flowers.